
Power Ranger Pinata Tutorial!
Okay, so many of you saw the progress of the power ranger pinata I made for my son's 3rd birthday party, however I never made an official tutorial for it. Finally, I have the time to post it up! Here it is. I know it's late in the season and the use for pinatas are officially over, but this is still useful for any future summer party plans in the next year :)
.JPG)
MATERIALS:
Balloon
All-purpose Flour
Water
String
Medium sized mixing bowl
Paper cut up into strips (A LOT!)
Craft brushes
Glue
Crepe Paper or Tissue Paper
Paint
CANDY!
.JPG)
Okay, you don't have to do this my way, but I decided to hang the balloon from a string so I could let the access papier mâché mix drip.
Anywho, this is an extremely messy project, so whatever space you use to do this, make sure you protect the surrounding surfaces, otherwise you`ll have one hell of a time cleaning up the mess.
.JPG)
In a medium sized mixing bowl, pour one part water and one part all-purpose flour and mix it together until the consistency is somewhat like a goopy paste.
.JPG)
You can either brush the papier mâché solution on the balloon, apply your paper strip and then put another coat of papier mâché solution on top, or you can do what I did and soak the strips of paper in the solution and just put it on the balloon. When the balloon is covered in one layer, wait for it to dry.
.JPG)
Repeat this process to form another layer. I put two layers which was more than sufficient because to my dismay, it took forever to break the damn pinata!
.JPG)
Once the papier mâché coats are thoroughly dry, you can take whatever tissue paper or crepe paper of your choosing, cut them into strips and using a mixture of glue and water, apply two coats of this tissue paper layer until the layers are opaque.

You'll end up with something like this.
Wait about a day for the whole thing to dry completely.
Wait about a day for the whole thing to dry completely.

Now you can begin painting whatever design you want. I chose to do the red samurai power ranger simply because that's what my son asked for, but you can honestly choose whatever you want.

Once the paint has completely dried, you can pop the balloon inside and fill it up with candy. Make sure you reseal the hole.
Anyway after this point all I had to do was hang it and make it look pretty.

You end up with a decent home made pinata which acts as a good party game for the kids. My son and all my friends children and my younger cousins enjoyed it. Oddly enough they didn't dive for the candy because they just wanted to beat up the pinata, but whatever, everyone can enjoy this game no matter what your age.

That is how you make a power ranger papier mâché pinata on your own! Enjoy!
-czaR2D2
-czaR2D2
 WHAT YOU'LL NEED:
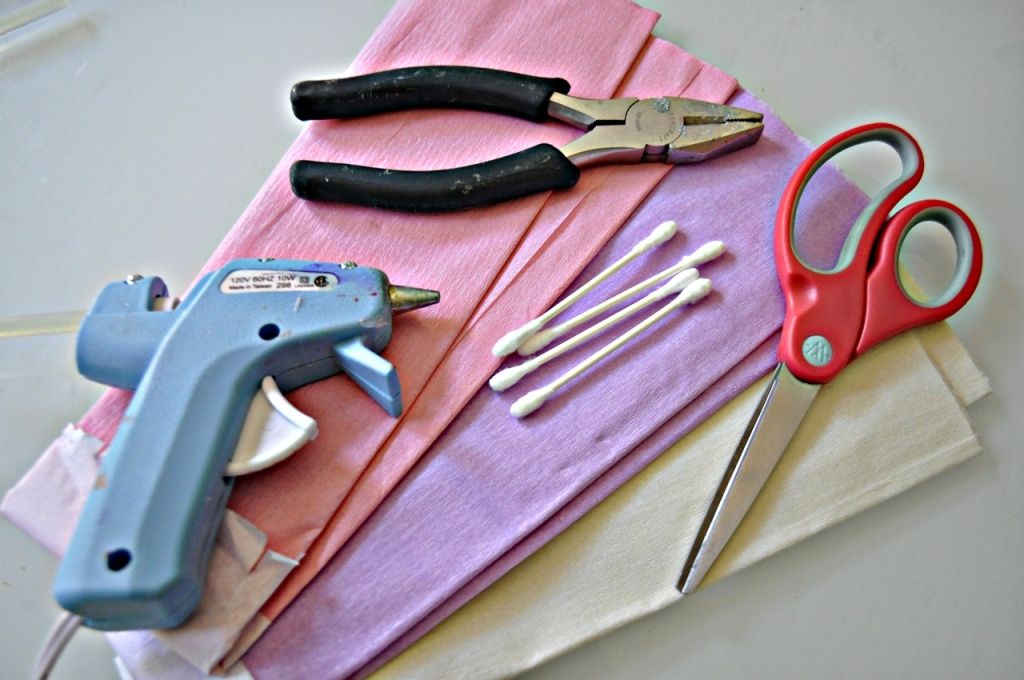 Crepe paper
Scissors
Hot glue gun
Q-tips
Wire cutters or pliers
Ribbon (optional)
INSTRUCTIONS:
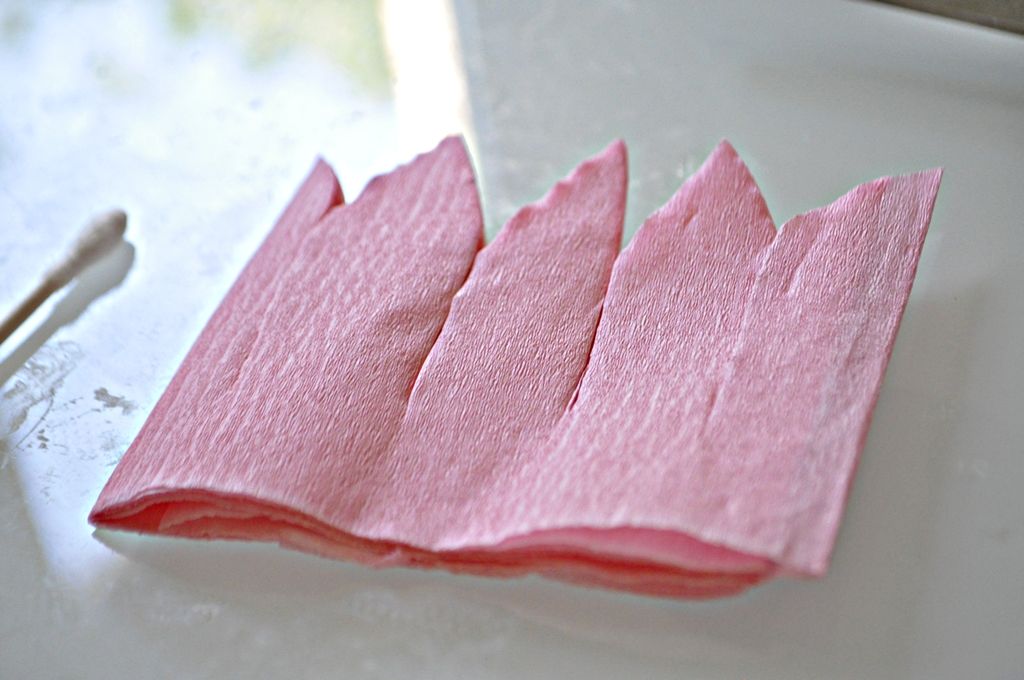
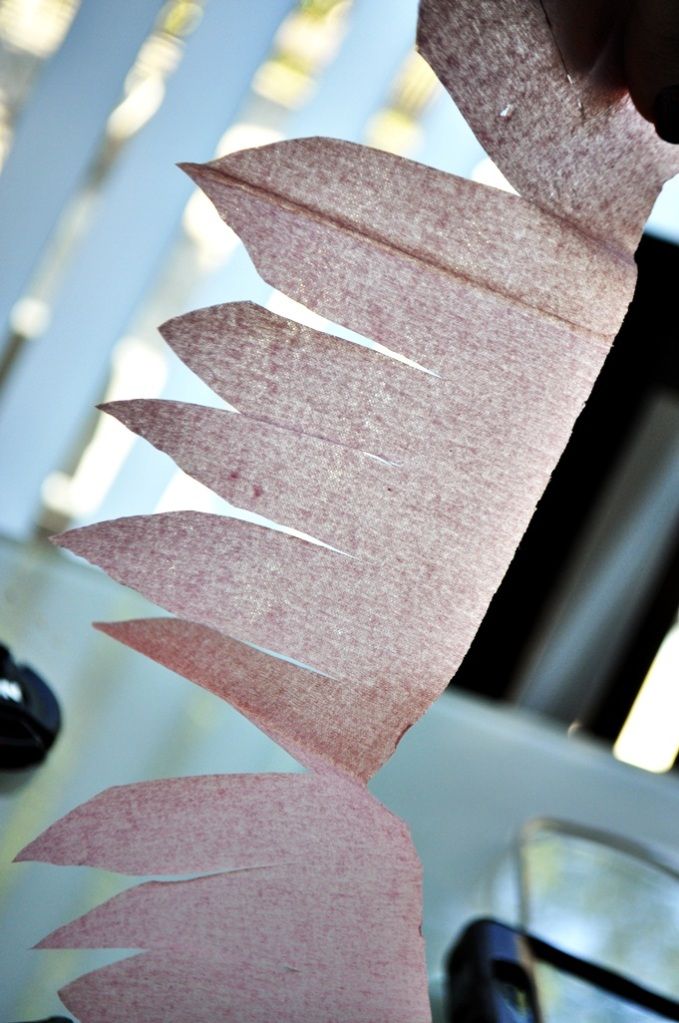
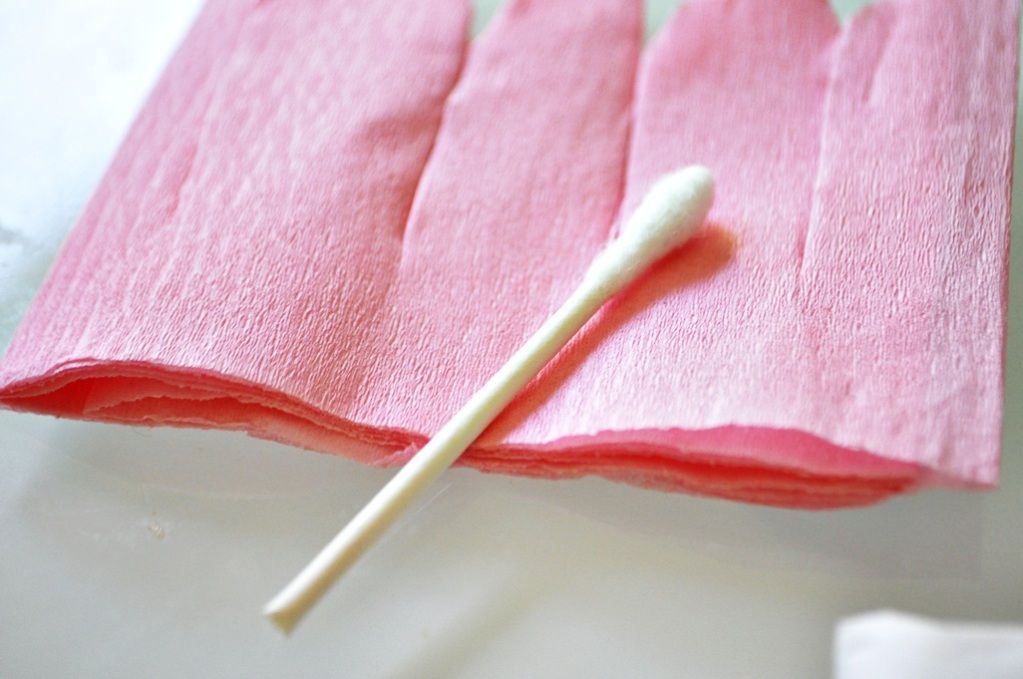
STEP 1: Choosing the colour you want for your crepe paper flower petals, cut a sheet out so that it's dimenions are a height of roughly 2-2.5 inches and a length of 3 ft. Cut the petal shapes out on one side of the crepe paper sheet, leaving the other edge flat. Make sure it the sheet is still connected.
Crepe paper
Scissors
Hot glue gun
Q-tips
Wire cutters or pliers
Ribbon (optional)
INSTRUCTIONS:
STEP 1: Choosing the colour you want for your crepe paper flower petals, cut a sheet out so that it's dimenions are a height of roughly 2-2.5 inches and a length of 3 ft. Cut the petal shapes out on one side of the crepe paper sheet, leaving the other edge flat. Make sure it the sheet is still connected.
 STEP 2: For the stamen and stem, use a q-tip (cotton ear bud), or even a wooden skewer or dowel. If you are using a cotton ear bud, use the wire cutter or pliers to cut off the cotton bud off.
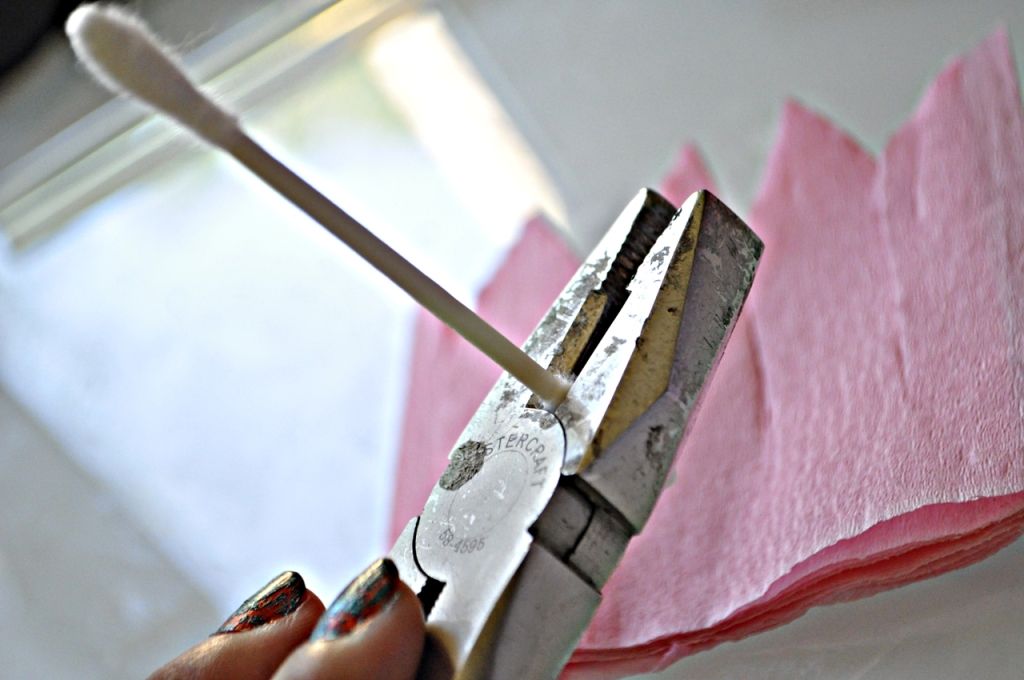
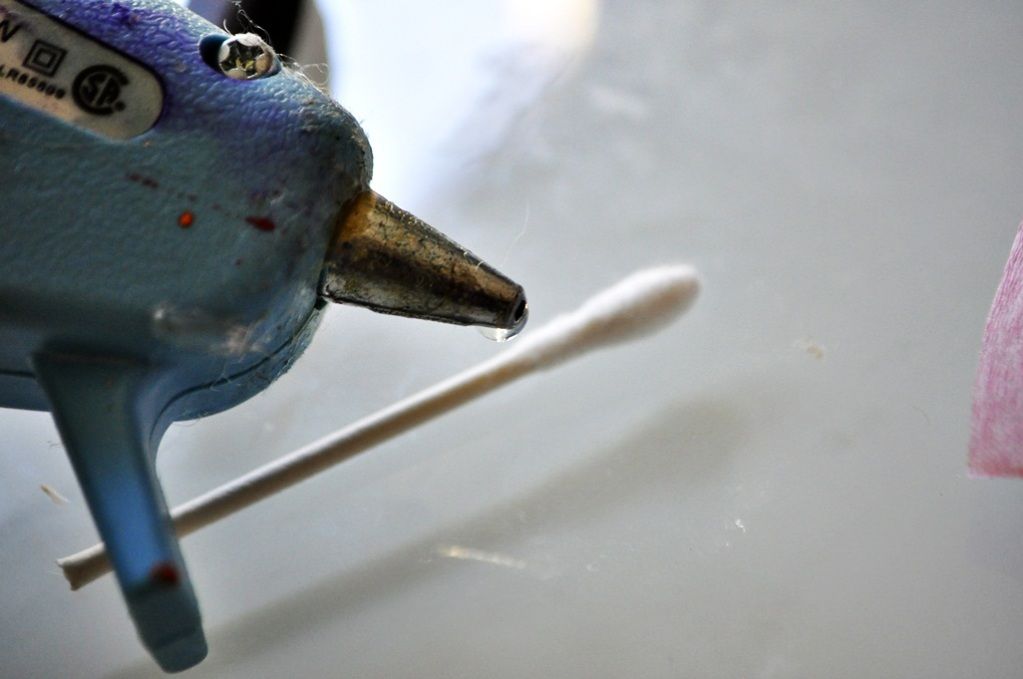
 STEP 3: Apply hot glue to the ear bud. From this point forward, I will be referring the ear bud as the "stamen" because essentially that is what the ear bud is being reproduced as.
 STEP 4: Starting from the edge of the crepe paper petals, start TIGHTLY rolling the sheet onto the stamen where the glue is applied. Be careful not to rip the paper. Continue this until the sheet is finished.
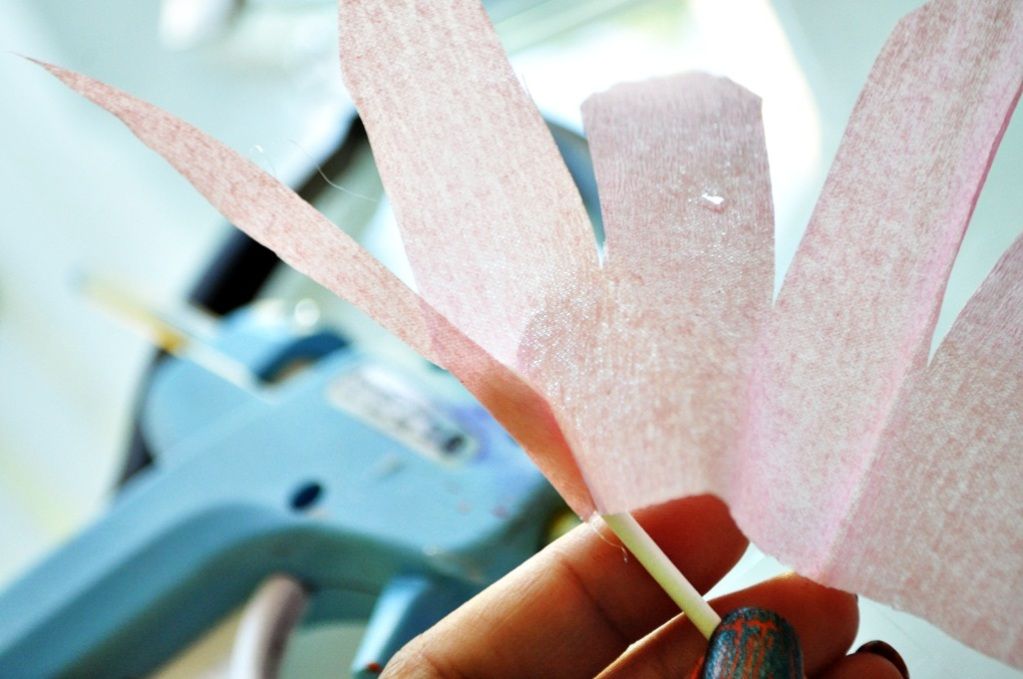
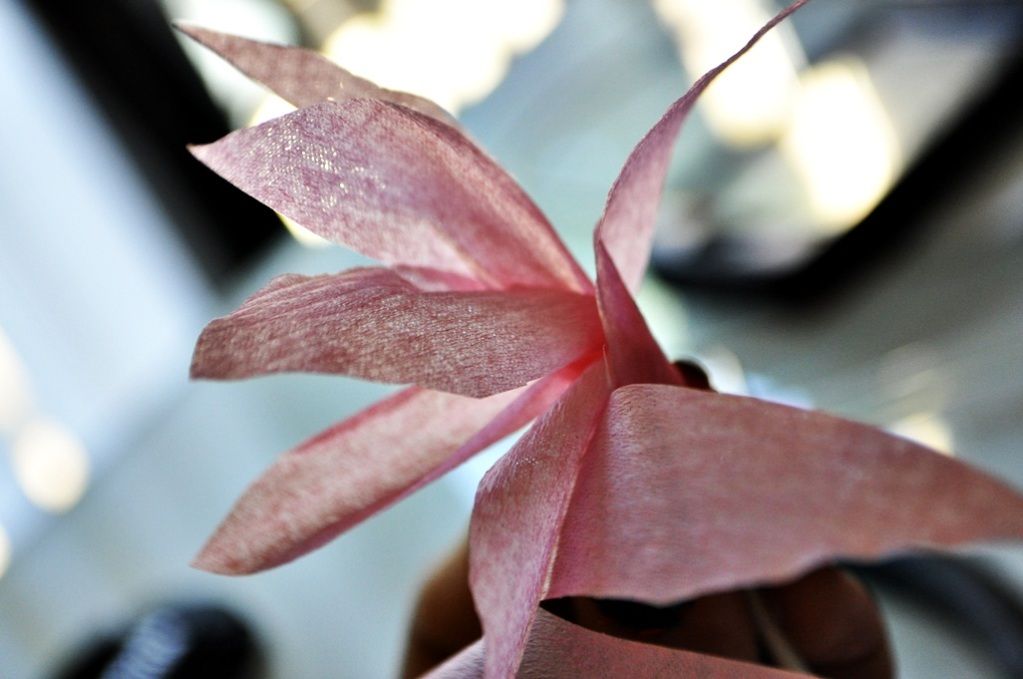
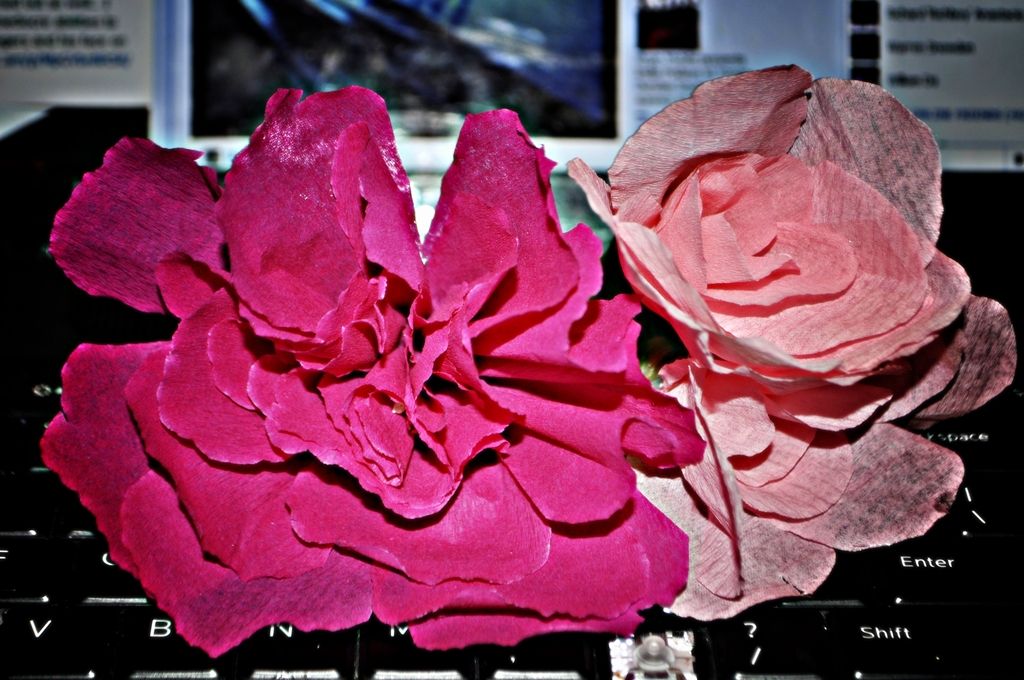
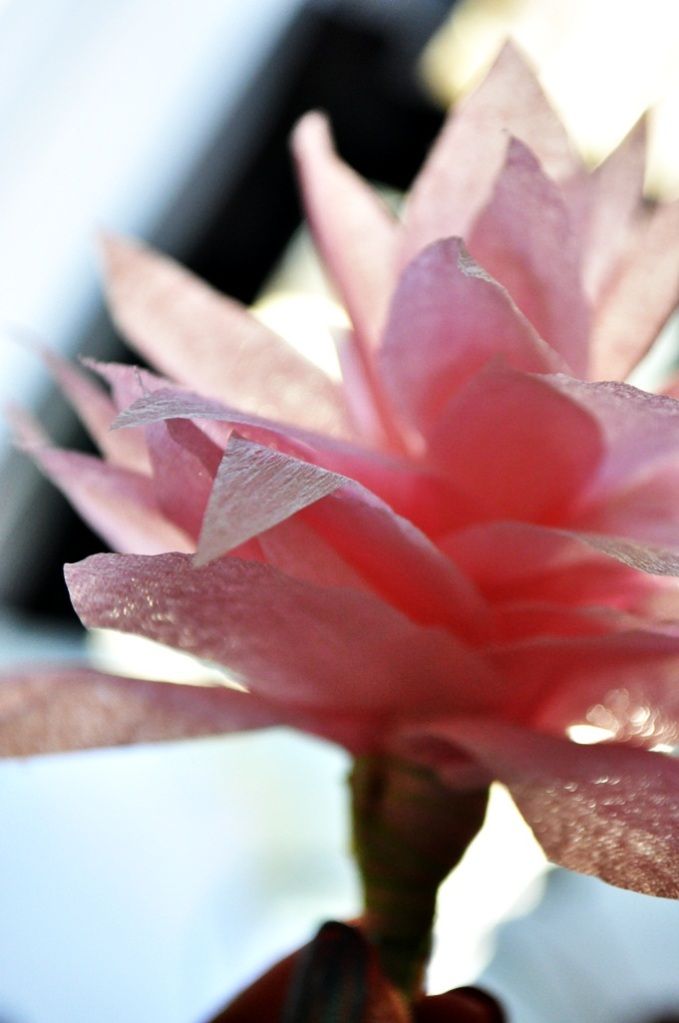
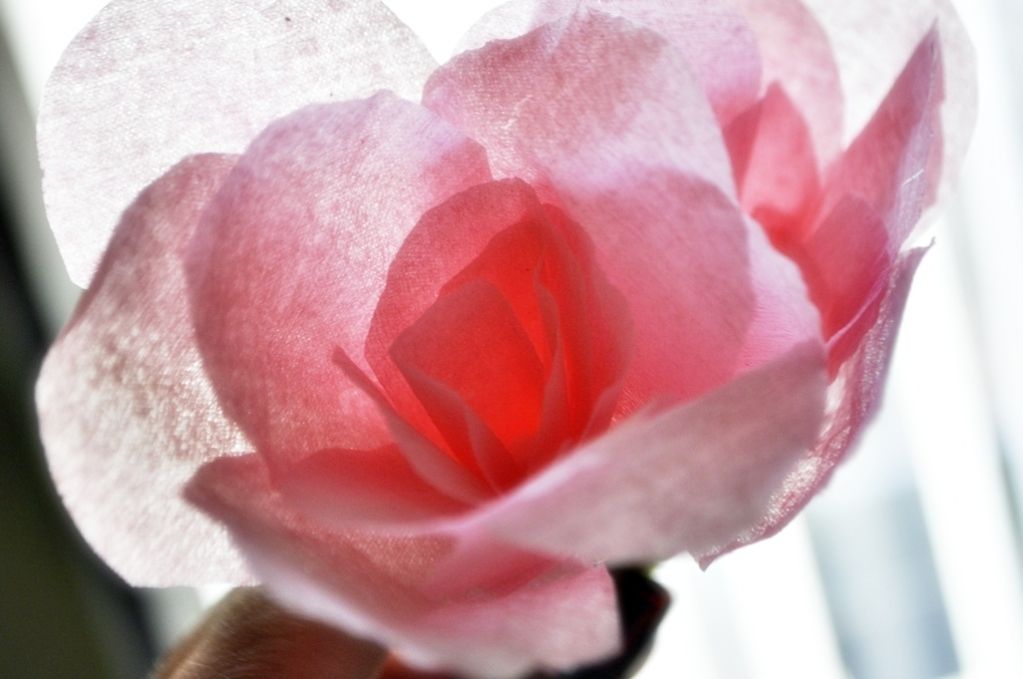
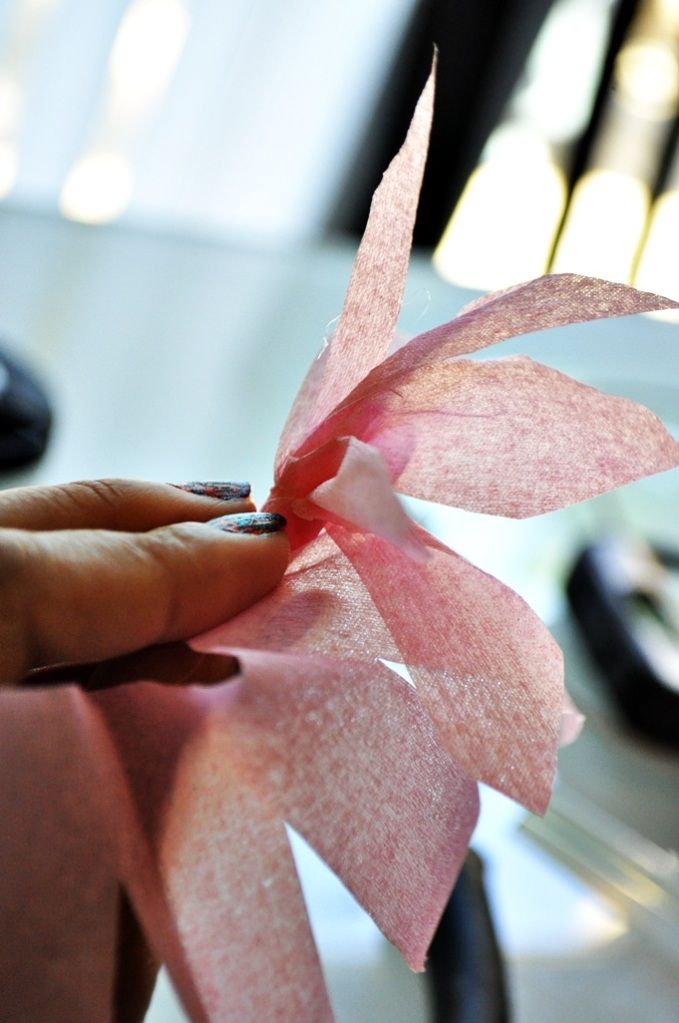 So when you're done, shape up the petals all nice and fluffy-like, it should then look something like this
 *The following steps are optional*
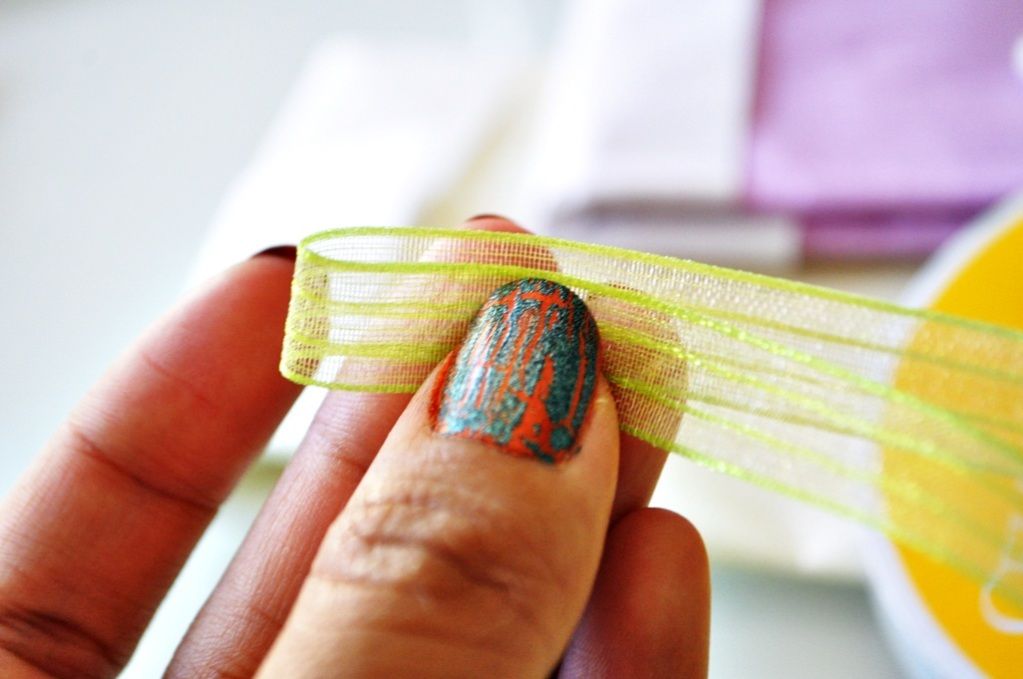
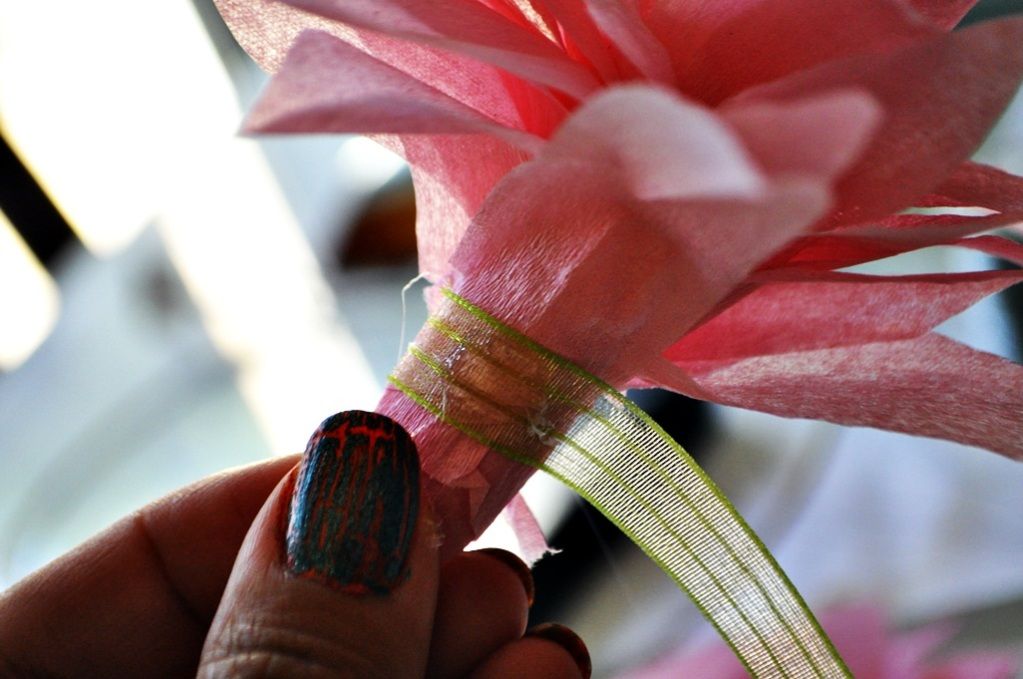
STEP 5: Apply hot glue to the bottom edge of the crepe paper and roll green ribbon over it until the base of the flower is entirely covered. Cut the ribbon, glue secure.
*The following steps are optional*
STEP 5: Apply hot glue to the bottom edge of the crepe paper and roll green ribbon over it until the base of the flower is entirely covered. Cut the ribbon, glue secure.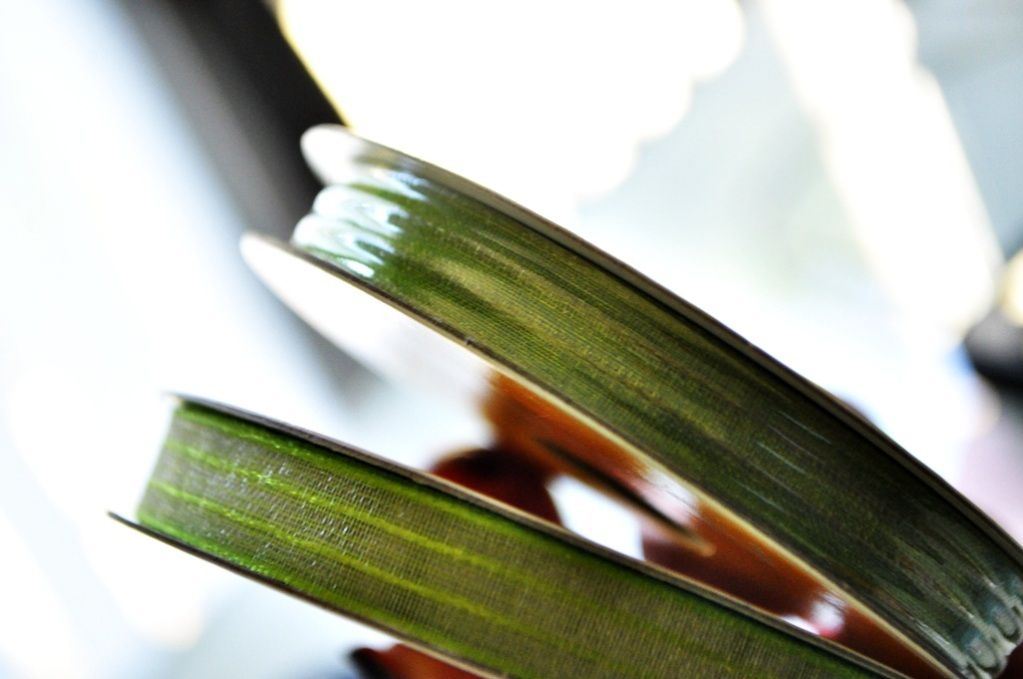
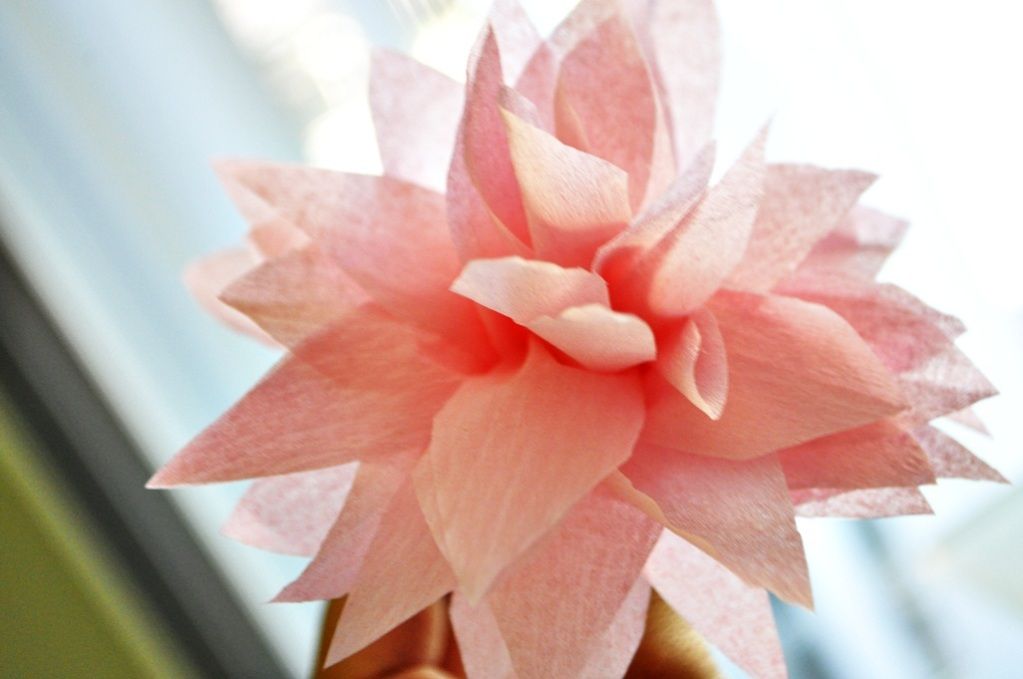
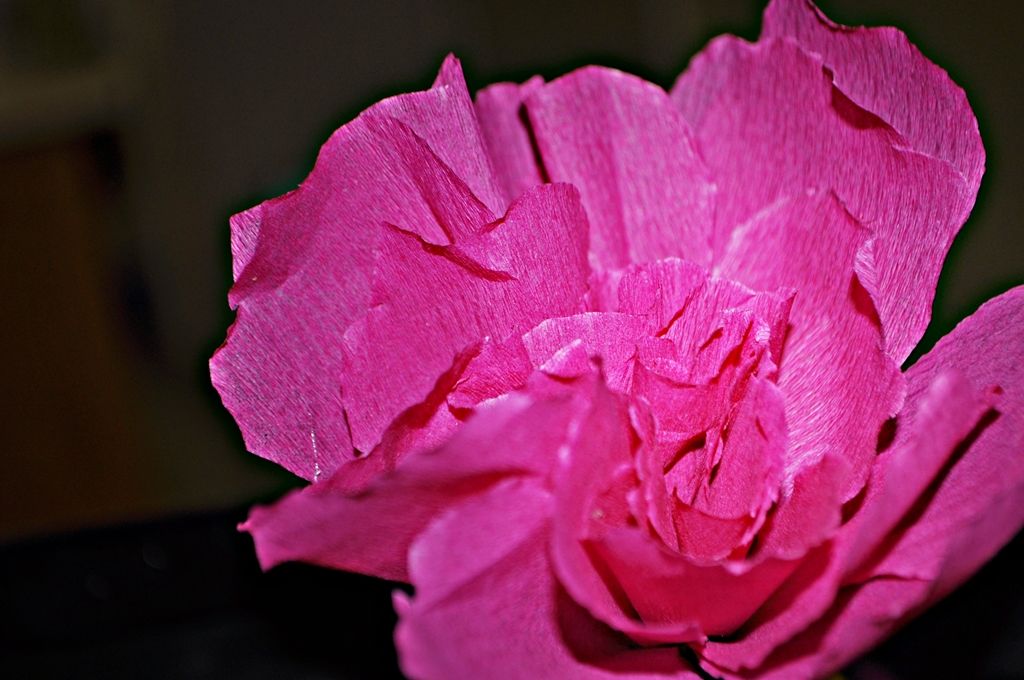
 ET VOILA!
DIY Crepe Paper Flowers!
If you take the time to cut out individual petals, you can also make other types of flowers. but now that you know the basics, you can use your own imagination and creative thinking to customize the design of the flower and the looks and shape of the petals can be entirely unique to your own :)
ET VOILA!
DIY Crepe Paper Flowers!
If you take the time to cut out individual petals, you can also make other types of flowers. but now that you know the basics, you can use your own imagination and creative thinking to customize the design of the flower and the looks and shape of the petals can be entirely unique to your own :)
 Cheers!
czaR2-D2
Cheers!
czaR2-D2
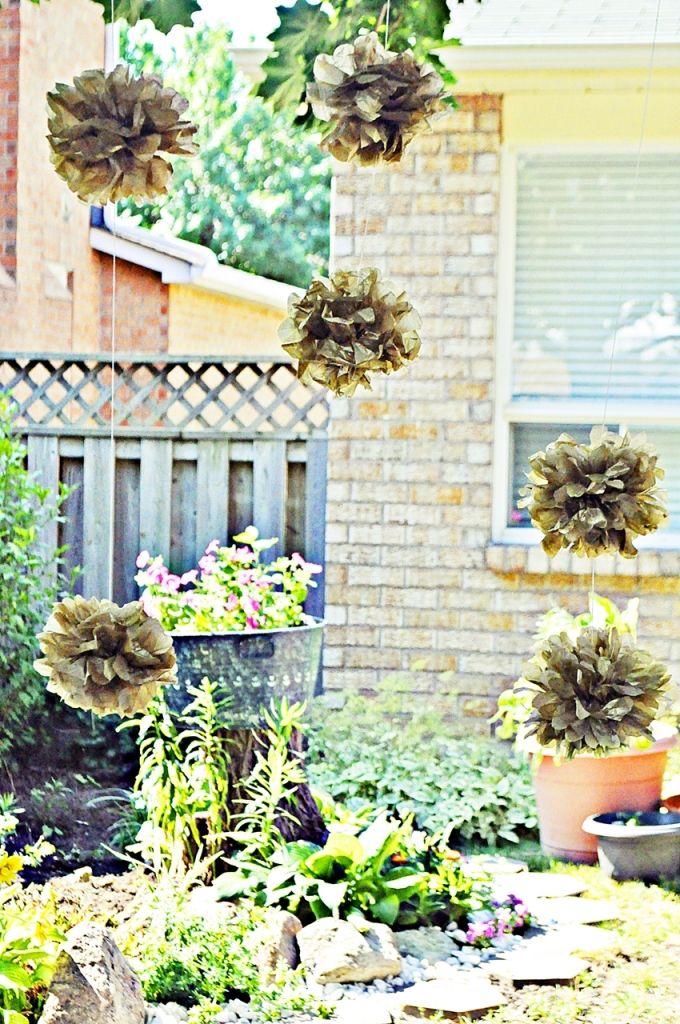 Okay so, my son's birthday party is coming up soon and it's going to be a backyard bbq shpeal, and Chels has offered to help me do the decorations and such. Not that a 3 year old cares for those things, but those who know me know I'm a little wacky and need to have those things done. So here's a tutorial of how to make tissue paper pom poms yourself :)
*They're also known as tissue paper flowers or balls
Okay so, my son's birthday party is coming up soon and it's going to be a backyard bbq shpeal, and Chels has offered to help me do the decorations and such. Not that a 3 year old cares for those things, but those who know me know I'm a little wacky and need to have those things done. So here's a tutorial of how to make tissue paper pom poms yourself :)
*They're also known as tissue paper flowers or balls
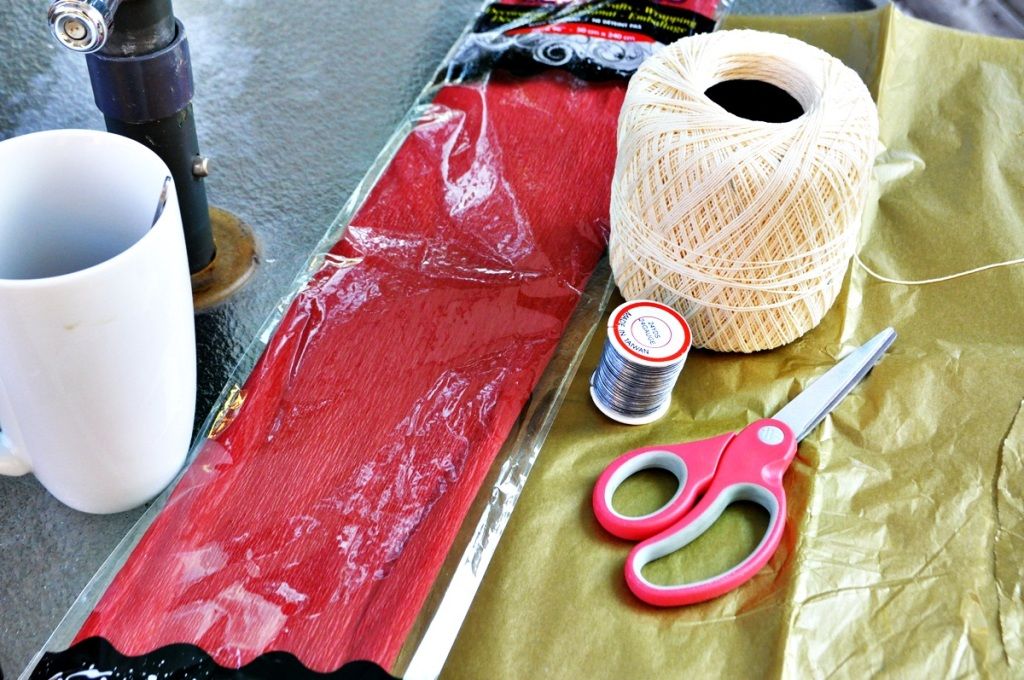 WHAT YOU'LL NEED:
Tissue paper (no picture shown) - You can use whatever colour your heart desires.
Craft wire - They come in different diameters, but 1mm-1.5mm should do the trick)
WHAT YOU'LL NEED:
Tissue paper (no picture shown) - You can use whatever colour your heart desires.
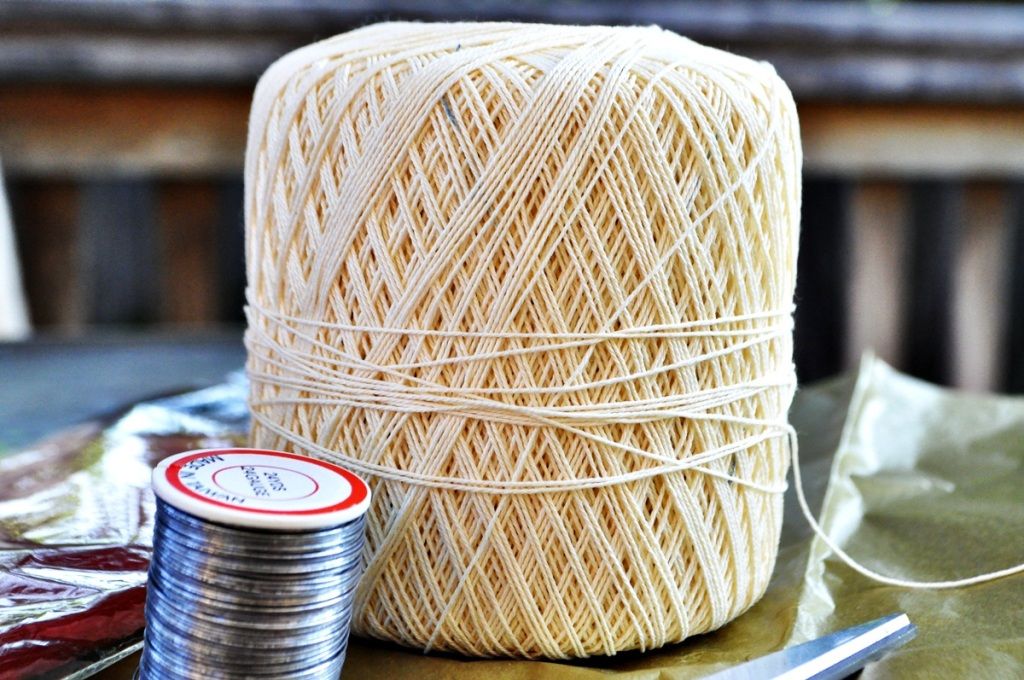
Craft wire - They come in different diameters, but 1mm-1.5mm should do the trick)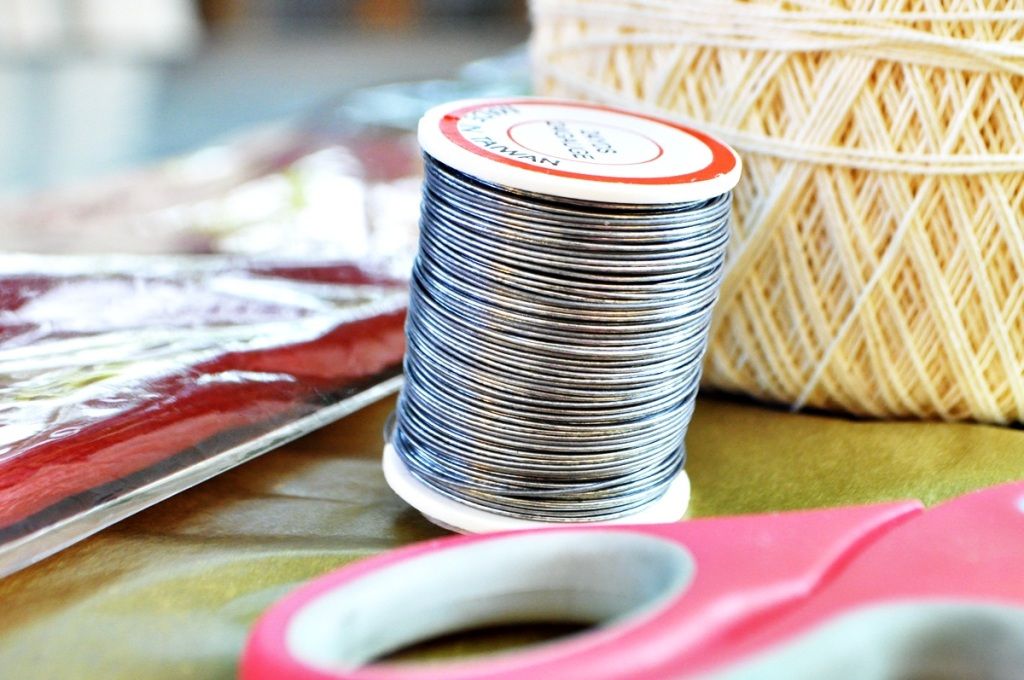 Thread - I personally use crochet yarn because it's thin, but also durable when you need to make chains. I have used fishing line and clear elastic thread in the past because aesthetically it does turn out better, but sometimes the elastic can snap or the knots don't hold. Whatever the case, the choice is yours.
 INSTRUCTIONS:
So essentially you need to know a few things before starting: a) The diameter of your tissue paper pom poms will be the length of your tissue paper. It'll be the length along which you make your "accordion folds", you'll see in a bit. b) If you use too many sheets of tissue paper, your pom pom will be too full and it will look like $#*! c) If you don't use enough sheets of tissue paper, your pom pom will be too sparse and it'll look like...$#*!
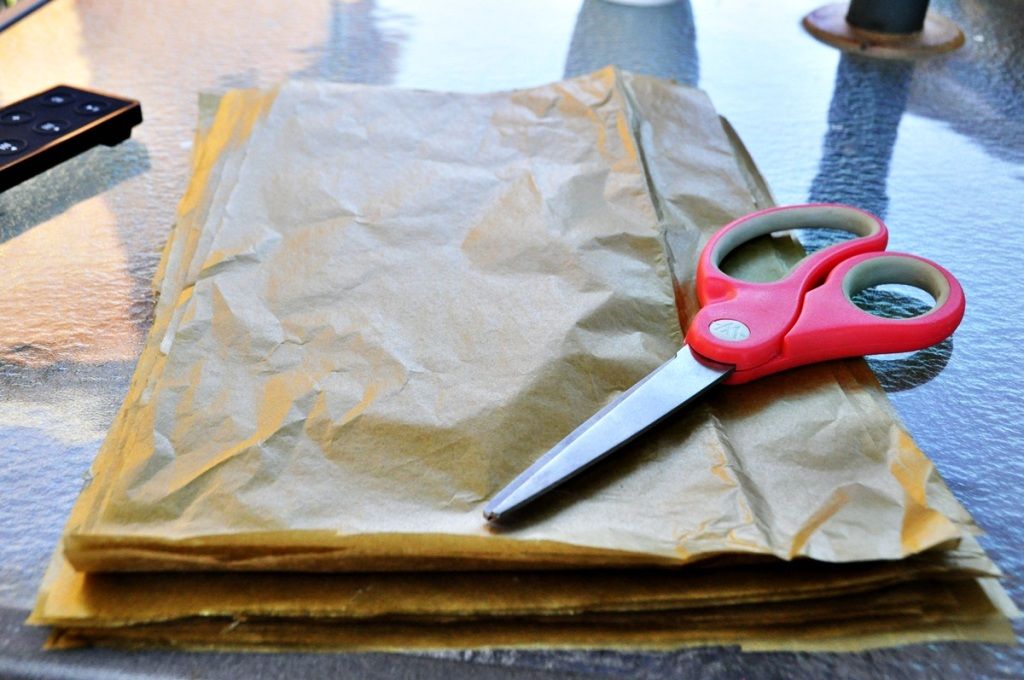
STEP 1: Cut the tissue paper sheets so that the length is equivalent to the diameter you want the pom pom to be. The ones I made for this tutorial are roughly 5 inches and I made the pom poms using one full sheet of tissue paper that I cut up to make 6 sheets altogether.
INSTRUCTIONS:
So essentially you need to know a few things before starting: a) The diameter of your tissue paper pom poms will be the length of your tissue paper. It'll be the length along which you make your "accordion folds", you'll see in a bit. b) If you use too many sheets of tissue paper, your pom pom will be too full and it will look like $#*! c) If you don't use enough sheets of tissue paper, your pom pom will be too sparse and it'll look like...$#*!
STEP 1: Cut the tissue paper sheets so that the length is equivalent to the diameter you want the pom pom to be. The ones I made for this tutorial are roughly 5 inches and I made the pom poms using one full sheet of tissue paper that I cut up to make 6 sheets altogether.
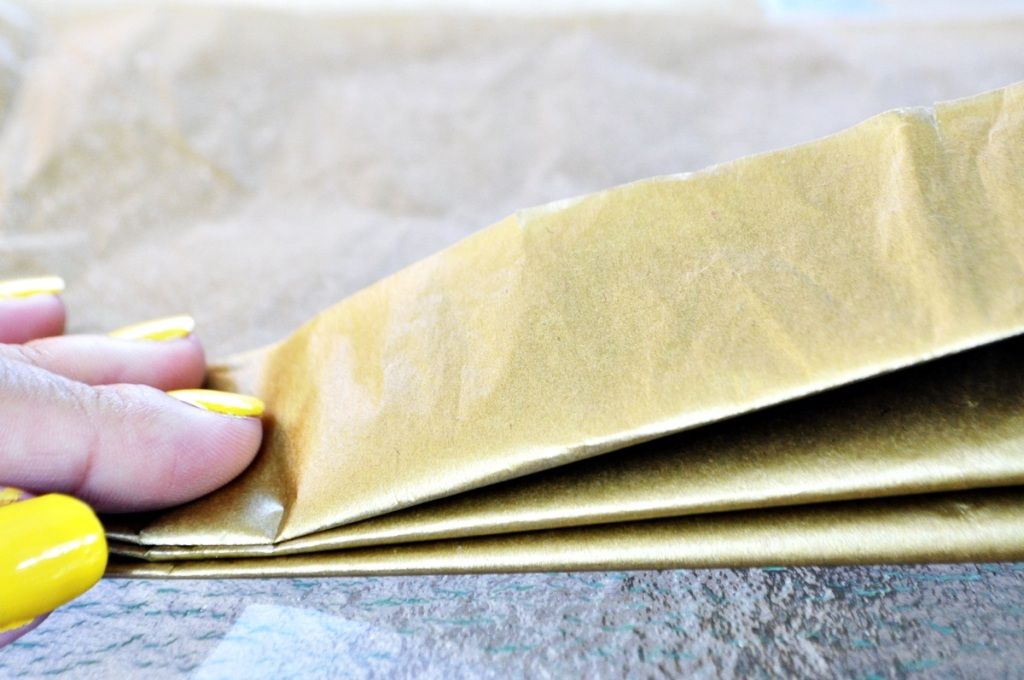
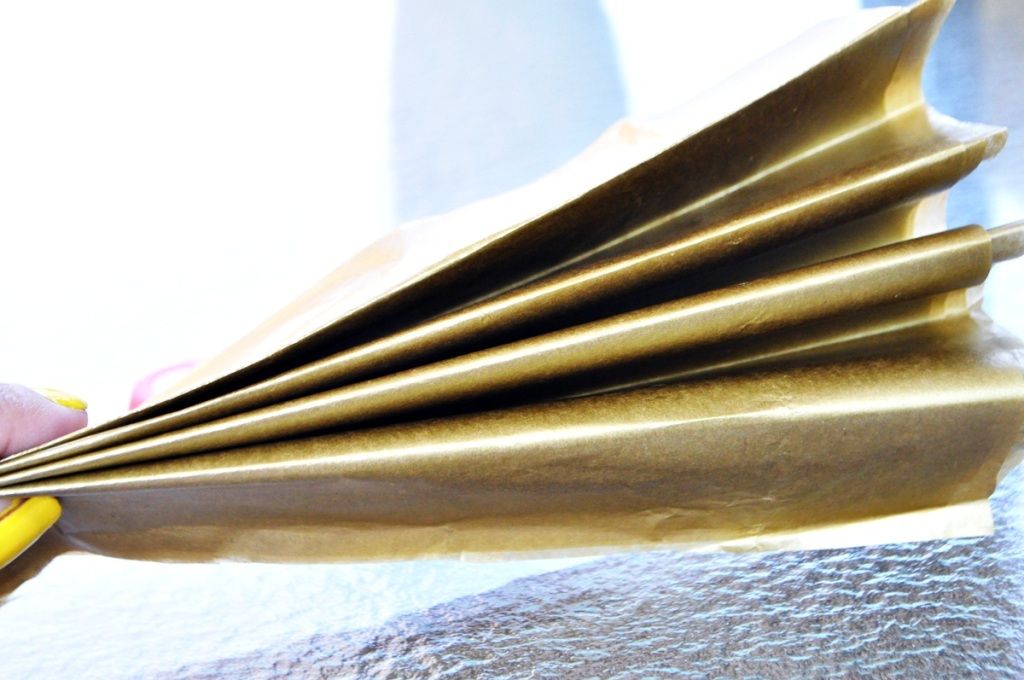
 STEP 2: Accordion fold it the way you would a paper fan.
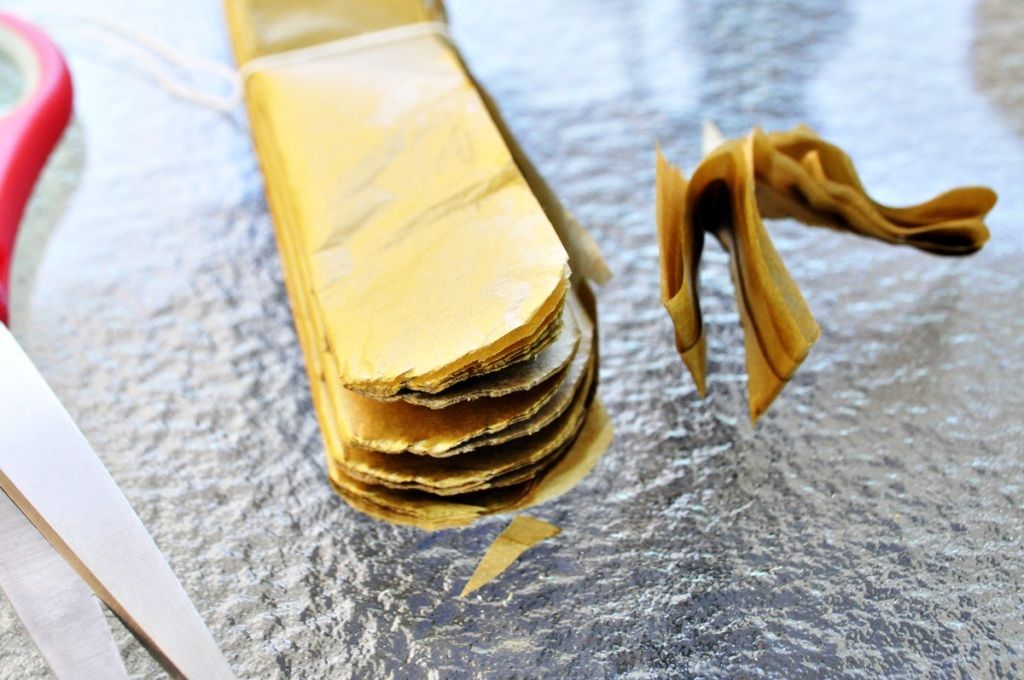
 STEP 3: Cut the edges to mimic a petal shape; this is pretty much essential when you unfold the sheets, otherwise you'll have trouble doing it without ripping the tissue paper.
 STEP 4: Cut roughly 4-5 inches of the craft wire.
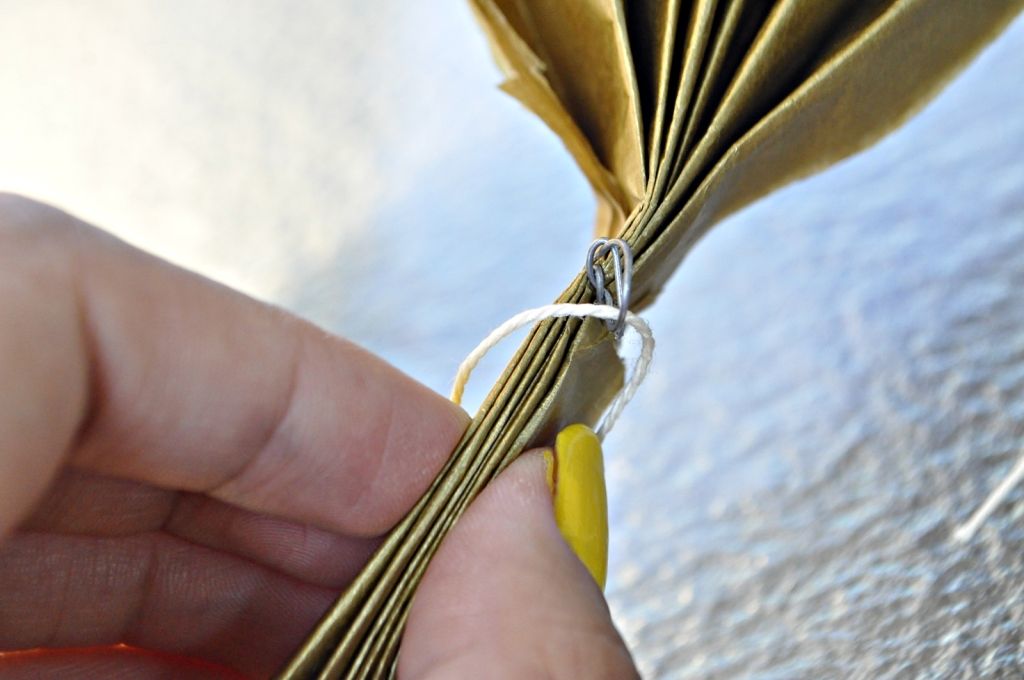
 STEP 5: Secure you're pom pom with the wire by tying it in the middle of your accordion-folded tissue paper. You'll find that "tying it" isn't the term I should be using because it's wire but I think it's understood what I meant. Anyway, Make sure you have at least an inch of wire coming out both sides for the string loops.
 STEP 6: Twist the excess ends of the craft wire so that they form loops
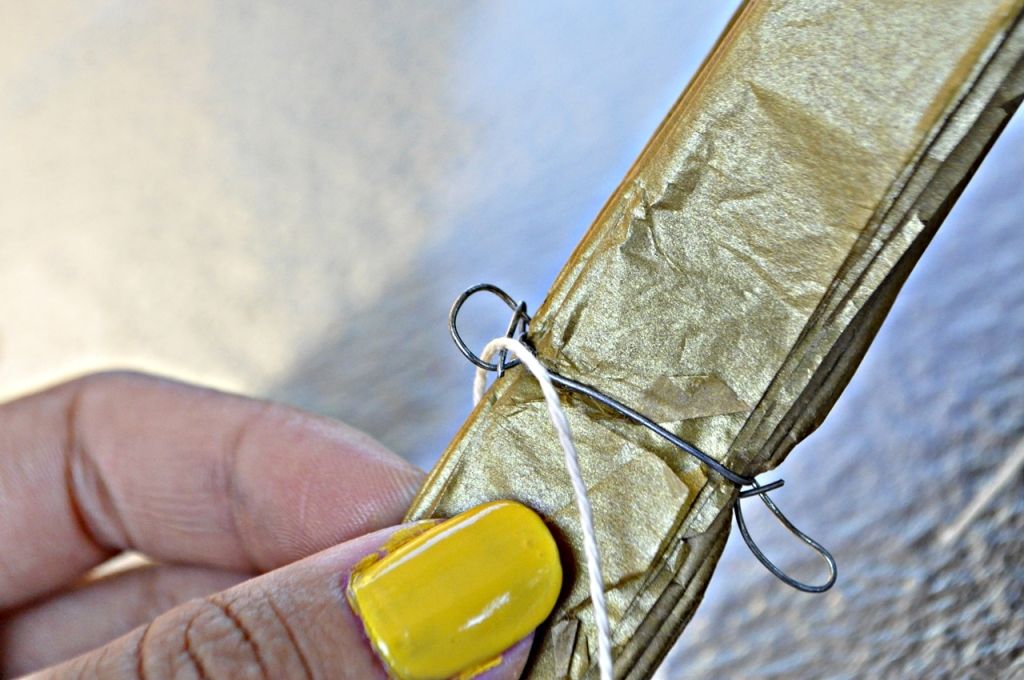
 STEP 7: Using the string you picked to hang/attach the pom poms with, pass it through one of the loops. You can cut the string as long as it needs to be for you to hang it at whatever length you desire.
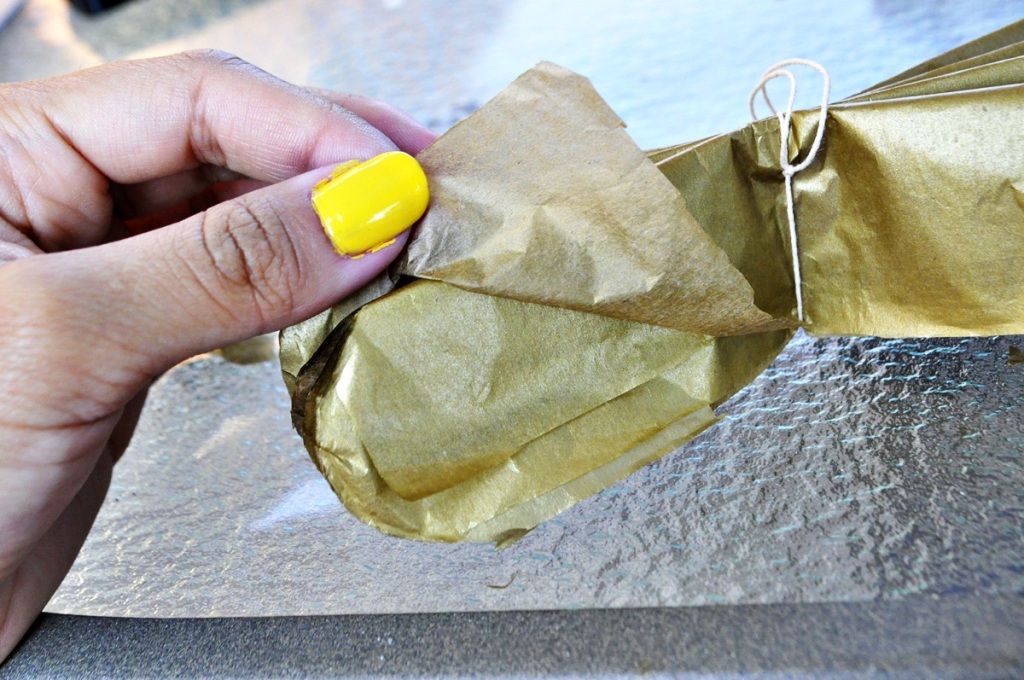
 STEP 8: When the tissue paper is secured by the wire and your string is attached, you can start creating the pom pom effect. All you have to do is separate the tissue paper sheets!
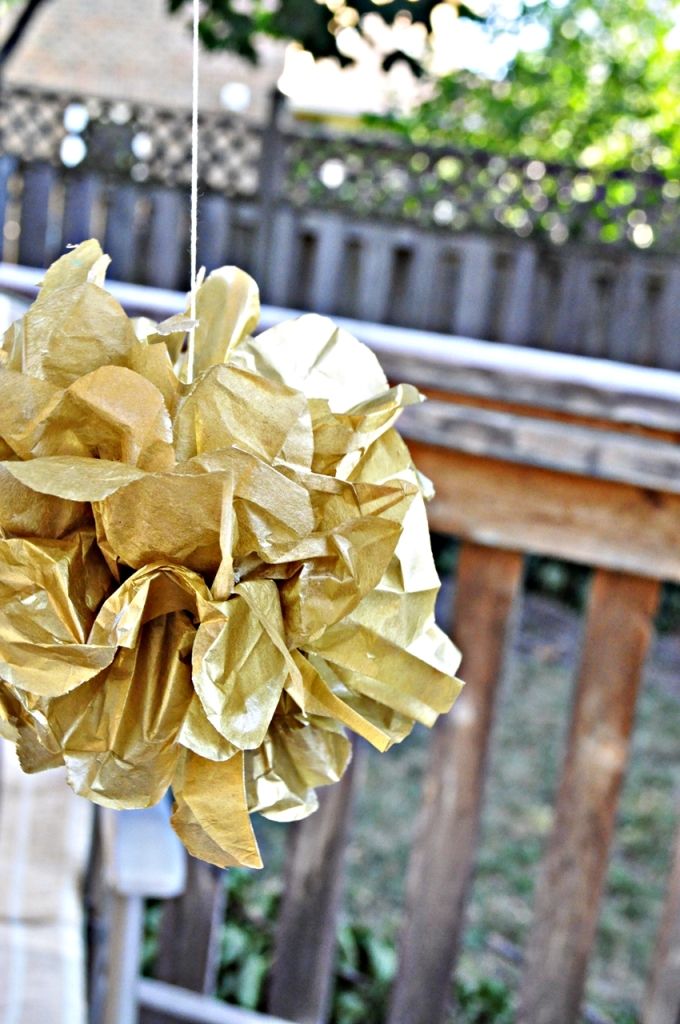
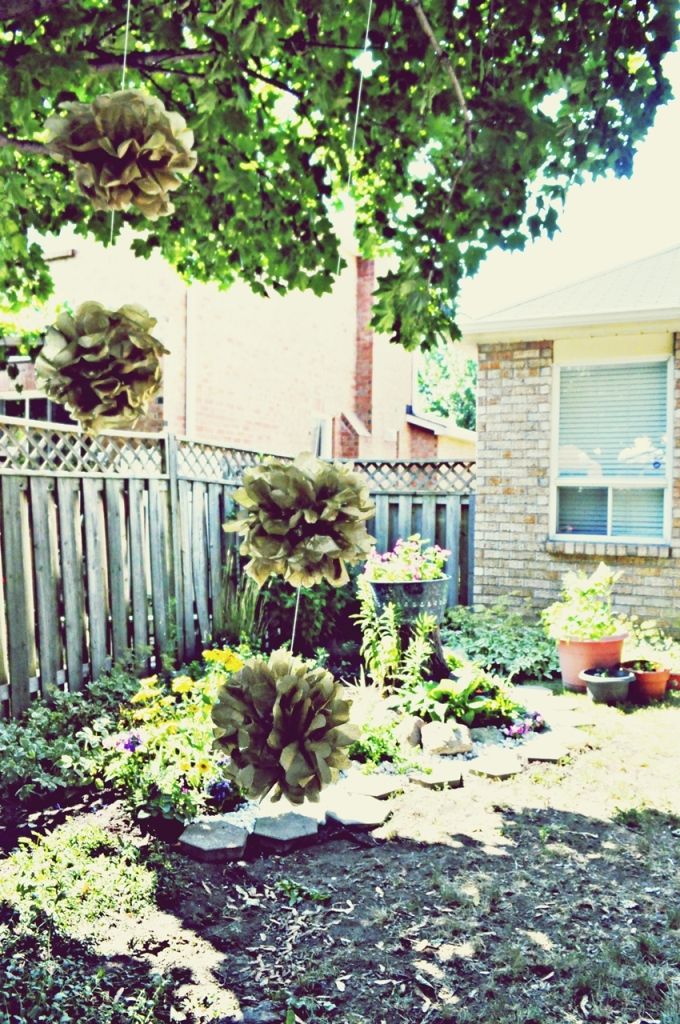
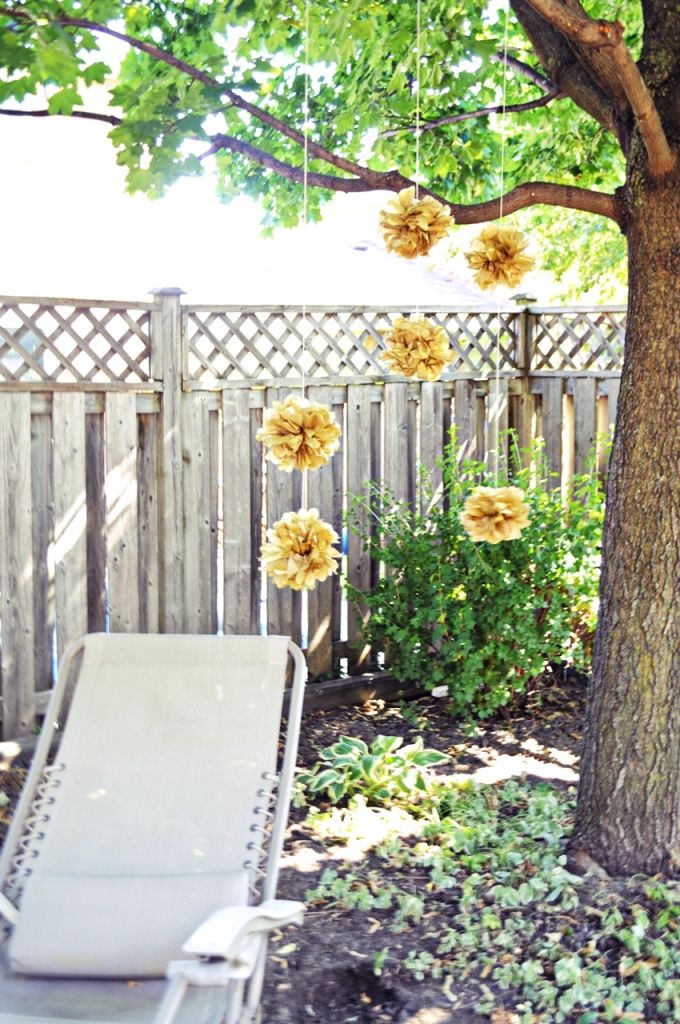
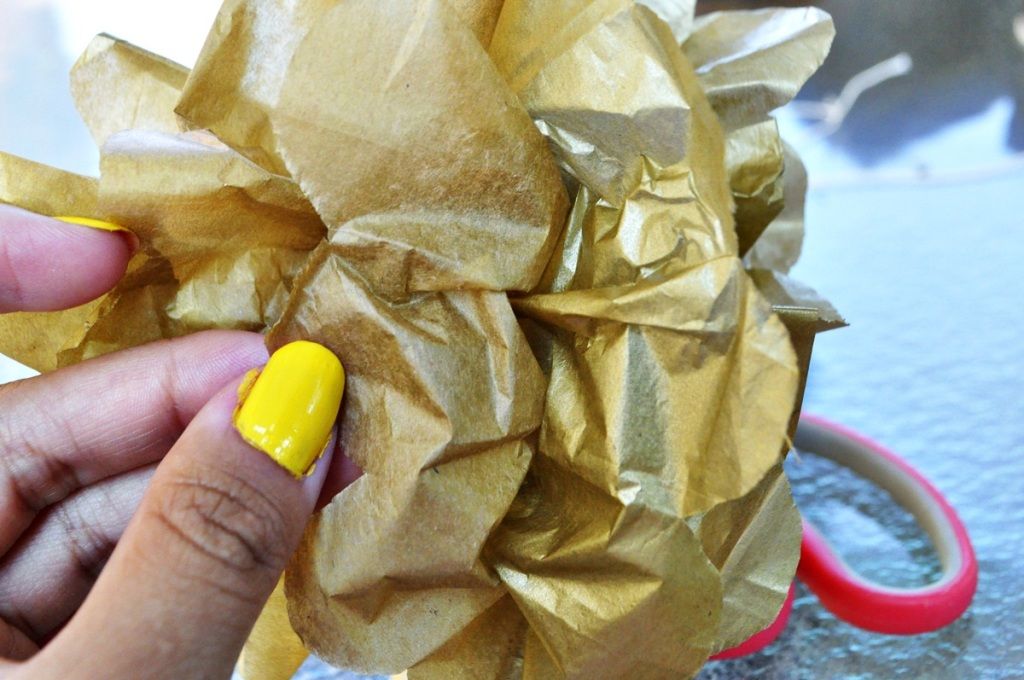 After this point, all you really have to do is fluff up the sheets to shape it out so it looks even. Then all you do is hang it!
Et voila! DIY Tissue Paper Pom Poms
After this point, all you really have to do is fluff up the sheets to shape it out so it looks even. Then all you do is hang it!
Et voila! DIY Tissue Paper Pom Poms