
So for those of you who remember, in April, I decided to upholster an old Ikea chair that my parents had at our old house. When we moved, I wanted a chair to match my bedroom, but nothing I could find matched the colour palette I chose for my bedroom. I decided I'd upholster a chair! So here it is, my tutorial on upcycling a 10 year old Ikea chair.
To be further noted, I apologize for the picture quality, this was all taken on my iPhone 3GS back in April because I had no intention of blogging the process. Most of these pictures have instagram filters as well if you are questioning the colour consistency.

Materials:
Chair
Upholstery Fabric of your choice
Yarn - about 6 150g skeins of yarn. If you decide to use three colours the way I did, get two skeins for each colour
Hammer
Quilt Batting (optional)
Scissors
Plain, white flannel
Fabric/Sewing Pins (A LOT!)
1.5 inch Foam - buy as much as you need, go to your local fabric store to purchase it by the meter.
Staple Gun
Staple Gun Staples - make sure that the staples you use coordinate with your staple gun, and make sure the size makes sense with what you're doing. If you're using thicker foam, use a thicker staple size. My staple gun required T50 series staples and I ended up grabbing 1/2 inch AND 3/8 inch staples.

The first thing you'll want to do is finger knit! You can google or youtube a finger knitting tutorial online because that's a process separate to the tutorial I'm demonstrating here.
Anyway, make sure you have enough for the back of your chair, or for however much of the chair you wish to upholster with it.
Once you've finger knitted a sufficient amount, close off the stitch and put it aside for now.

Next you'll need the chair, the foam, scissors, the staple gun and staples, and a hammer.
Cut the foam so that its edges exceed about 4 inches over each side of the chair. Pull tightly on each edge and staple to the back and bottom of the chair so that it looks like what I've done in the picture. Continue this process throughout.

Next, you'll need the plain white flannel. Keep in mind that you don't need white, you can use whatever colour you want for the underlay fabric of the finger knitted portion. Upholster the fabric to the chair back tightly so as to completely avoid folds and wrinkles in the fabric.

Take your strands of finger knitted yarn, and begin pinning them to the chair in whatever pattern you choose. Customize your design any way you like, but be sure to pin it back far enough that the edges of the flannel is unseen.

As you go up, you're going to need to staple the knitted yarn to the back of the chair as well. I sewed mine in by hand, but I don't advise that unless you want to have bloody hands for a while.

It should look something like this, make sure to lightly pull on the strands to see if they're tight enough, if anything comes loose, just make sure to staple it tightly.
Use the upholstery fabric of your choice, for myself, I used left over fabric from the throw pillow cases I made for my bed. This particular fabric is a light blue bridal satin, that being said it's slightly pricier for a plain fabric that you could easily purchase for half the rate per meter.
Upholster this fabric to the seat of the chair. Pull tightly when stapling the fabric to ensure a smooth seat.
TIP For a more comfortable seat from the previously wooden surface, upholster the fabric WITH the cotton quilt batting. It makes a significant different if you're all about ass-savvy comfort

If you're anything like me, you'll find a way to make this work with the room that you're putting this piece of upcycled furniture in. It looks really good with my room as a whole but in this particular picture, that's hard to tell.
And that's how you upholster a plain, 10 year old IKEA chair.
ENJOY :)


 WHAT YOU'LL NEED:
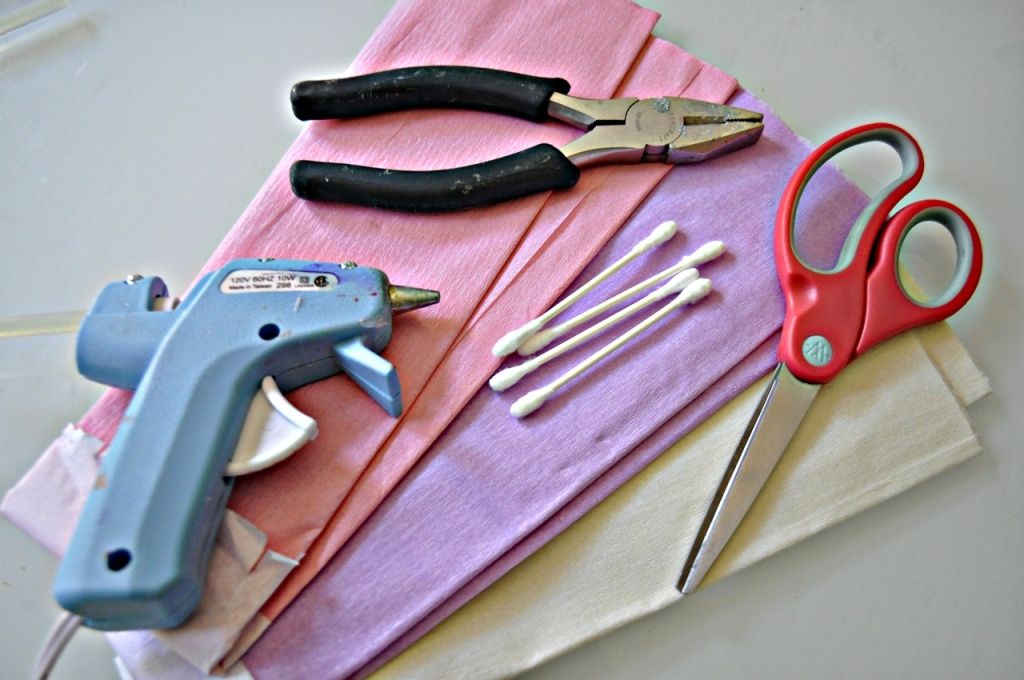 Crepe paper
Scissors
Hot glue gun
Q-tips
Wire cutters or pliers
Ribbon (optional)
INSTRUCTIONS:
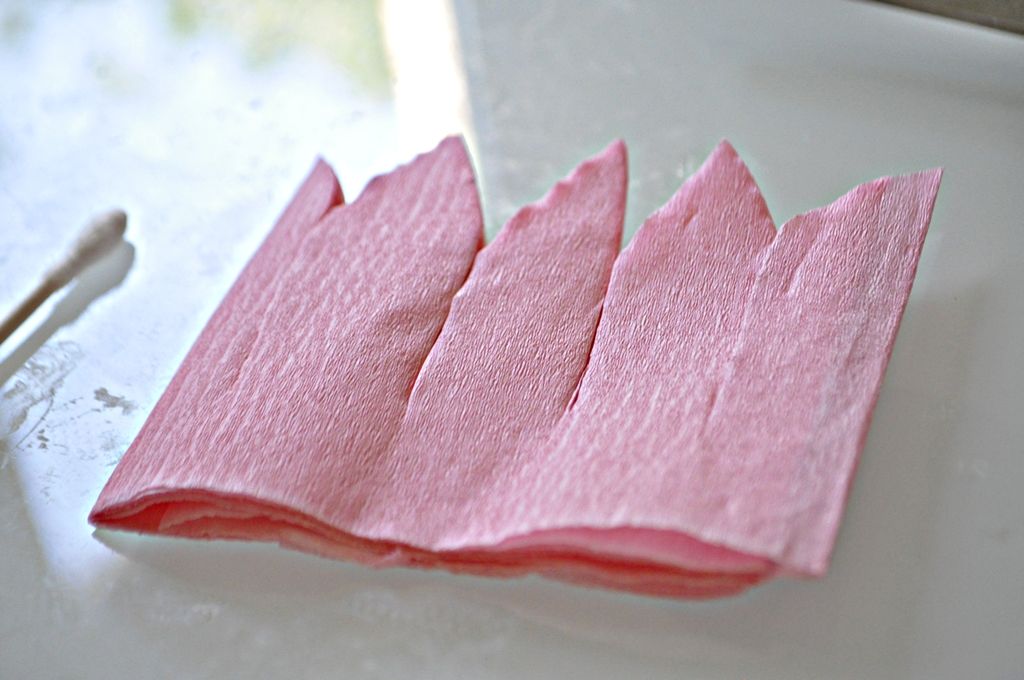
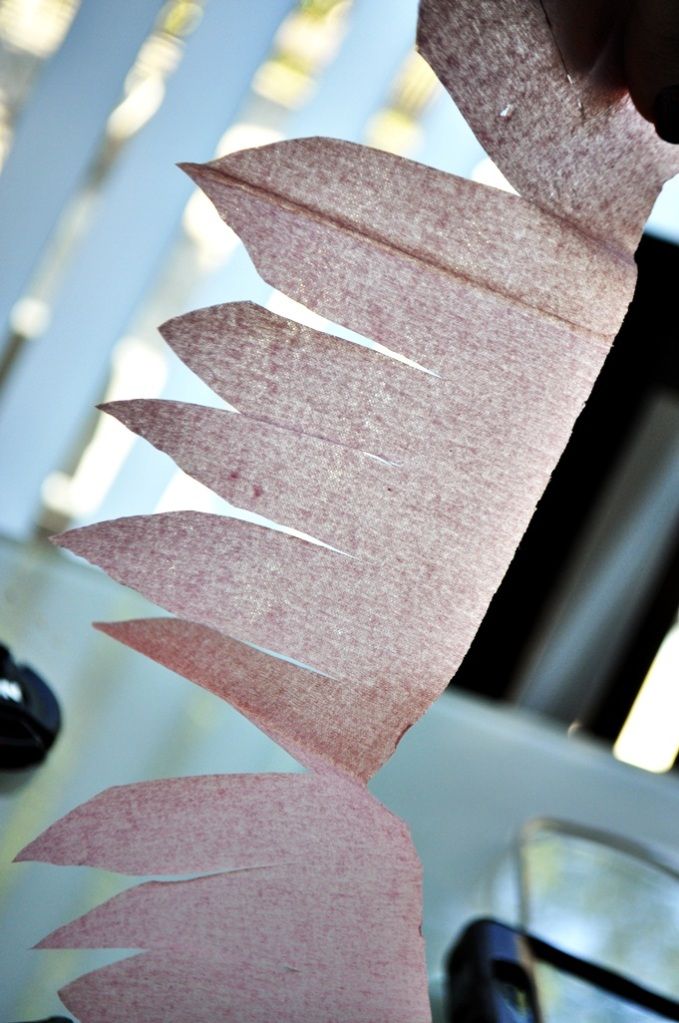
STEP 1: Choosing the colour you want for your crepe paper flower petals, cut a sheet out so that it's dimenions are a height of roughly 2-2.5 inches and a length of 3 ft. Cut the petal shapes out on one side of the crepe paper sheet, leaving the other edge flat. Make sure it the sheet is still connected.
Crepe paper
Scissors
Hot glue gun
Q-tips
Wire cutters or pliers
Ribbon (optional)
INSTRUCTIONS:
STEP 1: Choosing the colour you want for your crepe paper flower petals, cut a sheet out so that it's dimenions are a height of roughly 2-2.5 inches and a length of 3 ft. Cut the petal shapes out on one side of the crepe paper sheet, leaving the other edge flat. Make sure it the sheet is still connected.
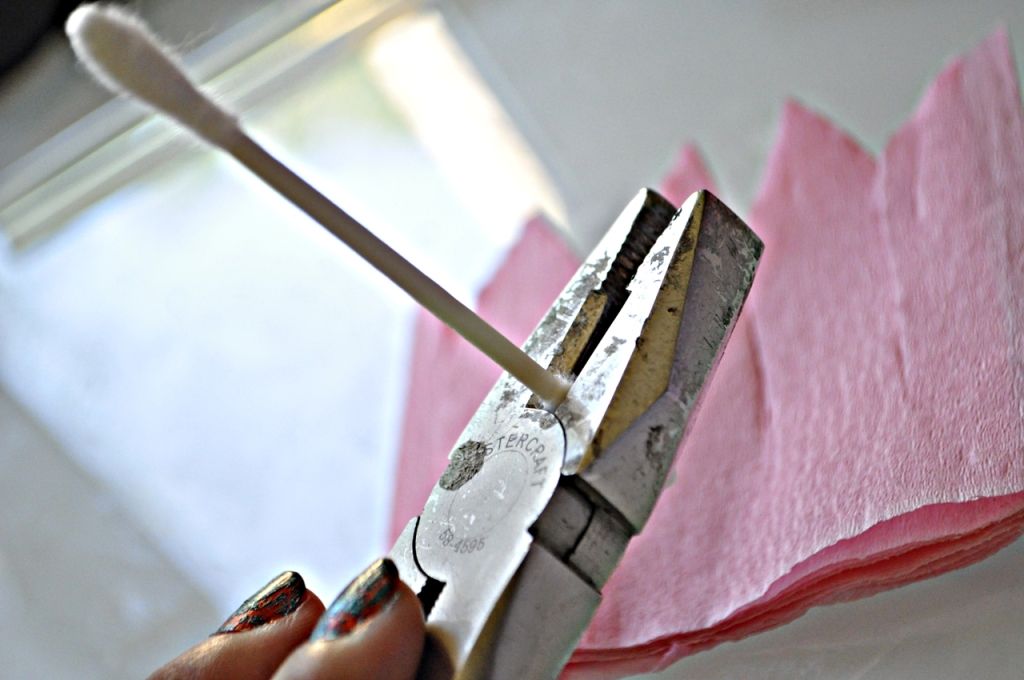
 STEP 2: For the stamen and stem, use a q-tip (cotton ear bud), or even a wooden skewer or dowel. If you are using a cotton ear bud, use the wire cutter or pliers to cut off the cotton bud off.
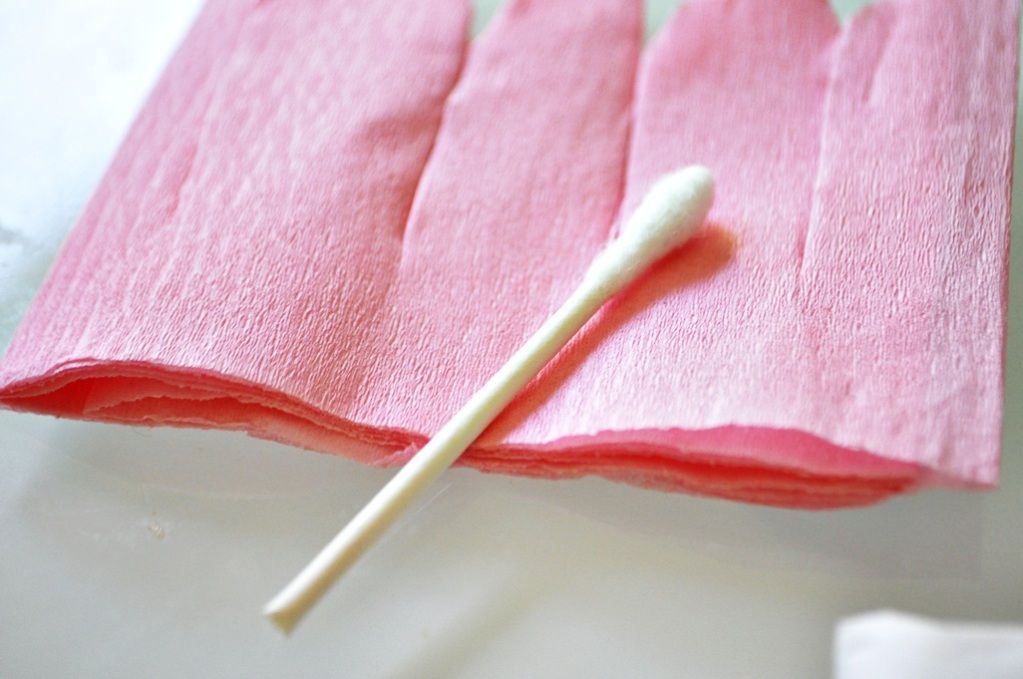 STEP 3: Apply hot glue to the ear bud. From this point forward, I will be referring the ear bud as the "stamen" because essentially that is what the ear bud is being reproduced as.
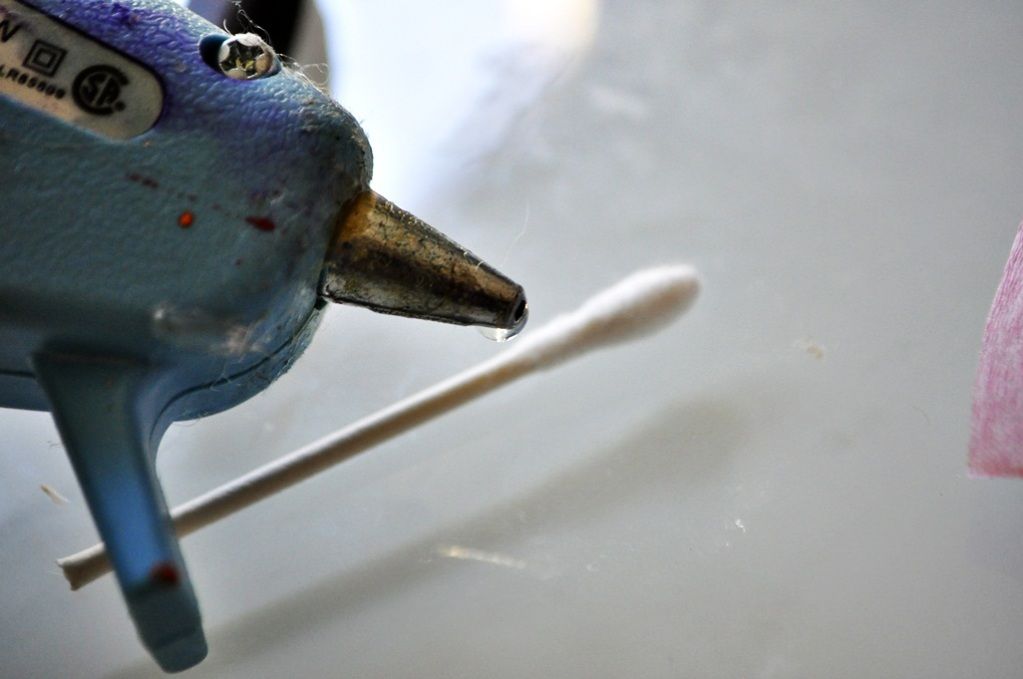 STEP 4: Starting from the edge of the crepe paper petals, start TIGHTLY rolling the sheet onto the stamen where the glue is applied. Be careful not to rip the paper. Continue this until the sheet is finished.
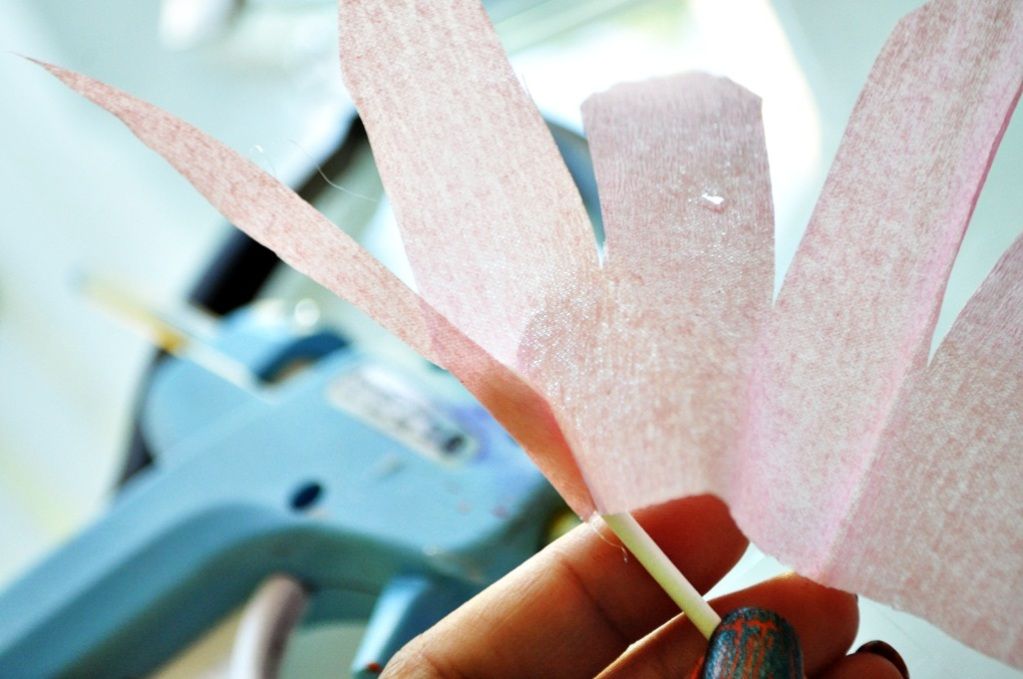
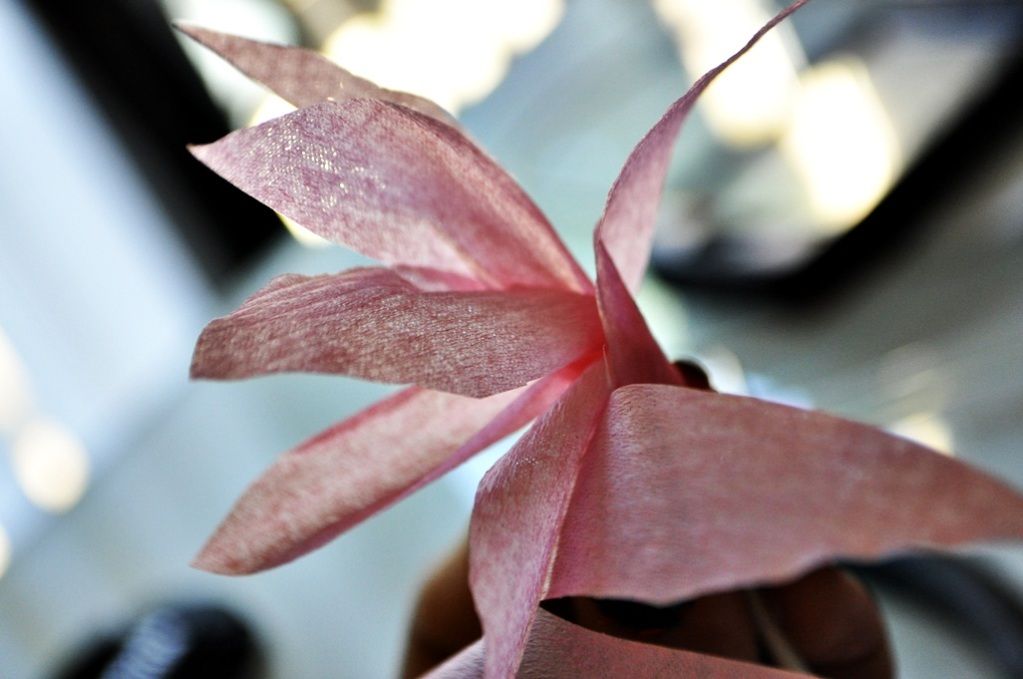
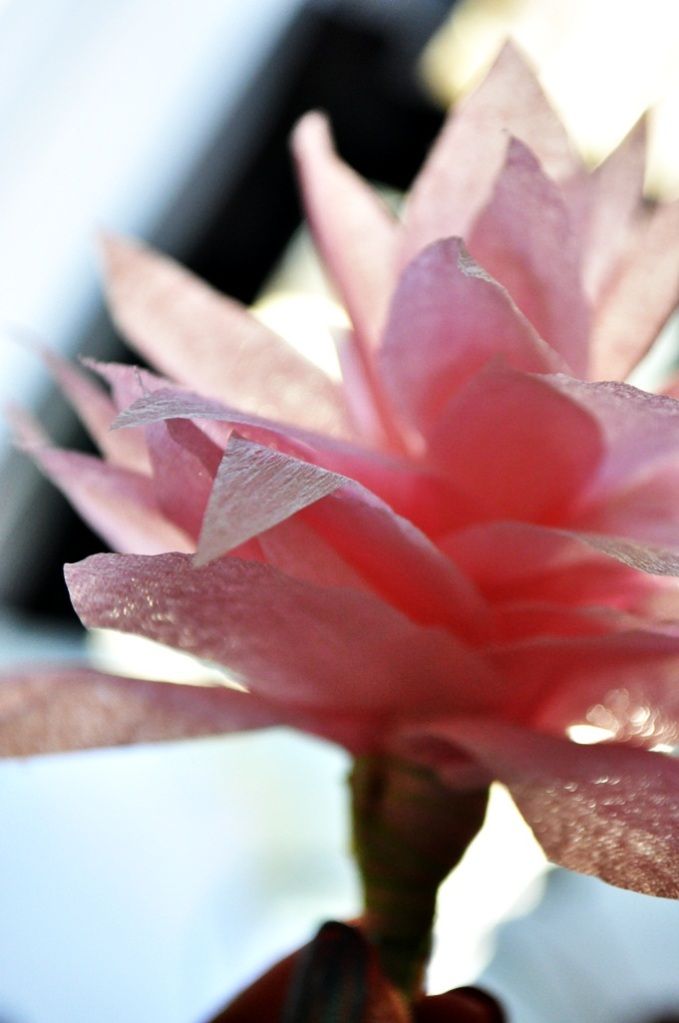
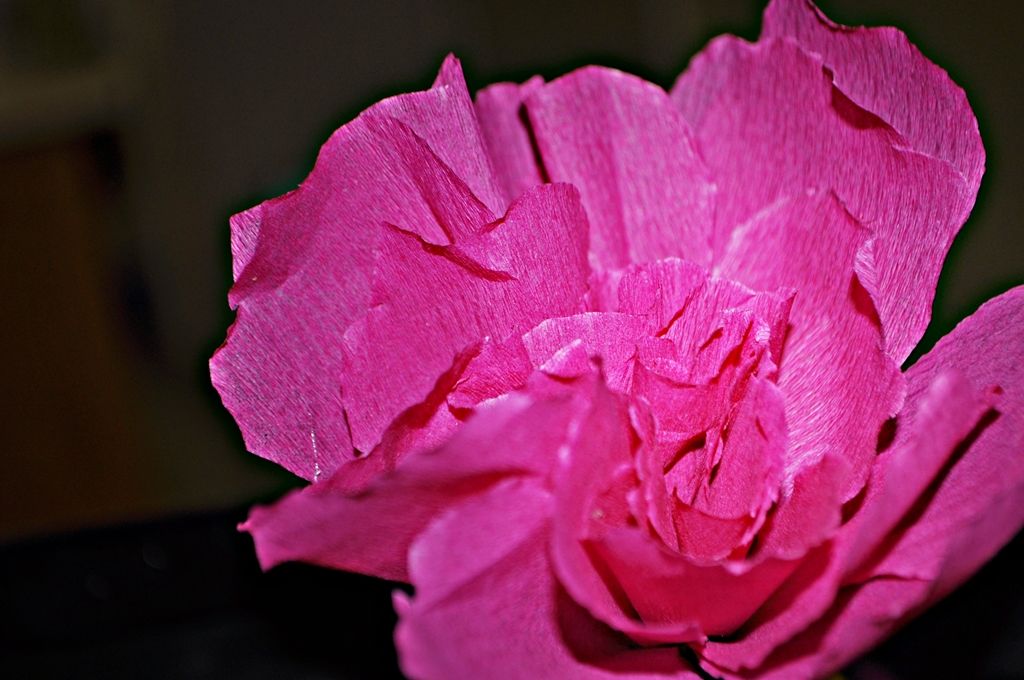
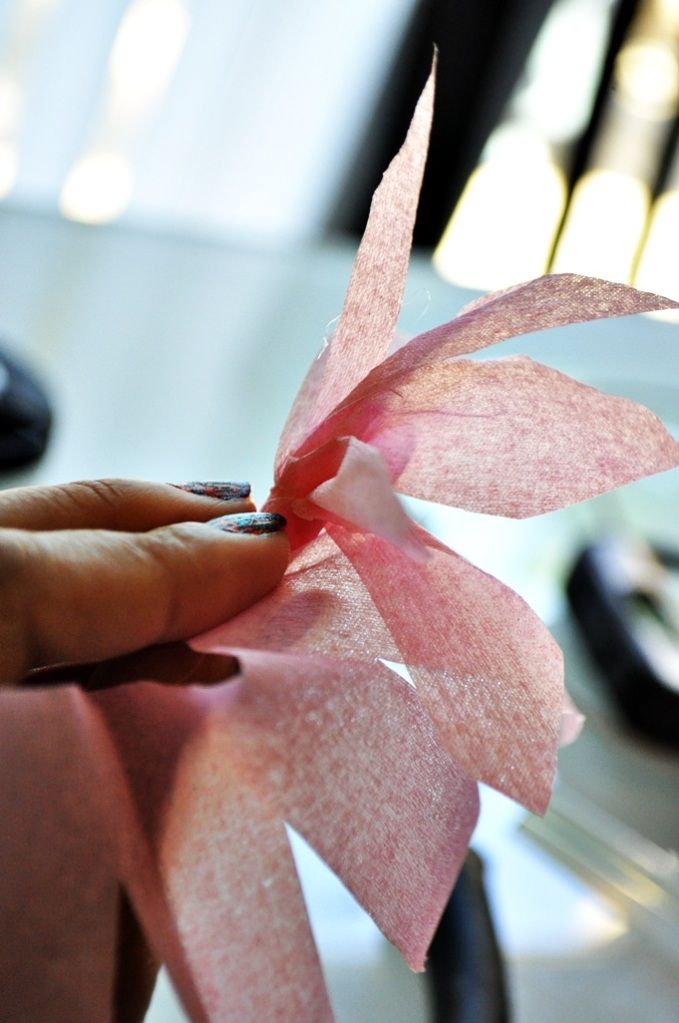 So when you're done, shape up the petals all nice and fluffy-like, it should then look something like this
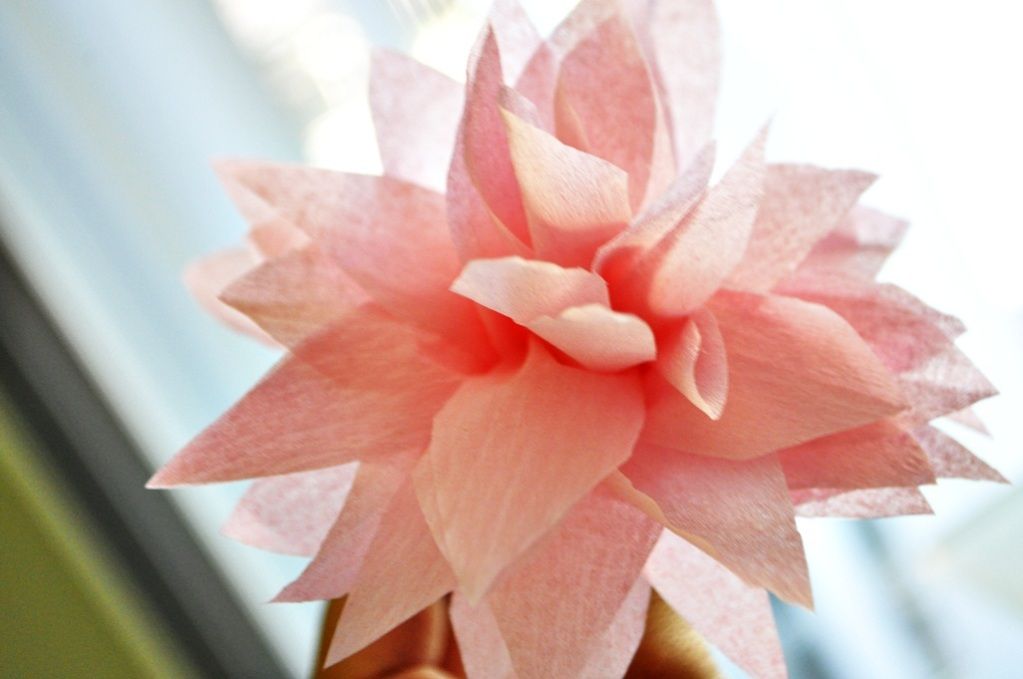 *The following steps are optional*
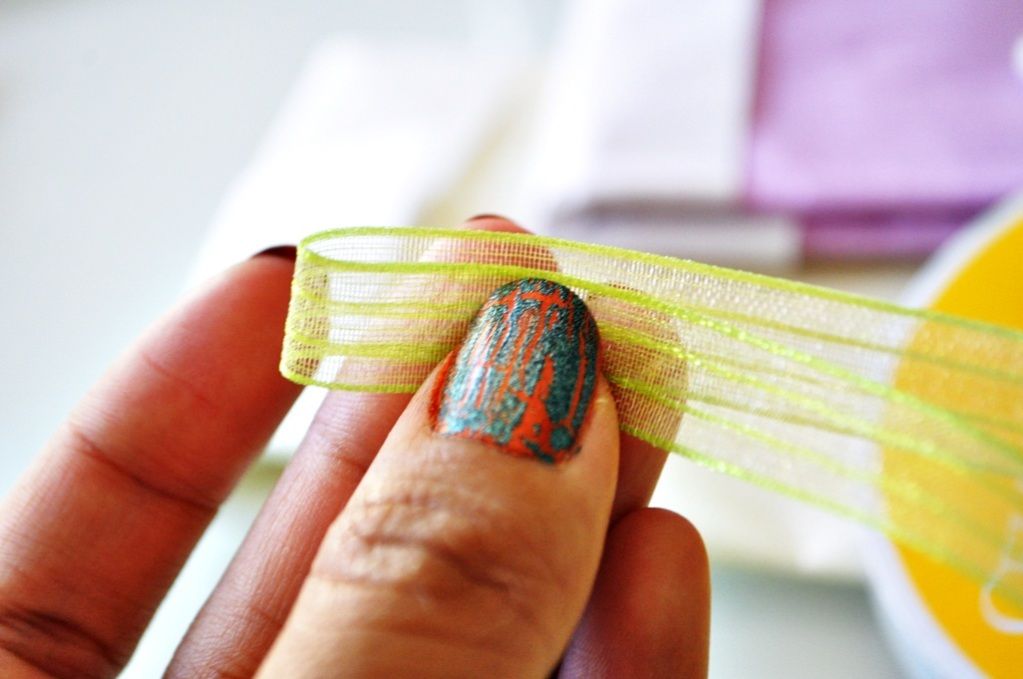
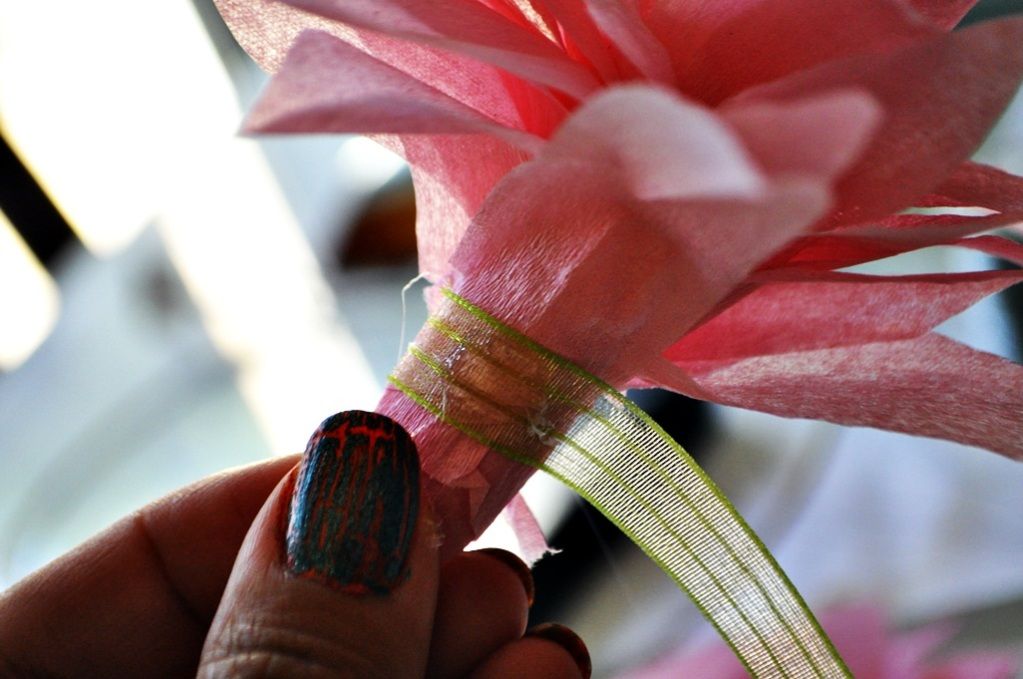
STEP 5: Apply hot glue to the bottom edge of the crepe paper and roll green ribbon over it until the base of the flower is entirely covered. Cut the ribbon, glue secure.
*The following steps are optional*
STEP 5: Apply hot glue to the bottom edge of the crepe paper and roll green ribbon over it until the base of the flower is entirely covered. Cut the ribbon, glue secure.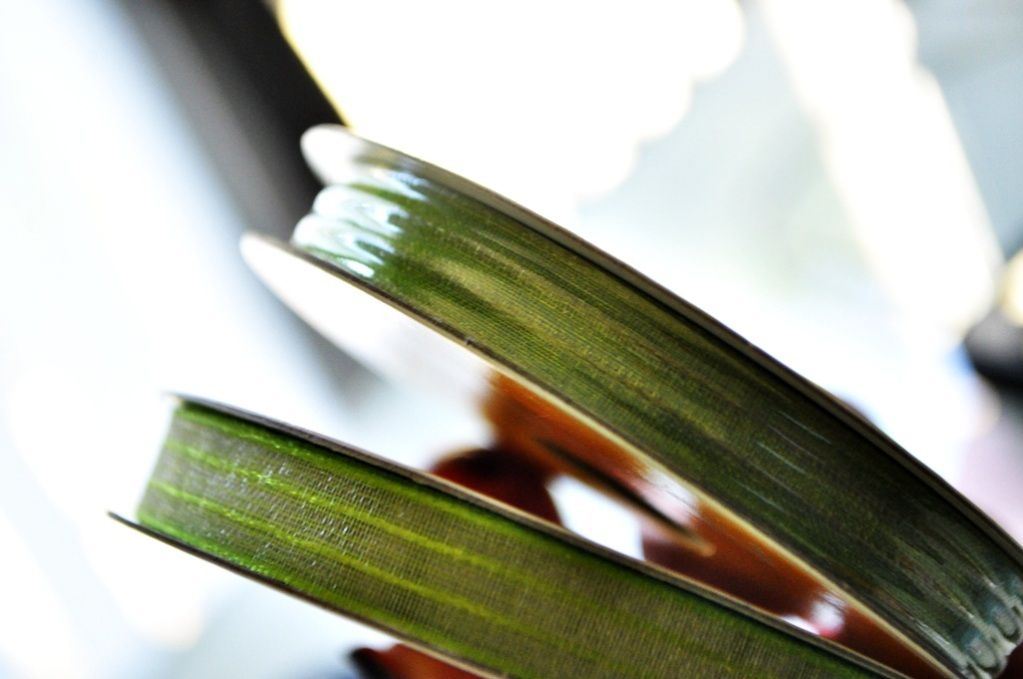
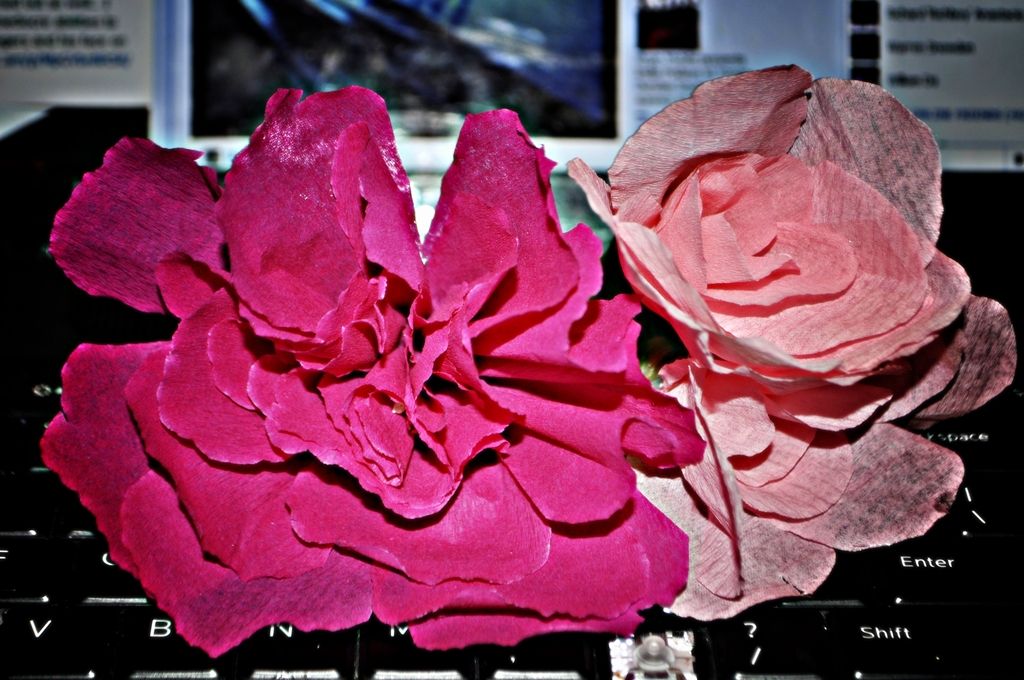
 ET VOILA!
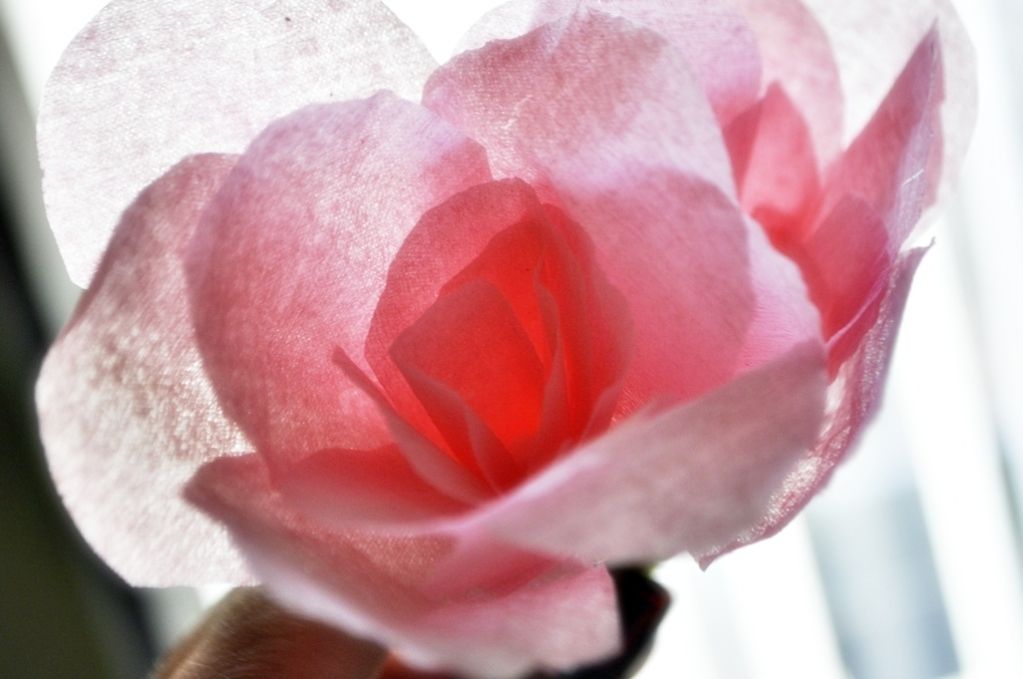
DIY Crepe Paper Flowers!
If you take the time to cut out individual petals, you can also make other types of flowers. but now that you know the basics, you can use your own imagination and creative thinking to customize the design of the flower and the looks and shape of the petals can be entirely unique to your own :)
ET VOILA!
DIY Crepe Paper Flowers!
If you take the time to cut out individual petals, you can also make other types of flowers. but now that you know the basics, you can use your own imagination and creative thinking to customize the design of the flower and the looks and shape of the petals can be entirely unique to your own :)
 Cheers!
czaR2-D2
Cheers!
czaR2-D2