

Essentially, this is the easiest DIY craft activity.
I did do this in the fall during CANADIAN thanksgiving (in October) with my son and two of my younger cousins. It's a lot of fun for the kids and it's an inexpensive way to decorate the interior or exterior of your living space in light of Thanksgiving.

All you need are pumpkins (I used mini pumpkins so it would be easy and quick for the kids), paint brushes, a painting tray (I used a Styrofoam plate), and acrylic paint for interior and exterior wear. I personally used Martha Stewart Multi-Purpose craft paint.
Anyway, wherever you choose to do this activity, make sure you keep your craft area clean and take preventative measure to ensure your area doesn't get dirty. My son's sweater was covered in paint, so clearly I did not take heed to my own advice, but to my own dismay; so you may want to learn from my mistakes.
Lay down a mat, newpapers, or something that will protect the surfaces you're working on, and then you can start.
All you do from then is pour the paint into whatever tray/plate/platter/other you decide to use to hold your paint. Then use your paintbrushes with a touch of imagination and paint away.
All you do from then is pour the paint into whatever tray/plate/platter/other you decide to use to hold your paint. Then use your paintbrushes with a touch of imagination and paint away.
The kids had a lot of fun doing this activity, it takes a few hours for the paint to dry, but it will last outdoor weather.
There really isn't more to this than that, but it is a fun and different- comparative to pumpkin carving.
Anyway, enjoy!


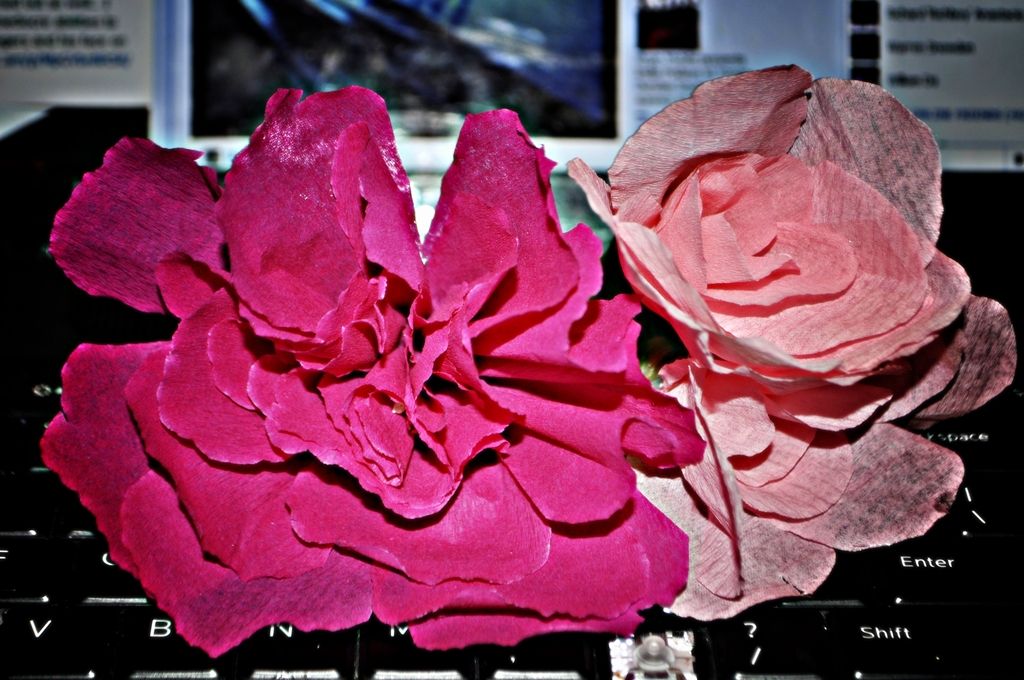
 WHAT YOU'LL NEED:
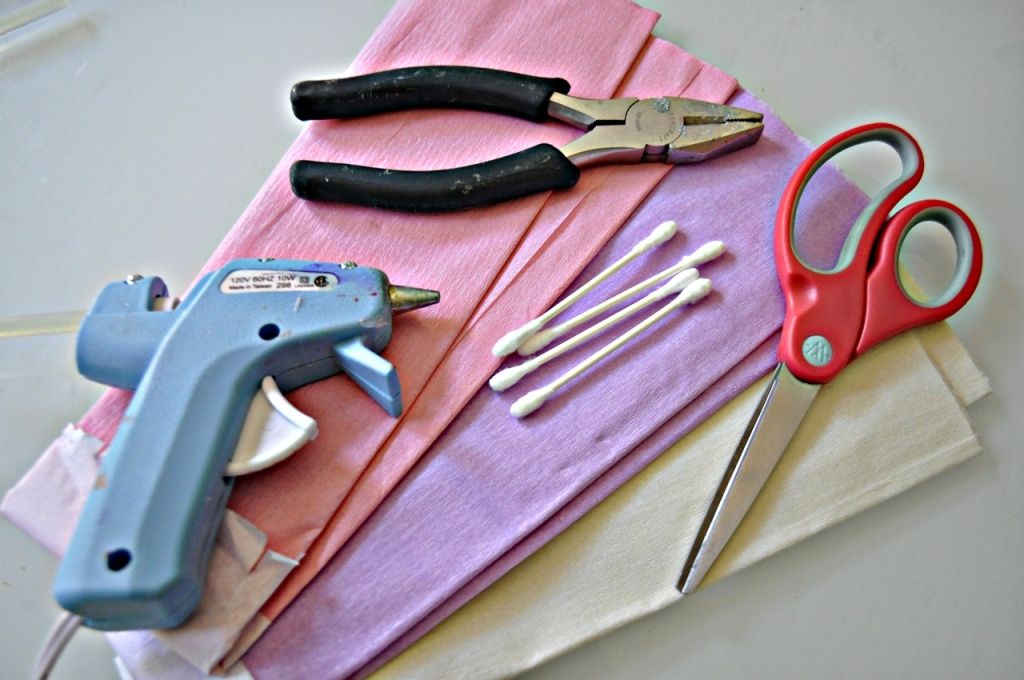 Crepe paper
Scissors
Hot glue gun
Q-tips
Wire cutters or pliers
Ribbon (optional)
INSTRUCTIONS:
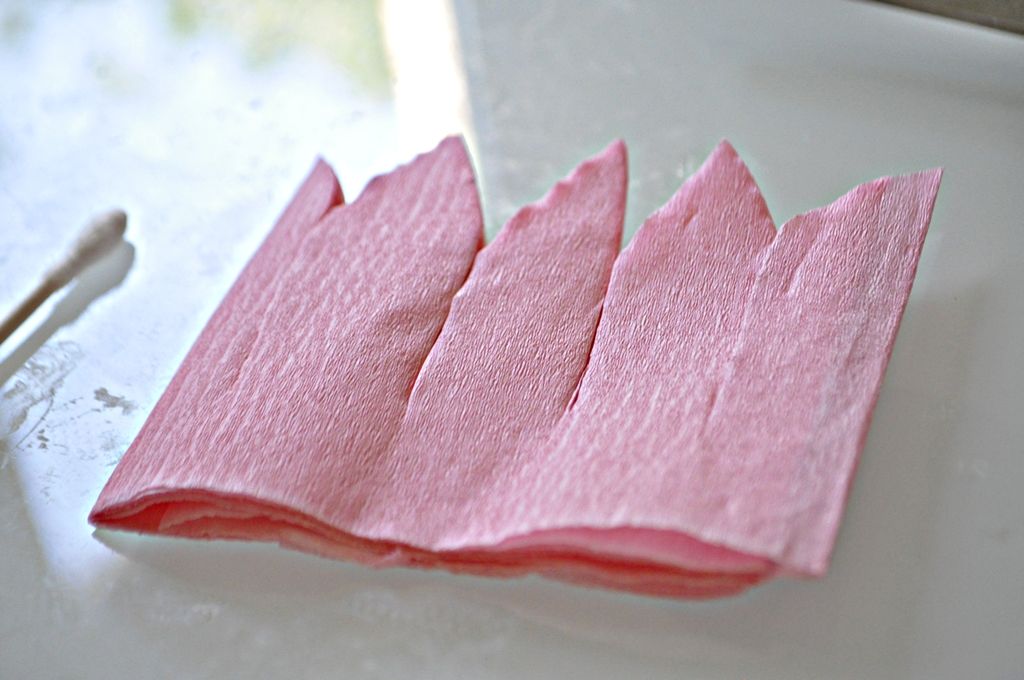
STEP 1: Choosing the colour you want for your crepe paper flower petals, cut a sheet out so that it's dimenions are a height of roughly 2-2.5 inches and a length of 3 ft. Cut the petal shapes out on one side of the crepe paper sheet, leaving the other edge flat. Make sure it the sheet is still connected.
Crepe paper
Scissors
Hot glue gun
Q-tips
Wire cutters or pliers
Ribbon (optional)
INSTRUCTIONS:
STEP 1: Choosing the colour you want for your crepe paper flower petals, cut a sheet out so that it's dimenions are a height of roughly 2-2.5 inches and a length of 3 ft. Cut the petal shapes out on one side of the crepe paper sheet, leaving the other edge flat. Make sure it the sheet is still connected.
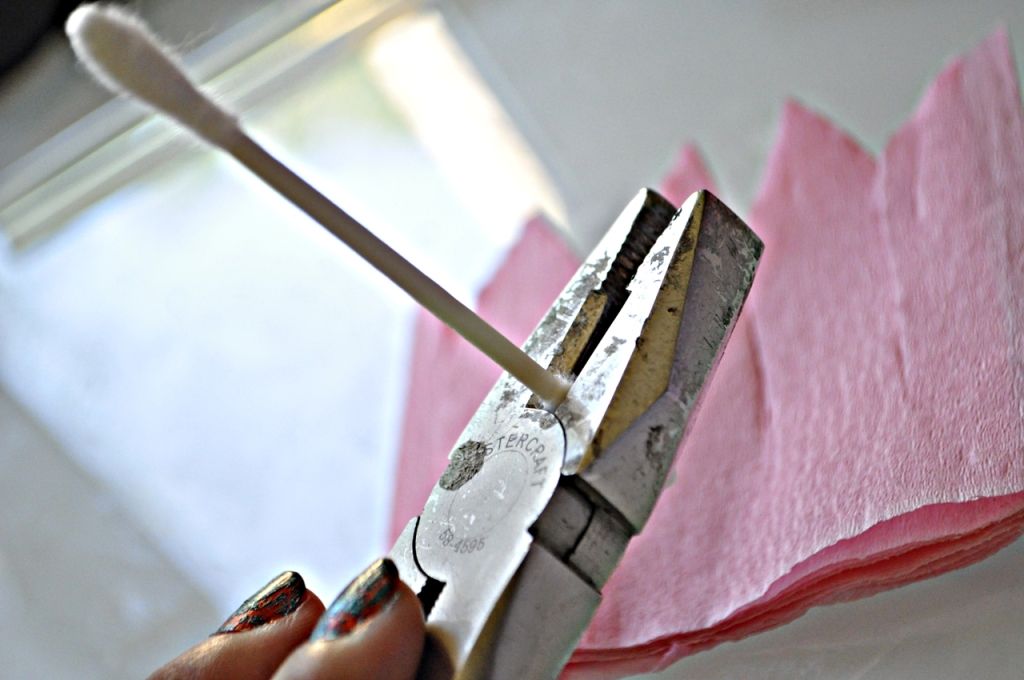
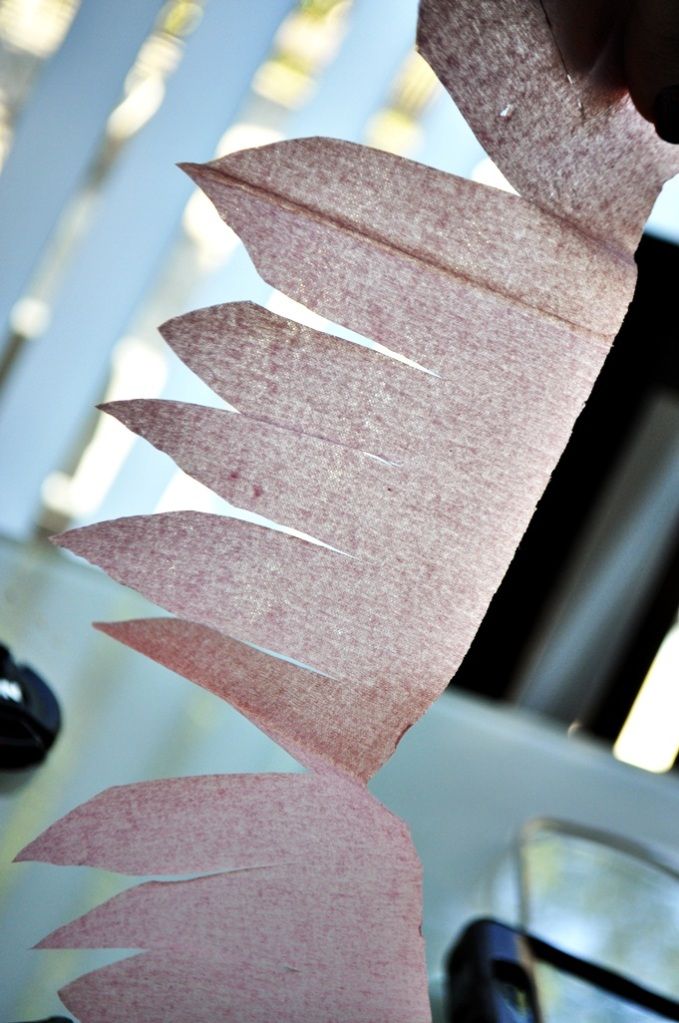 STEP 2: For the stamen and stem, use a q-tip (cotton ear bud), or even a wooden skewer or dowel. If you are using a cotton ear bud, use the wire cutter or pliers to cut off the cotton bud off.
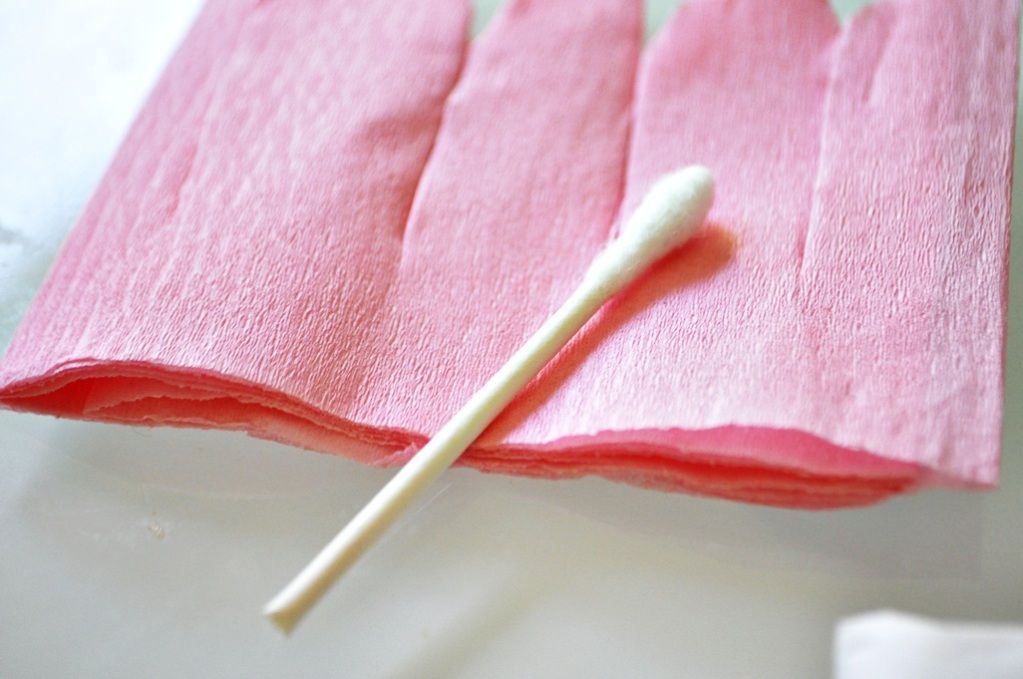 STEP 3: Apply hot glue to the ear bud. From this point forward, I will be referring the ear bud as the "stamen" because essentially that is what the ear bud is being reproduced as.
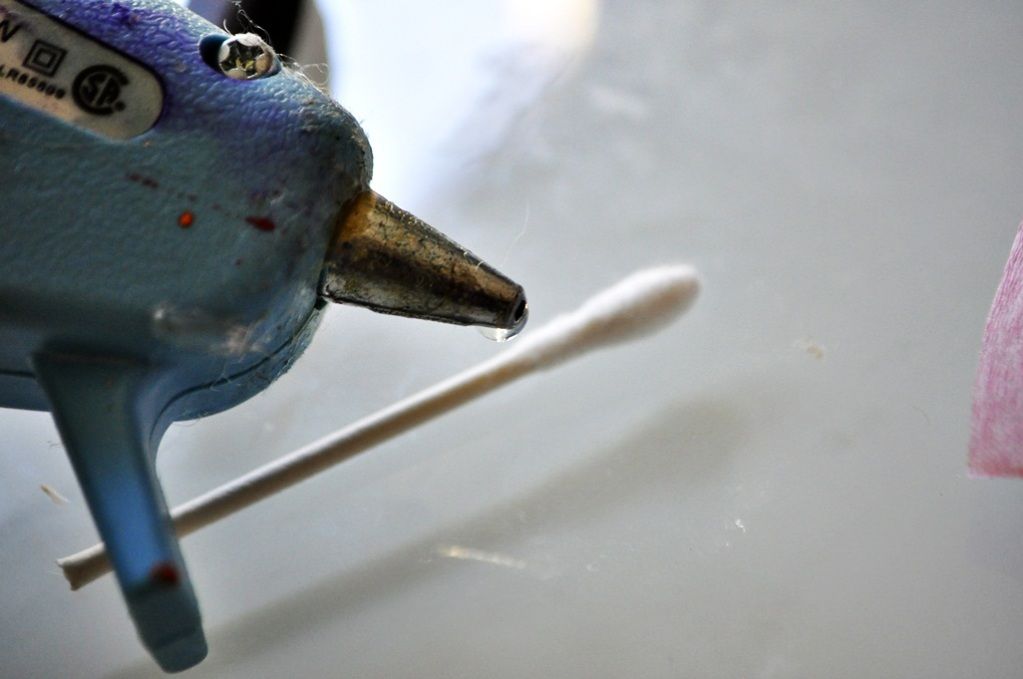 STEP 4: Starting from the edge of the crepe paper petals, start TIGHTLY rolling the sheet onto the stamen where the glue is applied. Be careful not to rip the paper. Continue this until the sheet is finished.
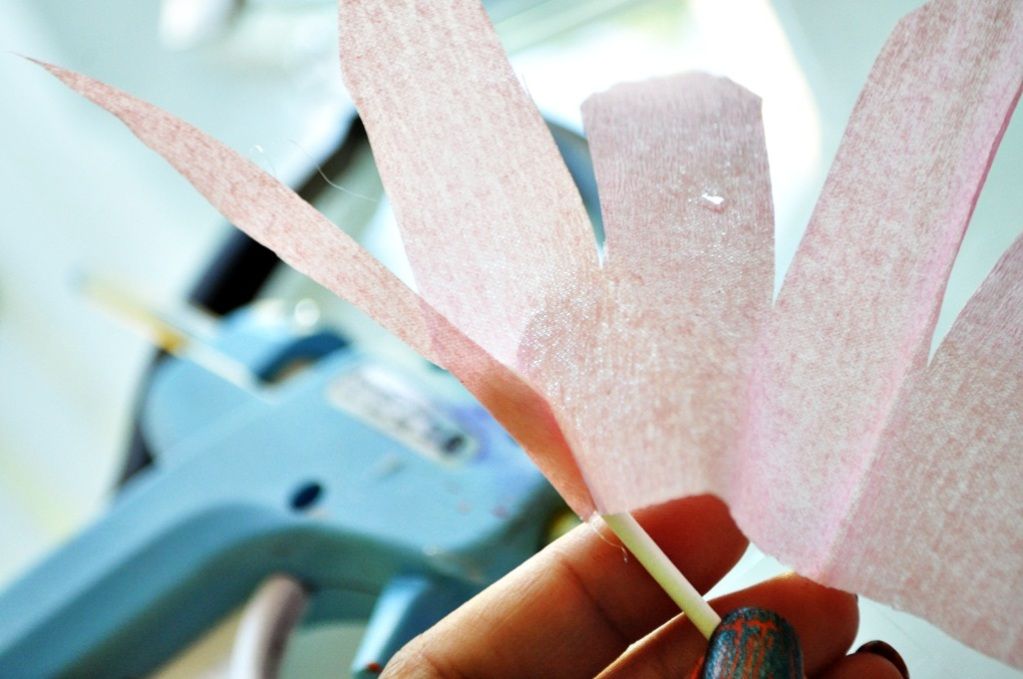
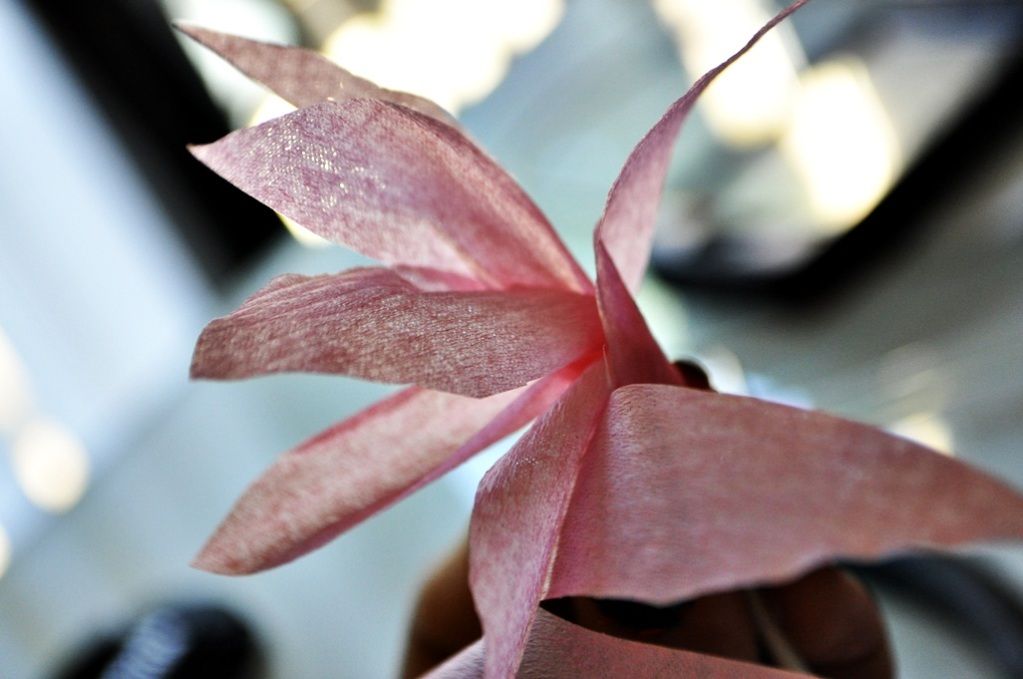
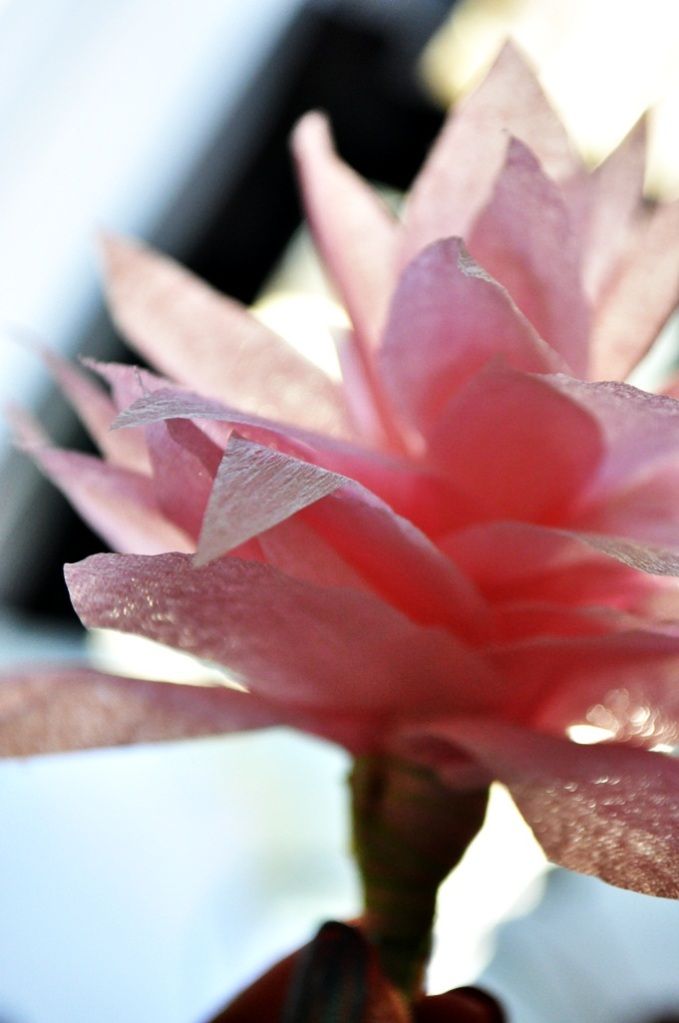
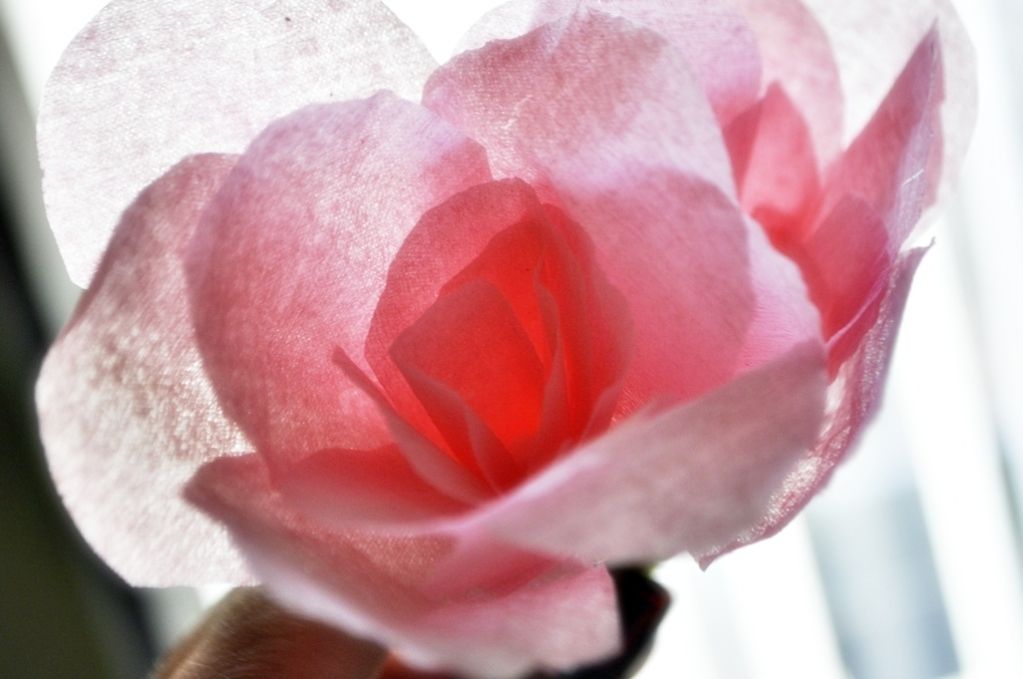
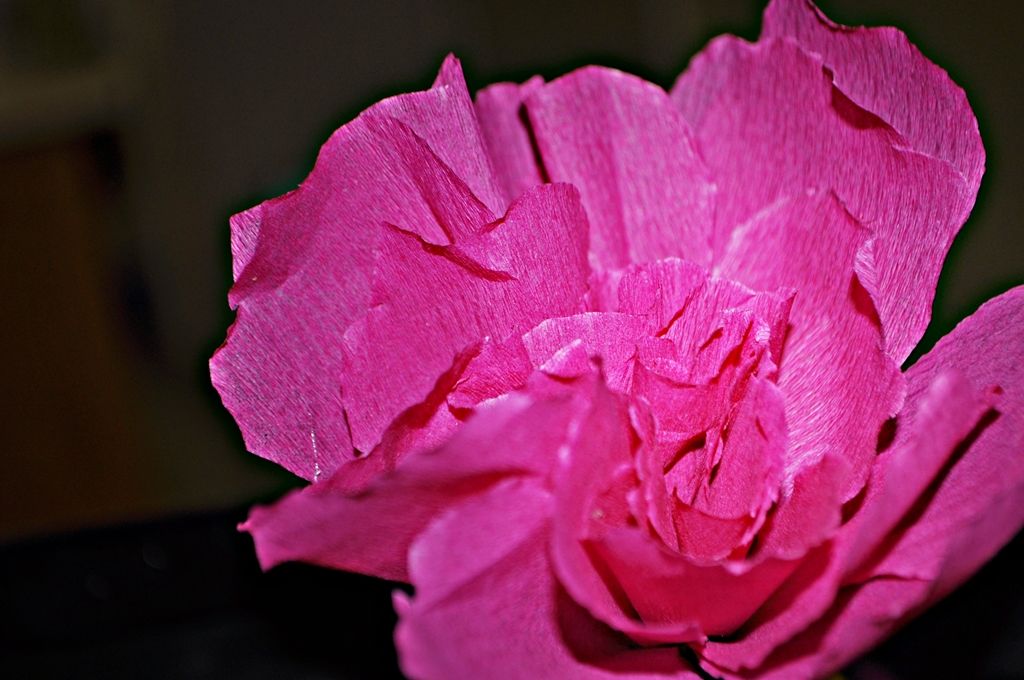
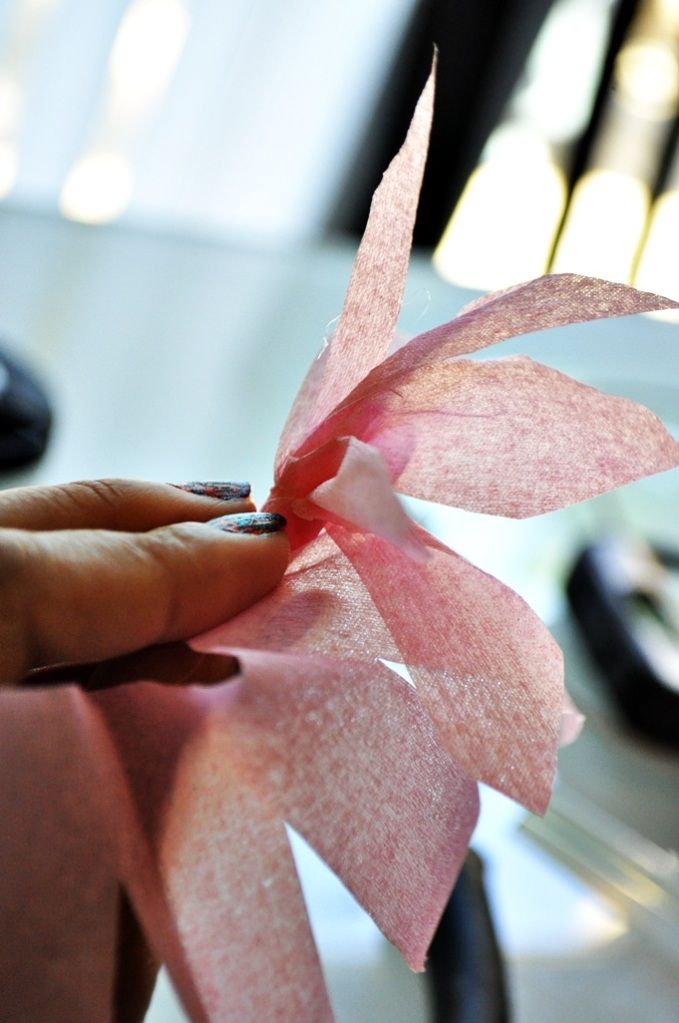 So when you're done, shape up the petals all nice and fluffy-like, it should then look something like this
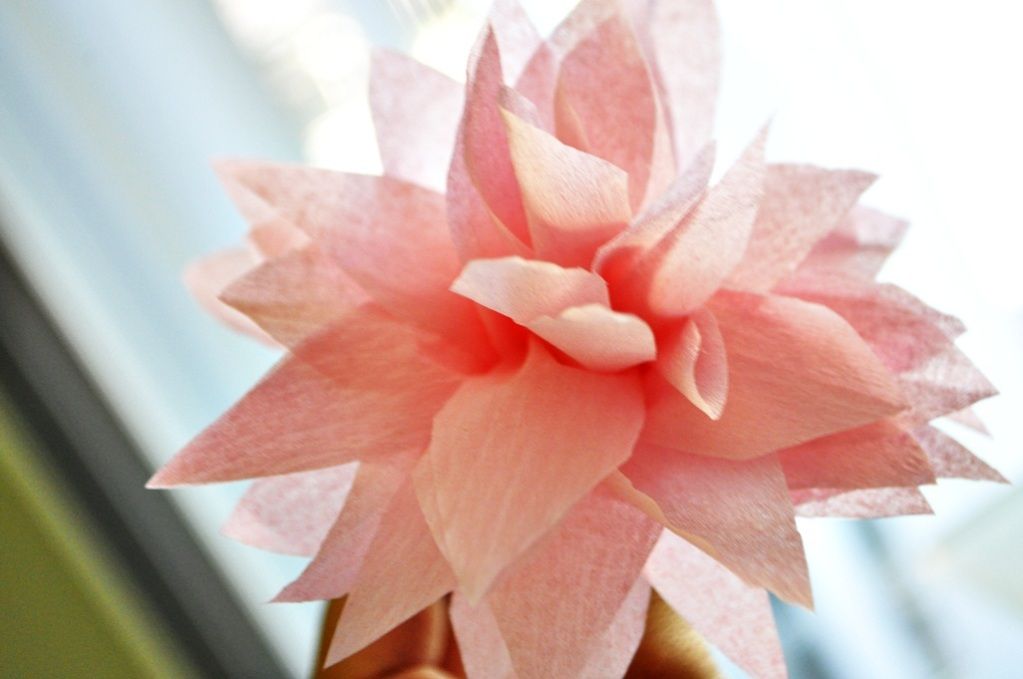 *The following steps are optional*
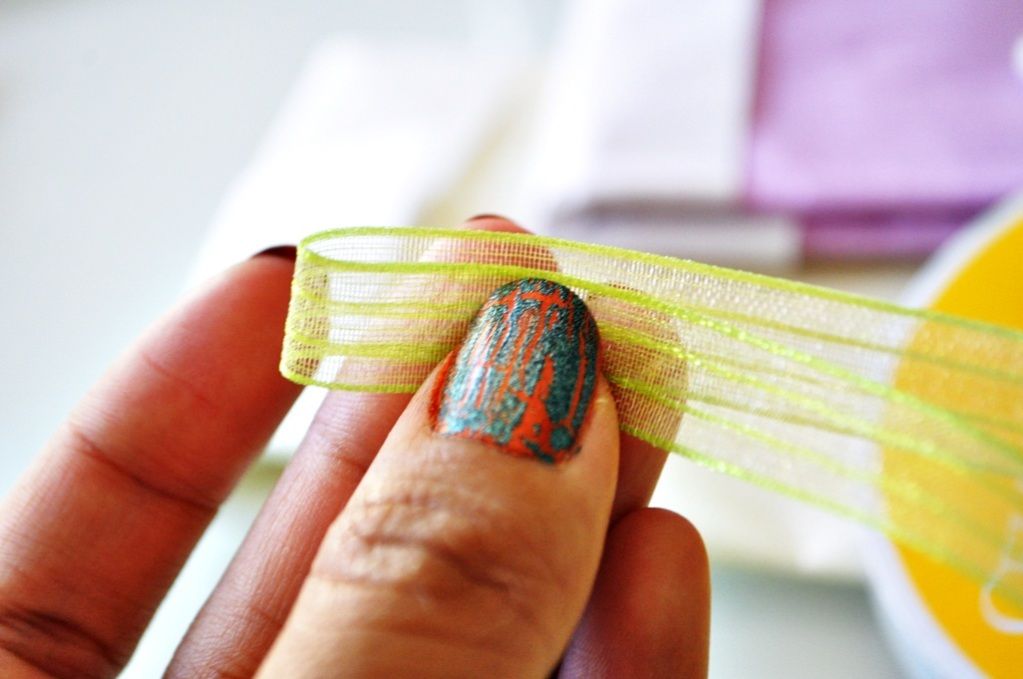
STEP 5: Apply hot glue to the bottom edge of the crepe paper and roll green ribbon over it until the base of the flower is entirely covered. Cut the ribbon, glue secure.
*The following steps are optional*
STEP 5: Apply hot glue to the bottom edge of the crepe paper and roll green ribbon over it until the base of the flower is entirely covered. Cut the ribbon, glue secure.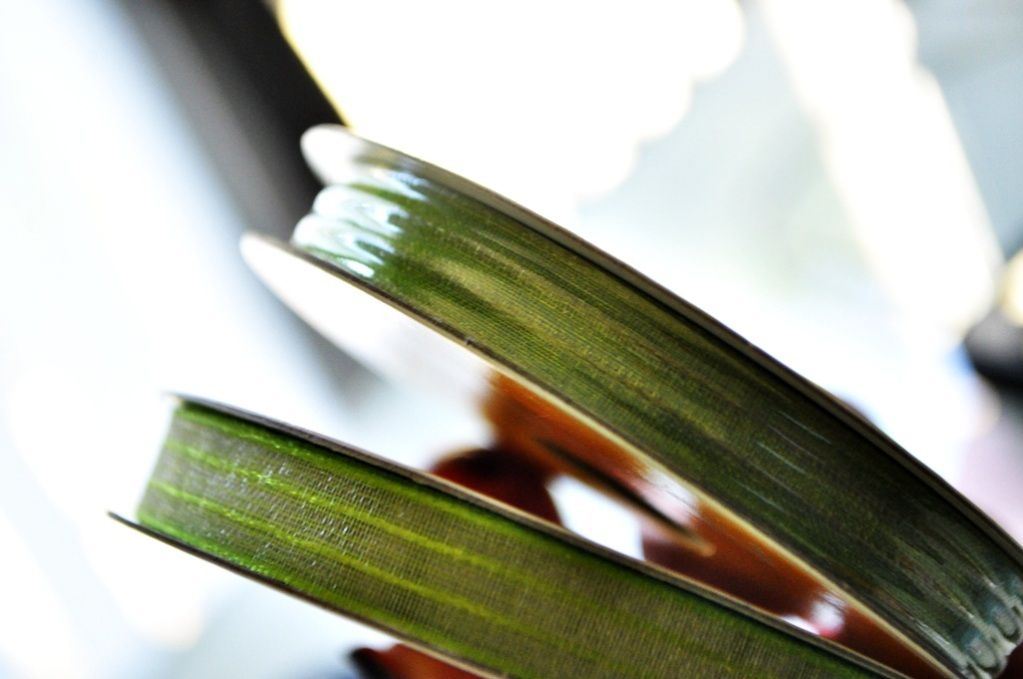
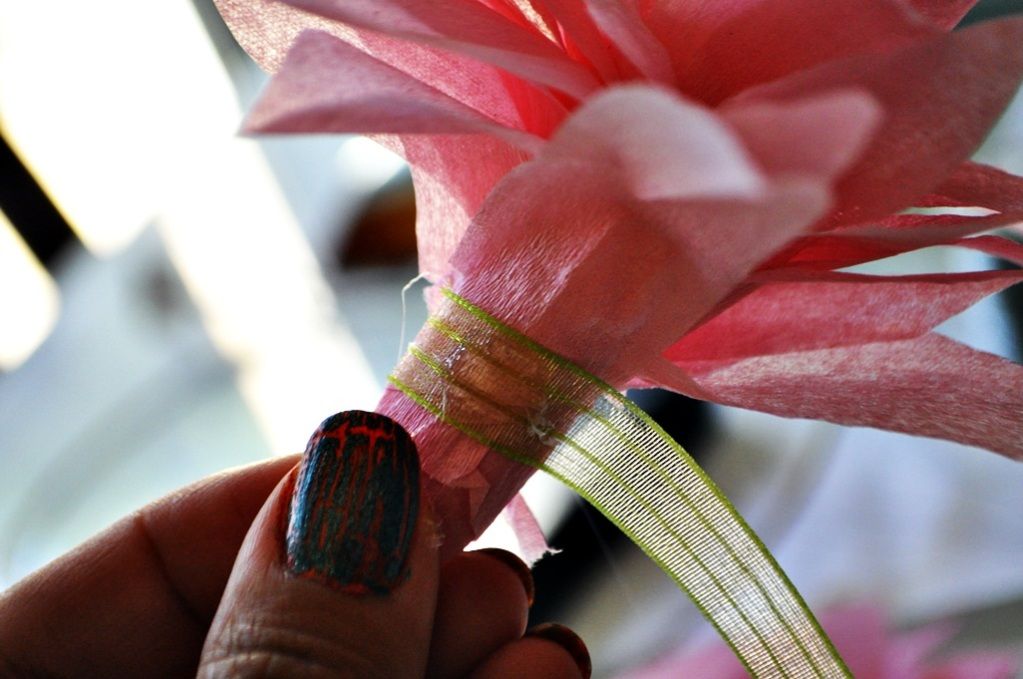 ET VOILA!
DIY Crepe Paper Flowers!
If you take the time to cut out individual petals, you can also make other types of flowers. but now that you know the basics, you can use your own imagination and creative thinking to customize the design of the flower and the looks and shape of the petals can be entirely unique to your own :)
ET VOILA!
DIY Crepe Paper Flowers!
If you take the time to cut out individual petals, you can also make other types of flowers. but now that you know the basics, you can use your own imagination and creative thinking to customize the design of the flower and the looks and shape of the petals can be entirely unique to your own :)
 Cheers!
czaR2-D2
Cheers!
czaR2-D2