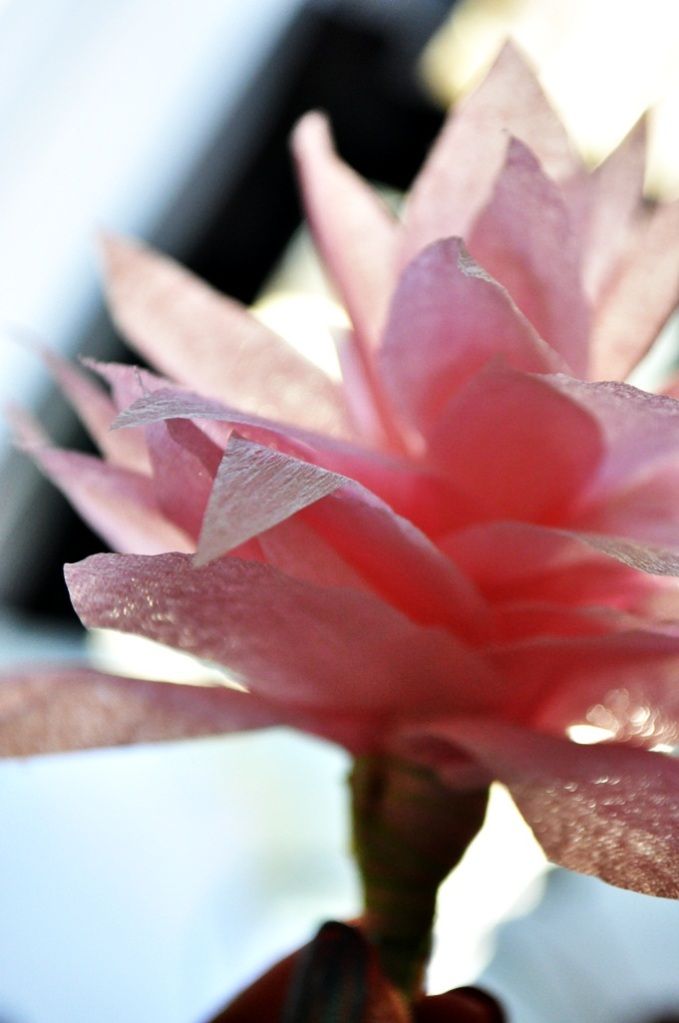
So, I don't even have a legitimate reason to say why I made these. I just had an excess of crepe paper so I figured it would be cool to make flowers with them. I think at this point I'm going to get an opaque, coloured jar or vase and fill it with Styrofoam and stick these in. I made a TON. But I only took pictures of this one.
 WHAT YOU'LL NEED:
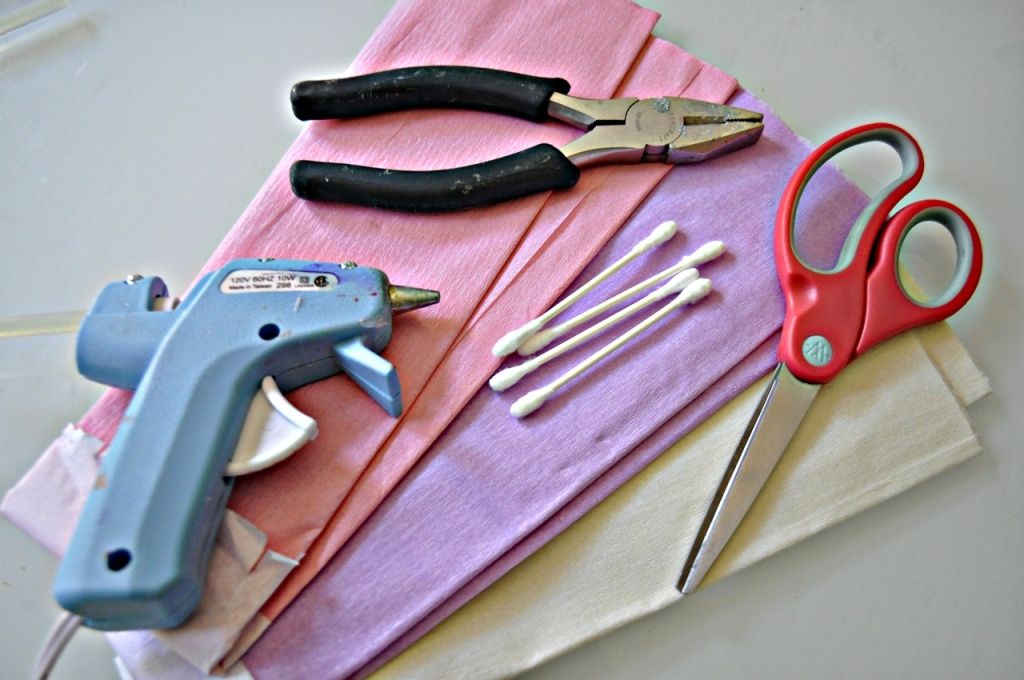 Crepe paper
Scissors
Hot glue gun
Q-tips
Wire cutters or pliers
Ribbon (optional)
INSTRUCTIONS:
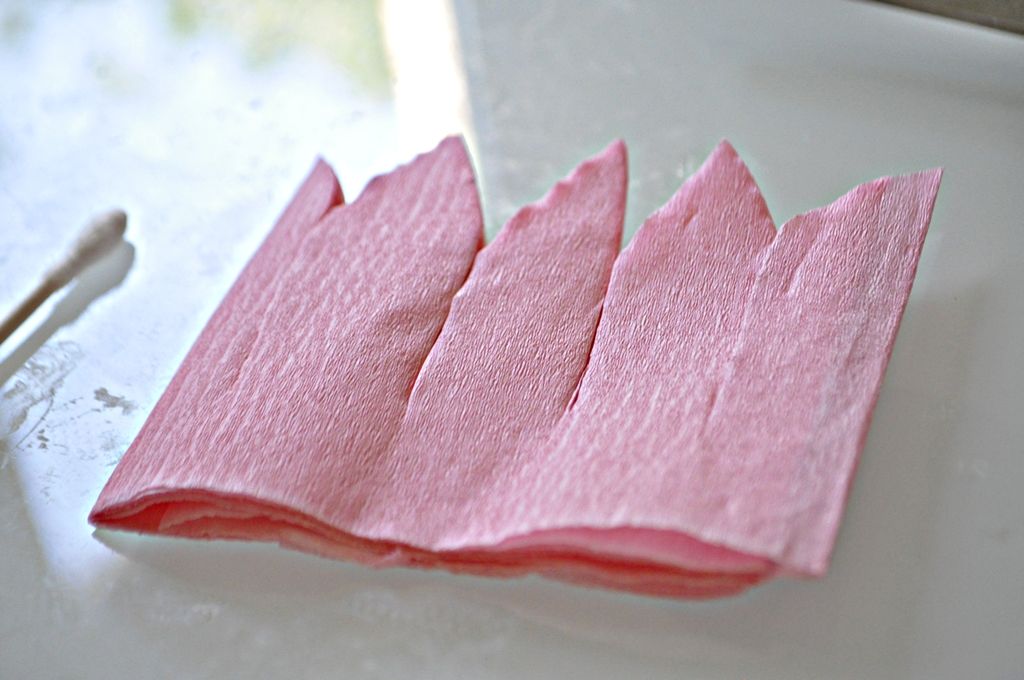
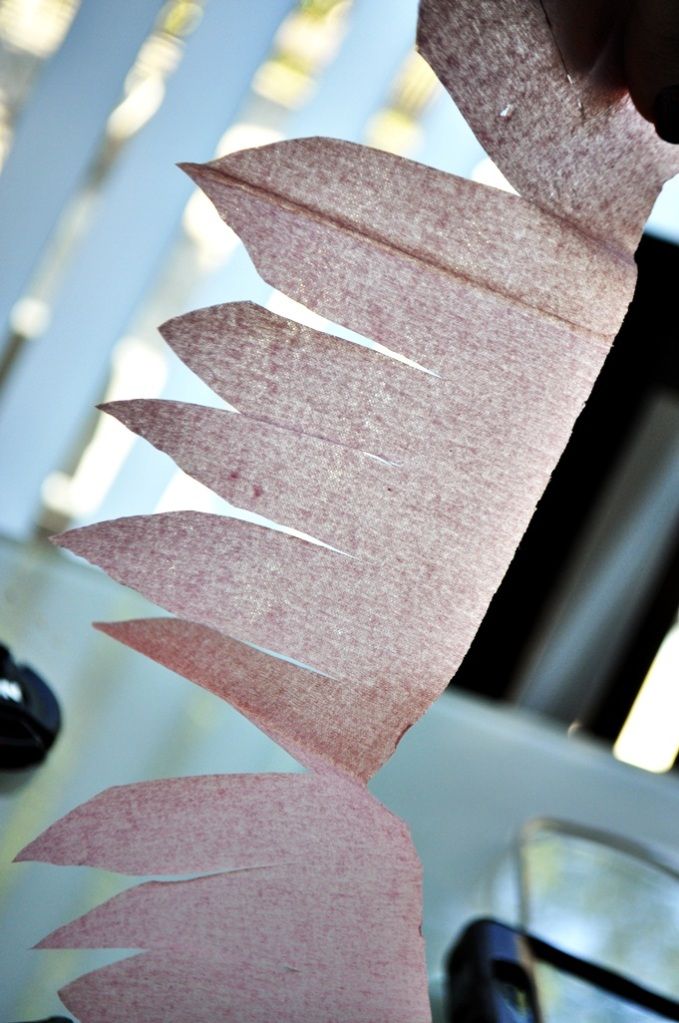
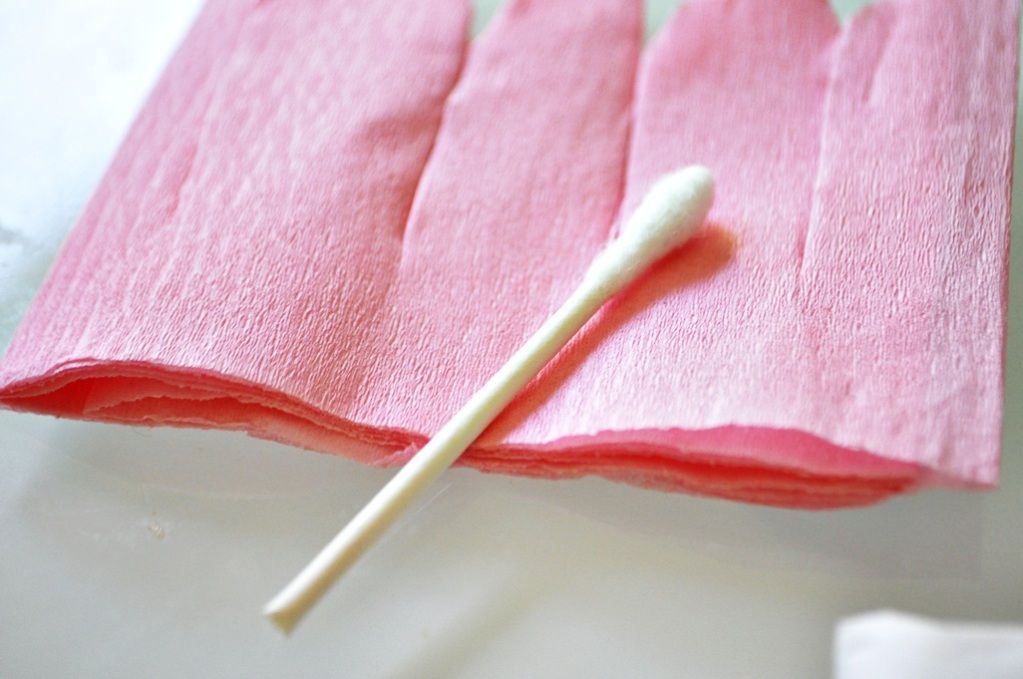
STEP 1: Choosing the colour you want for your crepe paper flower petals, cut a sheet out so that it's dimenions are a height of roughly 2-2.5 inches and a length of 3 ft. Cut the petal shapes out on one side of the crepe paper sheet, leaving the other edge flat. Make sure it the sheet is still connected.
Crepe paper
Scissors
Hot glue gun
Q-tips
Wire cutters or pliers
Ribbon (optional)
INSTRUCTIONS:
STEP 1: Choosing the colour you want for your crepe paper flower petals, cut a sheet out so that it's dimenions are a height of roughly 2-2.5 inches and a length of 3 ft. Cut the petal shapes out on one side of the crepe paper sheet, leaving the other edge flat. Make sure it the sheet is still connected.
 STEP 2: For the stamen and stem, use a q-tip (cotton ear bud), or even a wooden skewer or dowel. If you are using a cotton ear bud, use the wire cutter or pliers to cut off the cotton bud off.
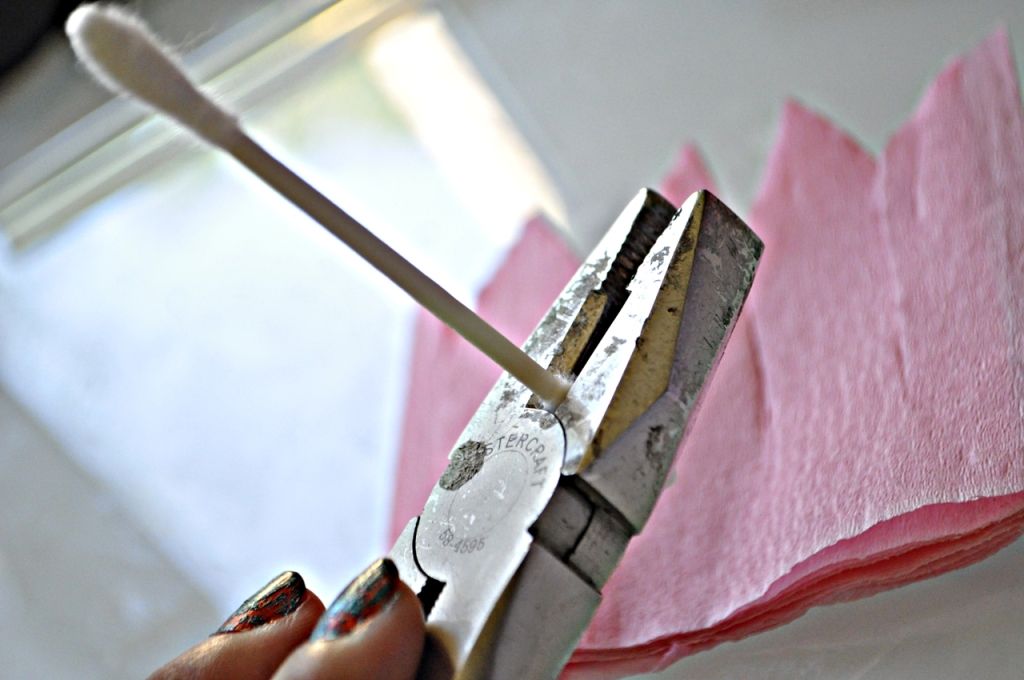
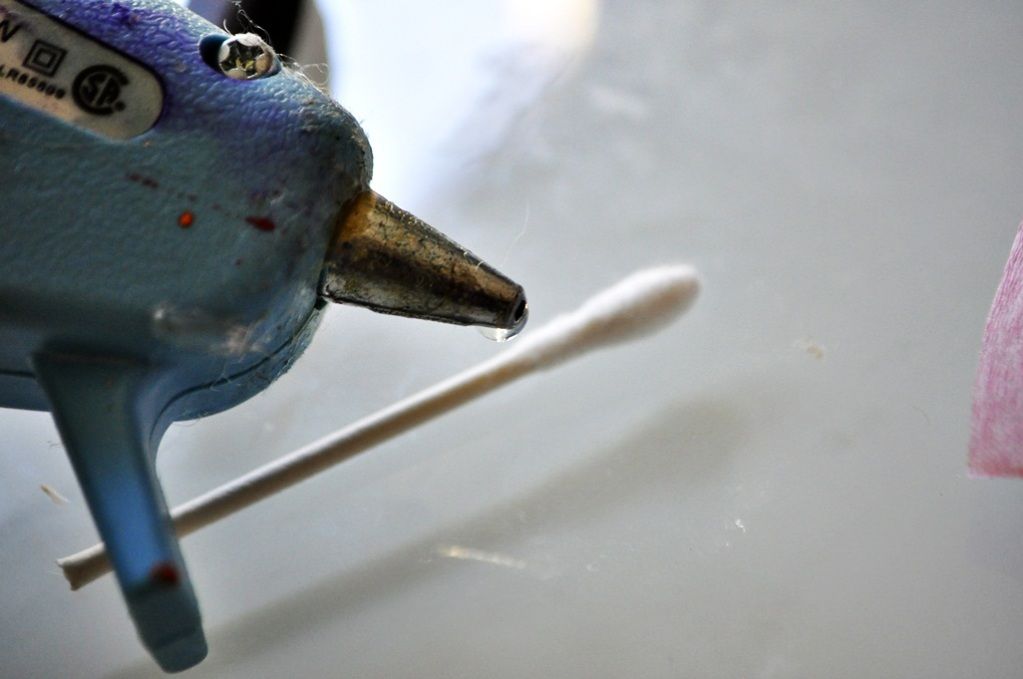
 STEP 3: Apply hot glue to the ear bud. From this point forward, I will be referring the ear bud as the "stamen" because essentially that is what the ear bud is being reproduced as.
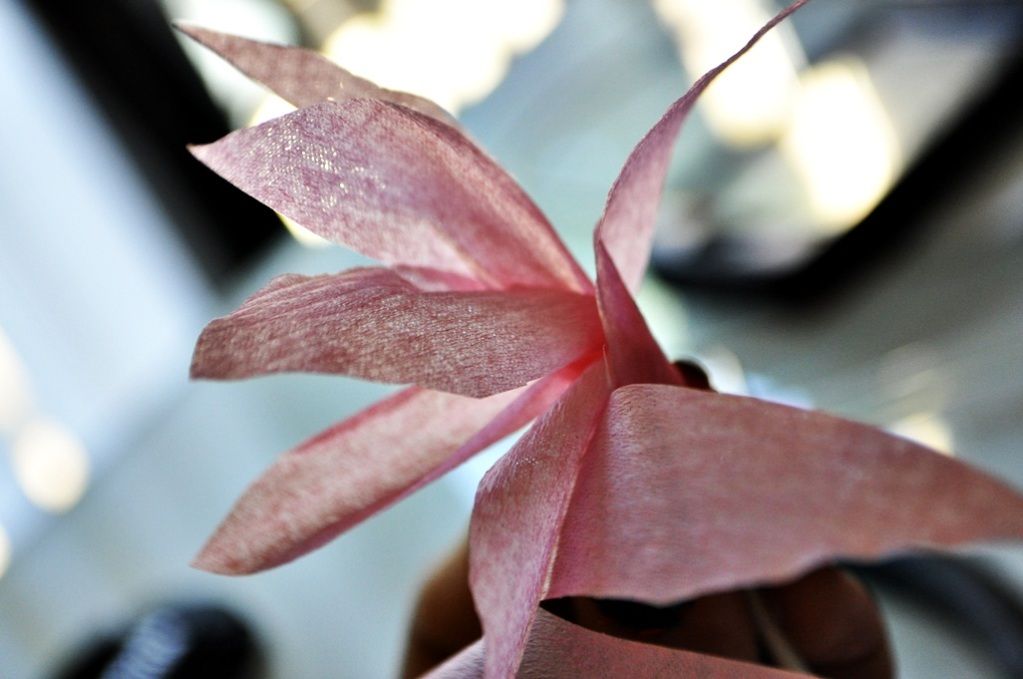
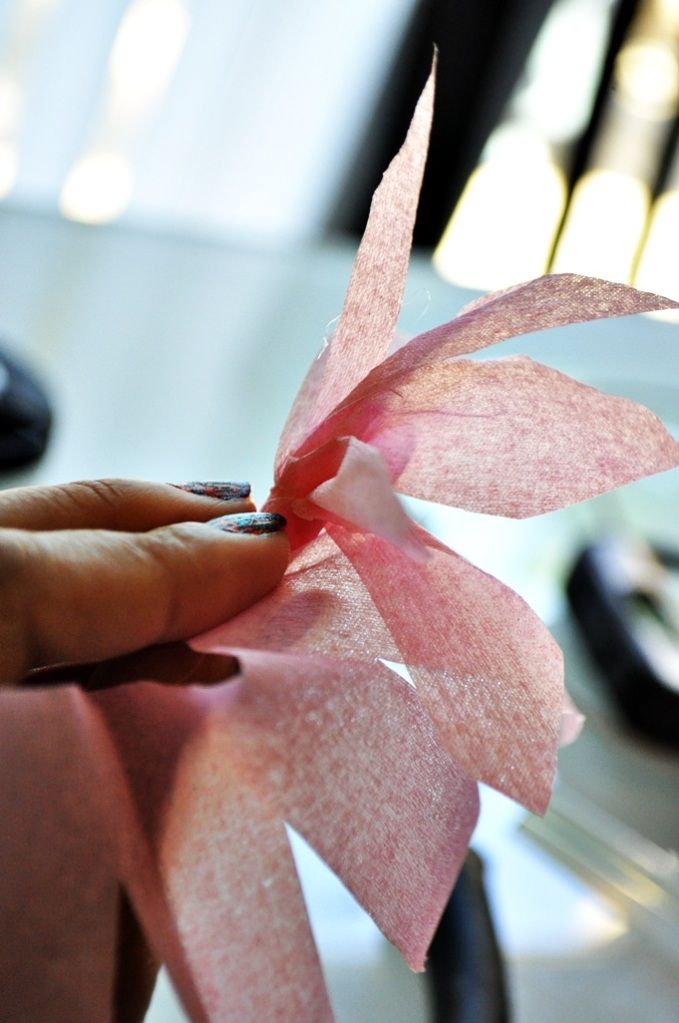
 STEP 4: Starting from the edge of the crepe paper petals, start TIGHTLY rolling the sheet onto the stamen where the glue is applied. Be careful not to rip the paper. Continue this until the sheet is finished.
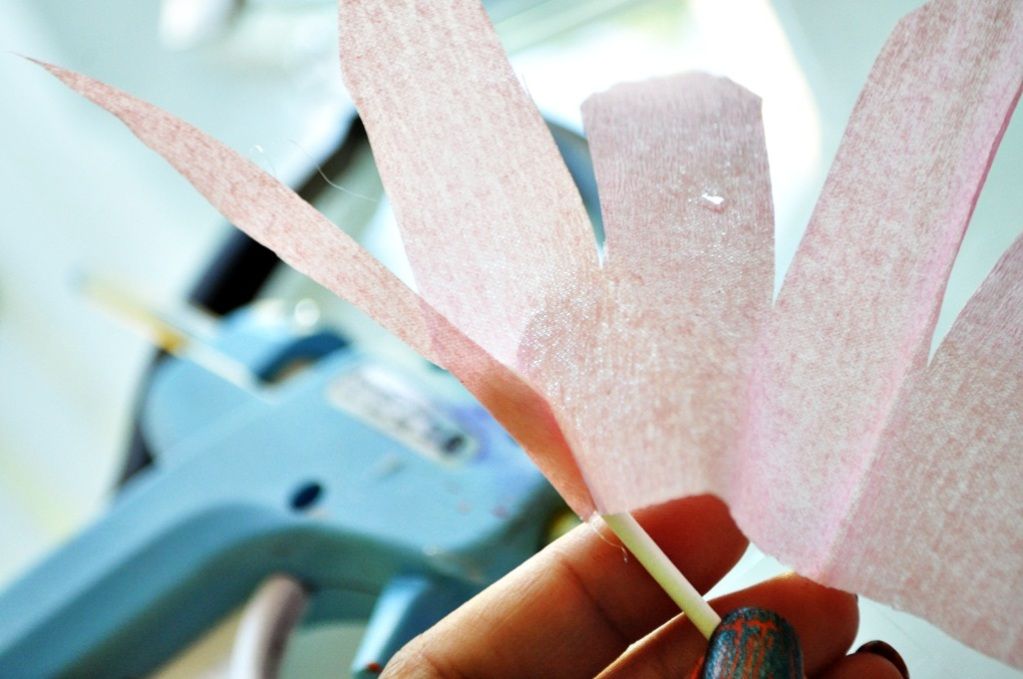
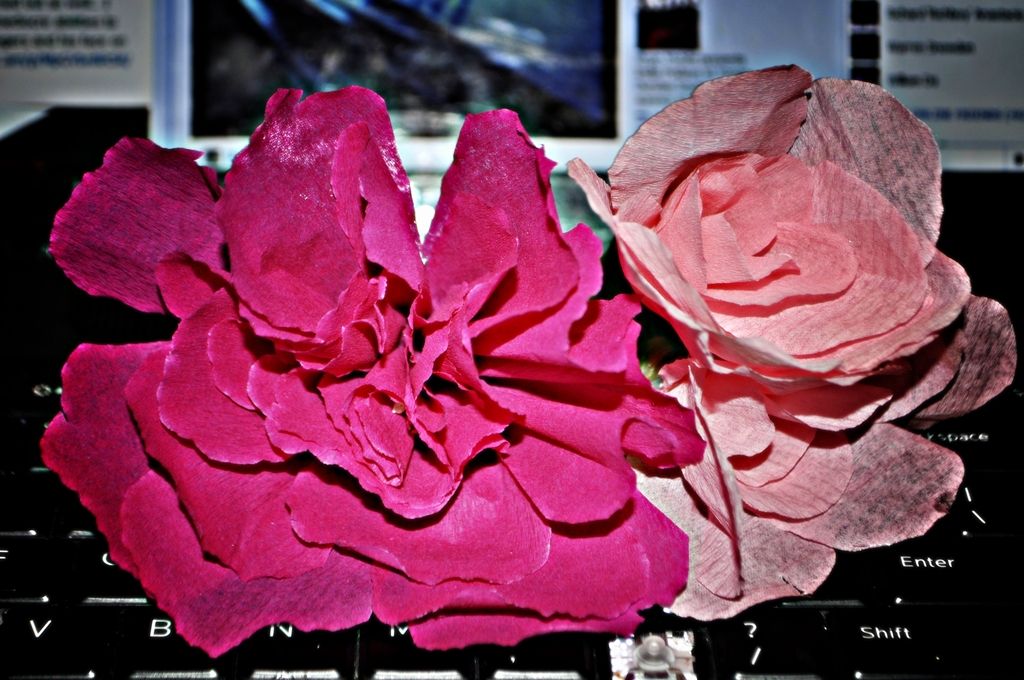
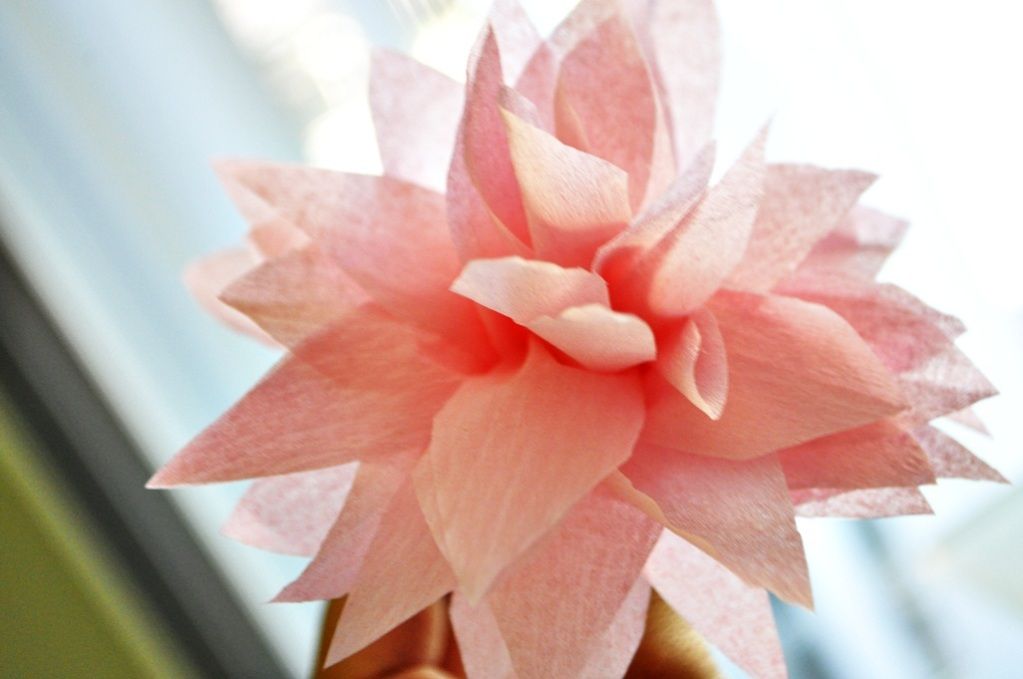
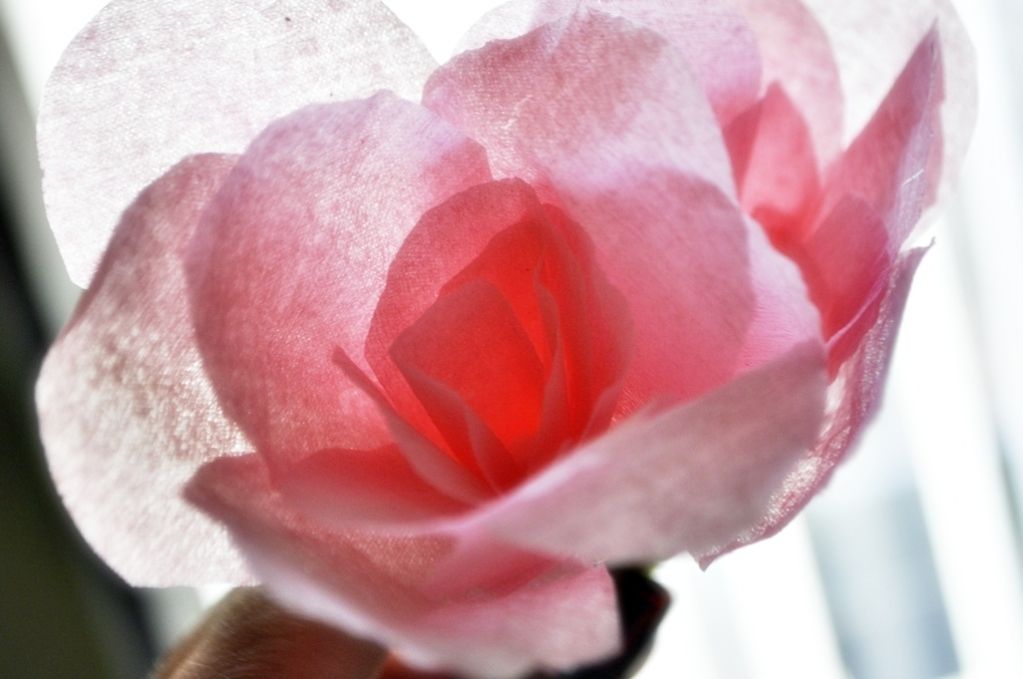
 So when you're done, shape up the petals all nice and fluffy-like, it should then look something like this
 *The following steps are optional*
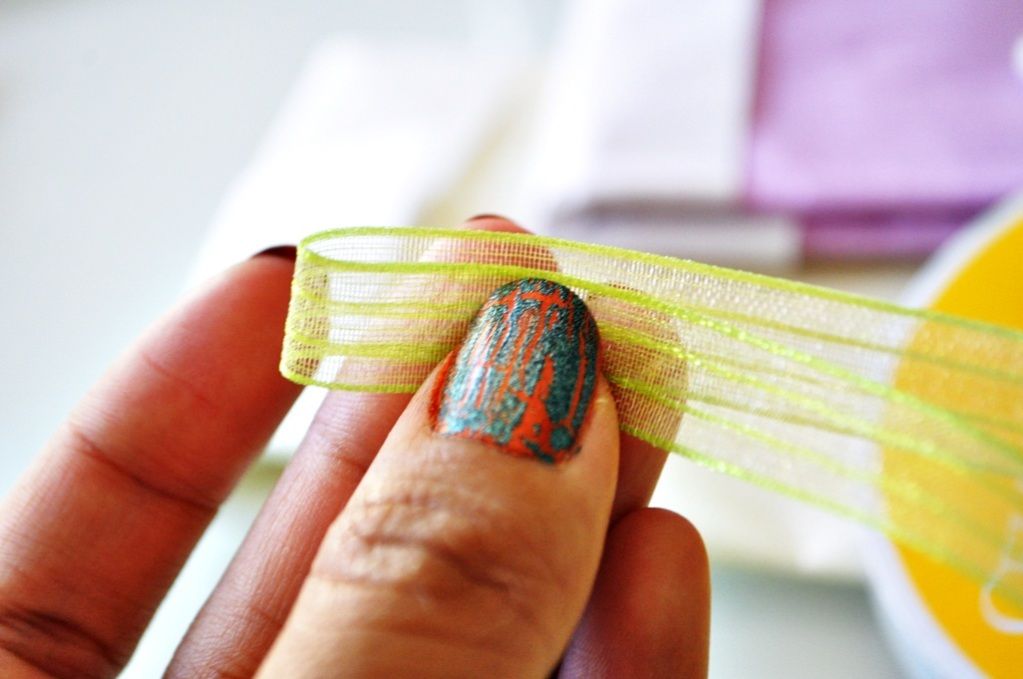
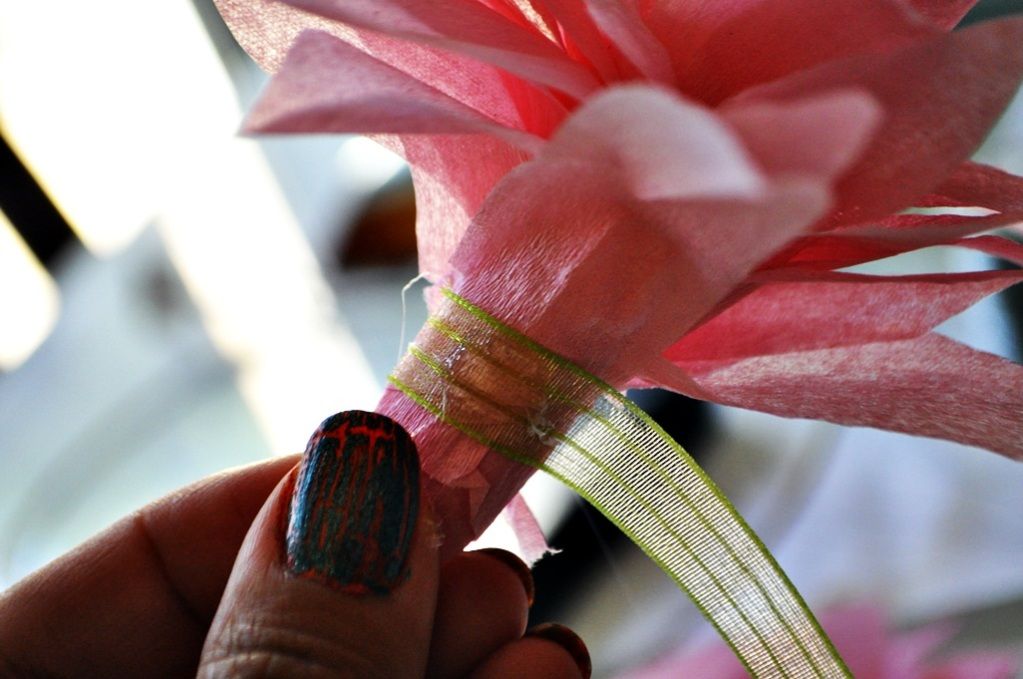
STEP 5: Apply hot glue to the bottom edge of the crepe paper and roll green ribbon over it until the base of the flower is entirely covered. Cut the ribbon, glue secure.
*The following steps are optional*
STEP 5: Apply hot glue to the bottom edge of the crepe paper and roll green ribbon over it until the base of the flower is entirely covered. Cut the ribbon, glue secure.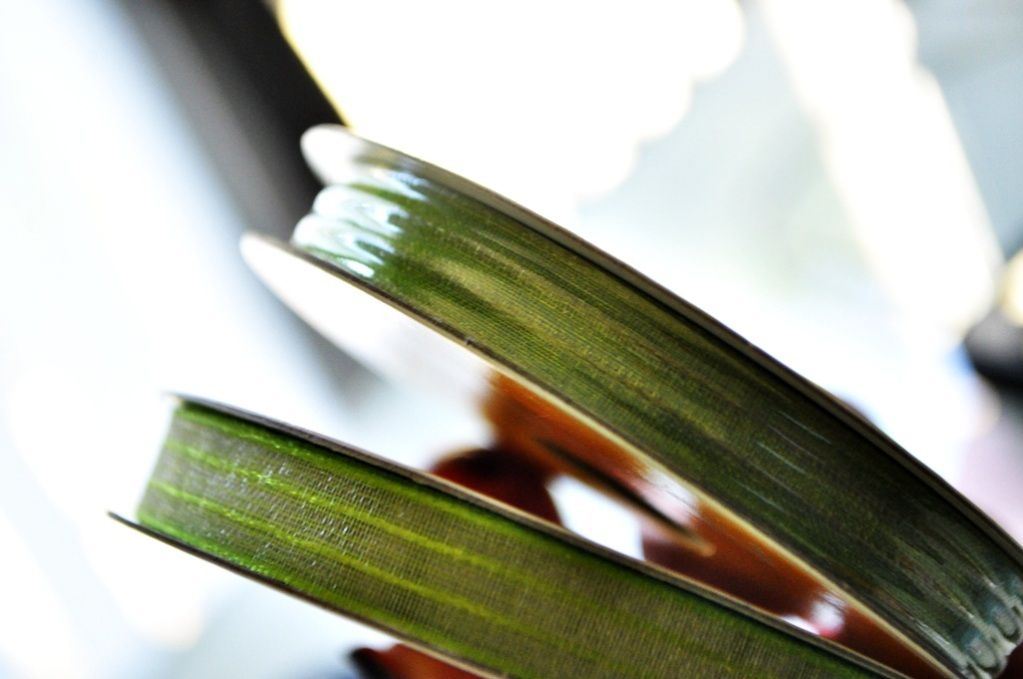
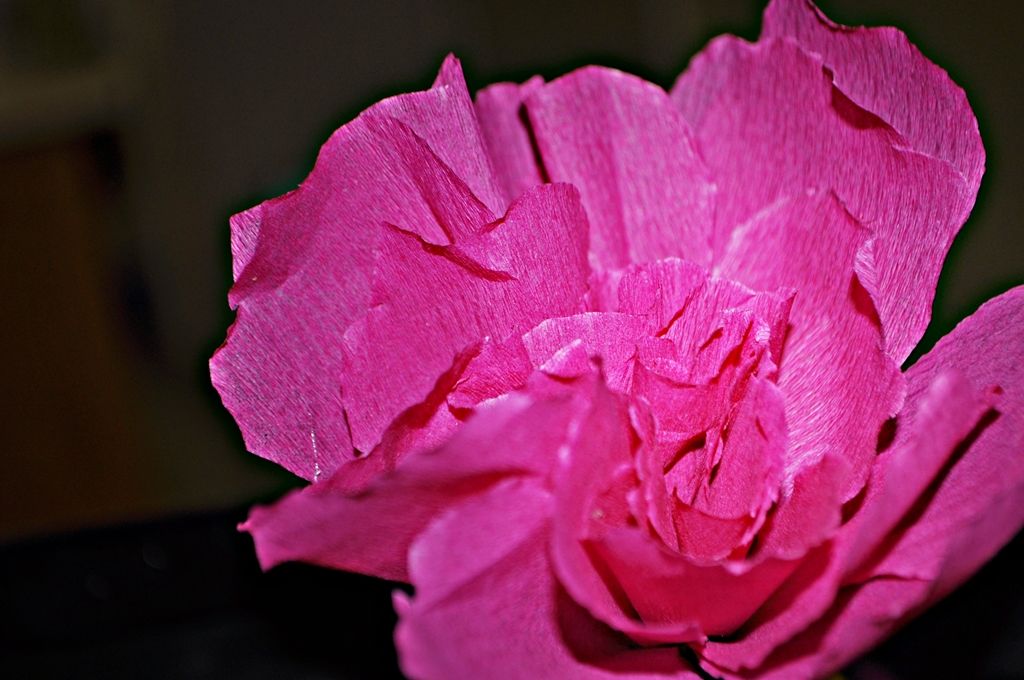
 ET VOILA!
DIY Crepe Paper Flowers!
If you take the time to cut out individual petals, you can also make other types of flowers. but now that you know the basics, you can use your own imagination and creative thinking to customize the design of the flower and the looks and shape of the petals can be entirely unique to your own :)
ET VOILA!
DIY Crepe Paper Flowers!
If you take the time to cut out individual petals, you can also make other types of flowers. but now that you know the basics, you can use your own imagination and creative thinking to customize the design of the flower and the looks and shape of the petals can be entirely unique to your own :)
 Cheers!
czaR2-D2
Cheers!
czaR2-D2
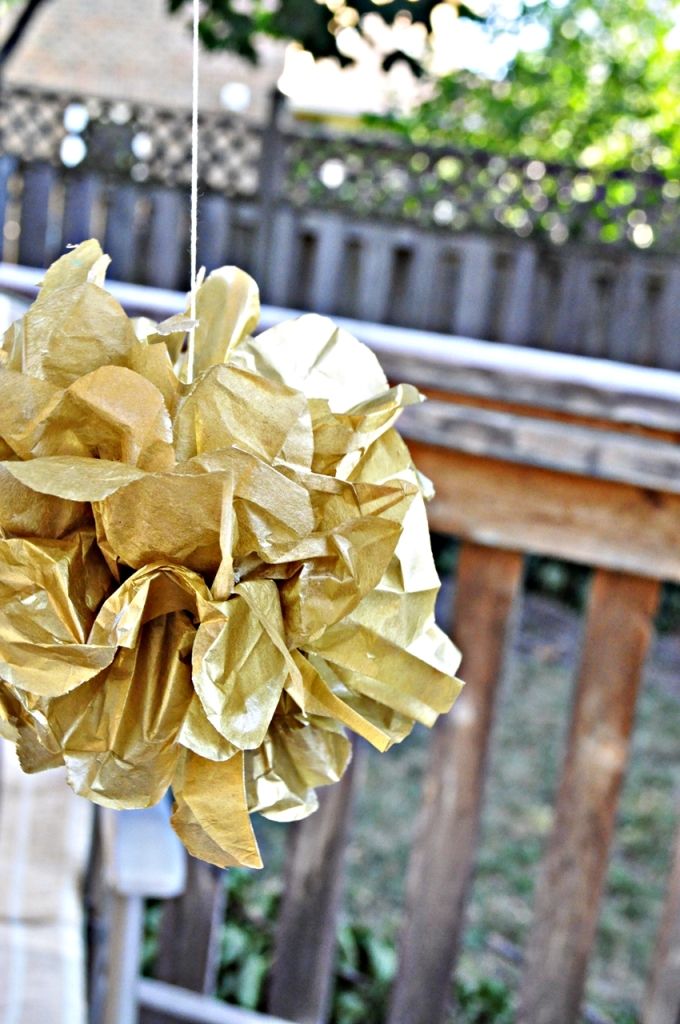
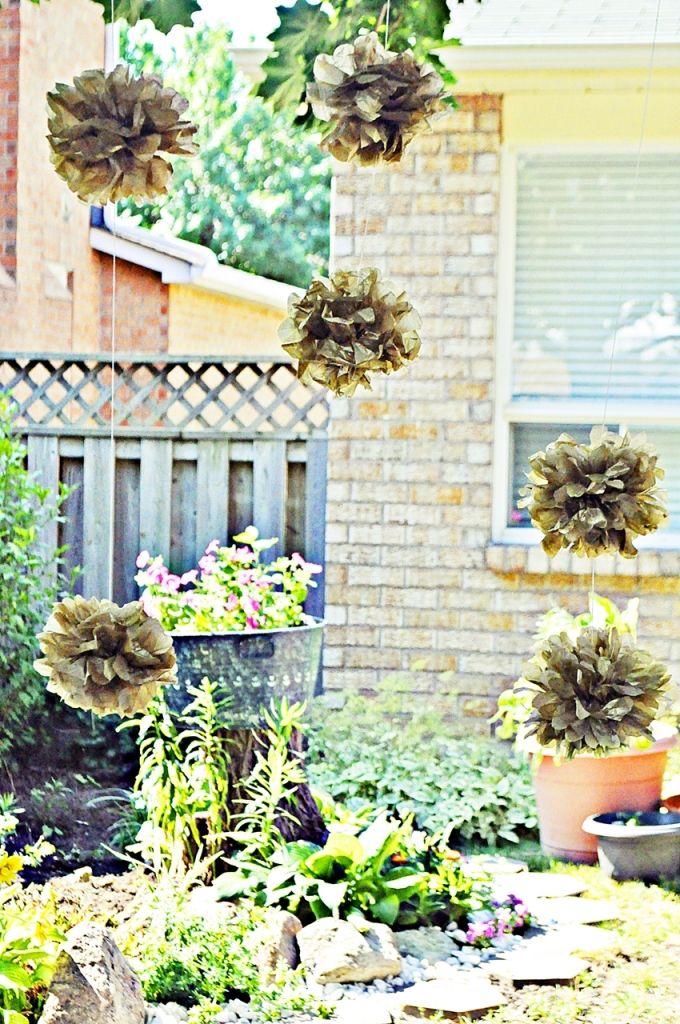 Okay so, my son's birthday party is coming up soon and it's going to be a backyard bbq shpeal, and Chels has offered to help me do the decorations and such. Not that a 3 year old cares for those things, but those who know me know I'm a little wacky and need to have those things done. So here's a tutorial of how to make tissue paper pom poms yourself :)
*They're also known as tissue paper flowers or balls
Okay so, my son's birthday party is coming up soon and it's going to be a backyard bbq shpeal, and Chels has offered to help me do the decorations and such. Not that a 3 year old cares for those things, but those who know me know I'm a little wacky and need to have those things done. So here's a tutorial of how to make tissue paper pom poms yourself :)
*They're also known as tissue paper flowers or balls
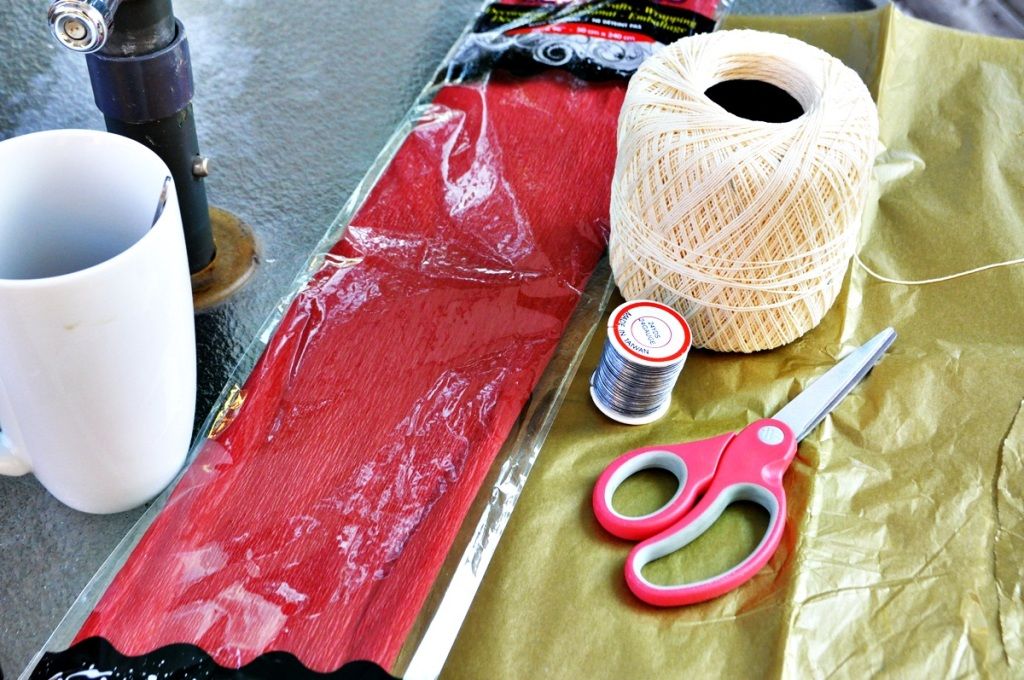 WHAT YOU'LL NEED:
Tissue paper (no picture shown) - You can use whatever colour your heart desires.
Craft wire - They come in different diameters, but 1mm-1.5mm should do the trick)
WHAT YOU'LL NEED:
Tissue paper (no picture shown) - You can use whatever colour your heart desires.
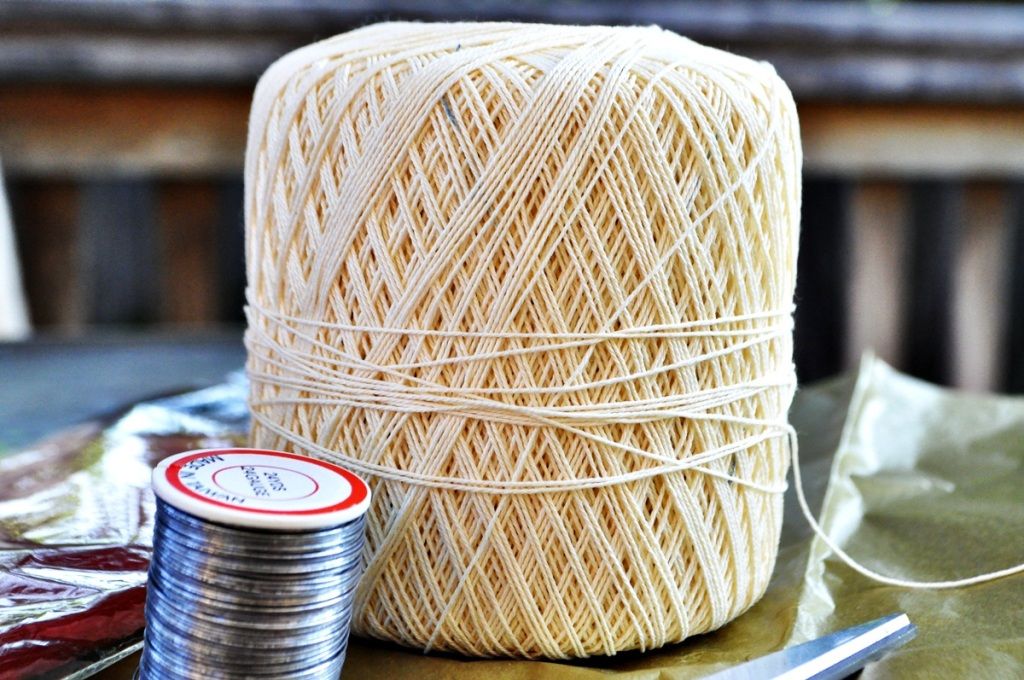
Craft wire - They come in different diameters, but 1mm-1.5mm should do the trick)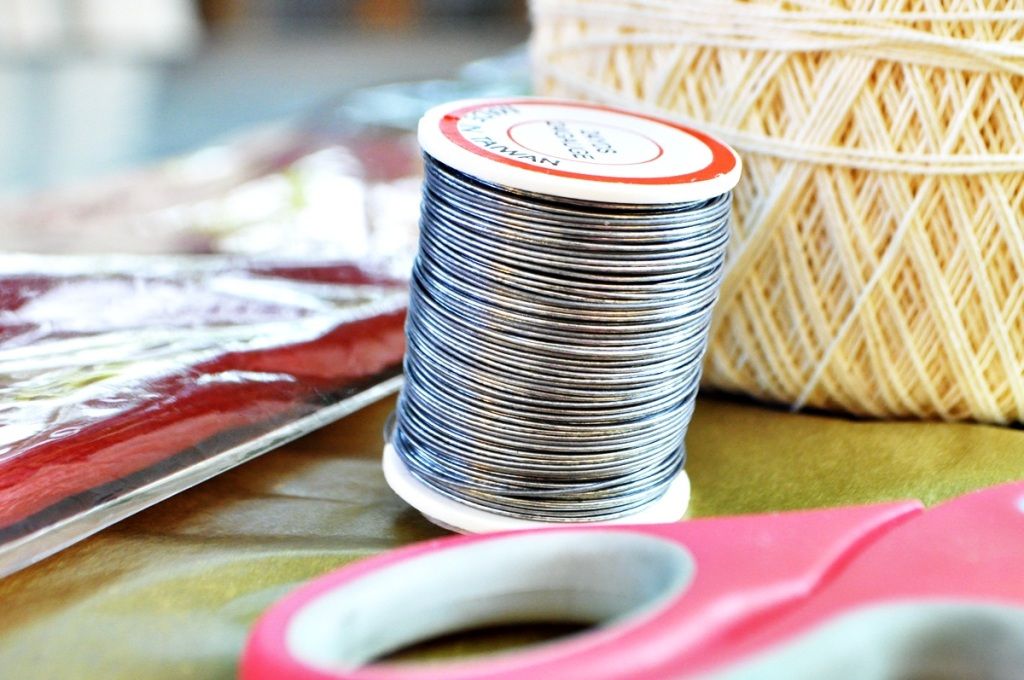 Thread - I personally use crochet yarn because it's thin, but also durable when you need to make chains. I have used fishing line and clear elastic thread in the past because aesthetically it does turn out better, but sometimes the elastic can snap or the knots don't hold. Whatever the case, the choice is yours.
 INSTRUCTIONS:
So essentially you need to know a few things before starting: a) The diameter of your tissue paper pom poms will be the length of your tissue paper. It'll be the length along which you make your "accordion folds", you'll see in a bit. b) If you use too many sheets of tissue paper, your pom pom will be too full and it will look like $#*! c) If you don't use enough sheets of tissue paper, your pom pom will be too sparse and it'll look like...$#*!
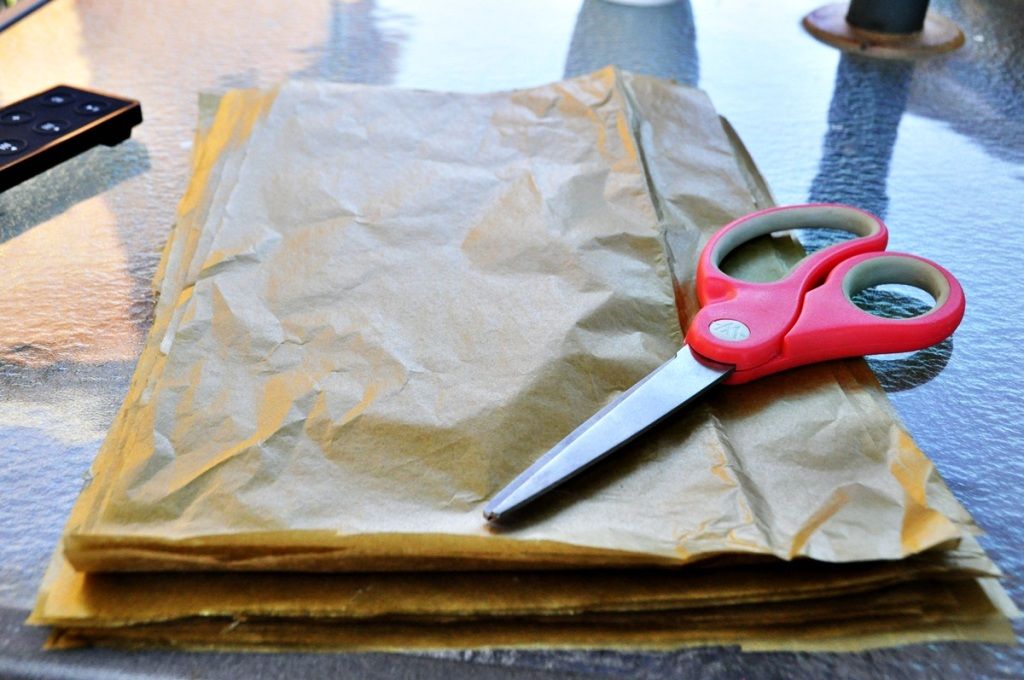
STEP 1: Cut the tissue paper sheets so that the length is equivalent to the diameter you want the pom pom to be. The ones I made for this tutorial are roughly 5 inches and I made the pom poms using one full sheet of tissue paper that I cut up to make 6 sheets altogether.
INSTRUCTIONS:
So essentially you need to know a few things before starting: a) The diameter of your tissue paper pom poms will be the length of your tissue paper. It'll be the length along which you make your "accordion folds", you'll see in a bit. b) If you use too many sheets of tissue paper, your pom pom will be too full and it will look like $#*! c) If you don't use enough sheets of tissue paper, your pom pom will be too sparse and it'll look like...$#*!
STEP 1: Cut the tissue paper sheets so that the length is equivalent to the diameter you want the pom pom to be. The ones I made for this tutorial are roughly 5 inches and I made the pom poms using one full sheet of tissue paper that I cut up to make 6 sheets altogether.
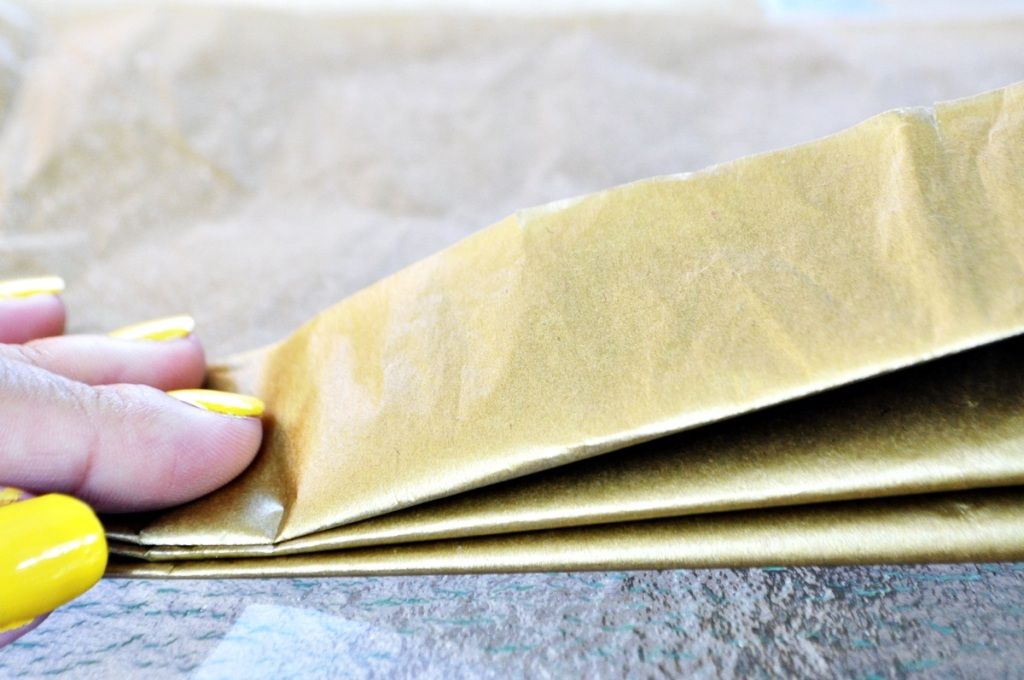
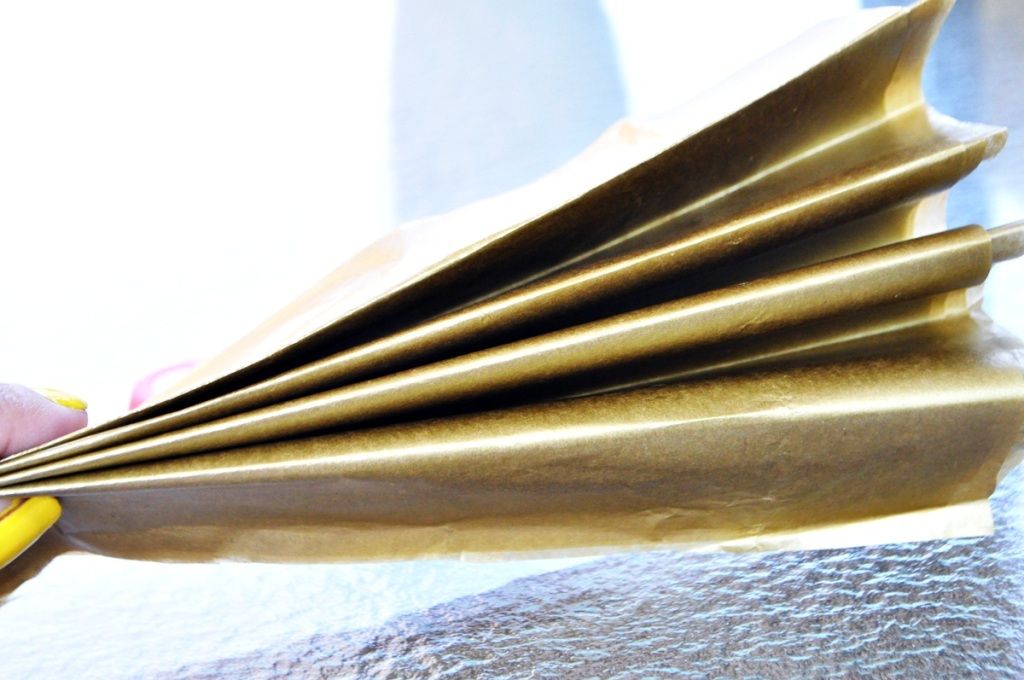
 STEP 2: Accordion fold it the way you would a paper fan.
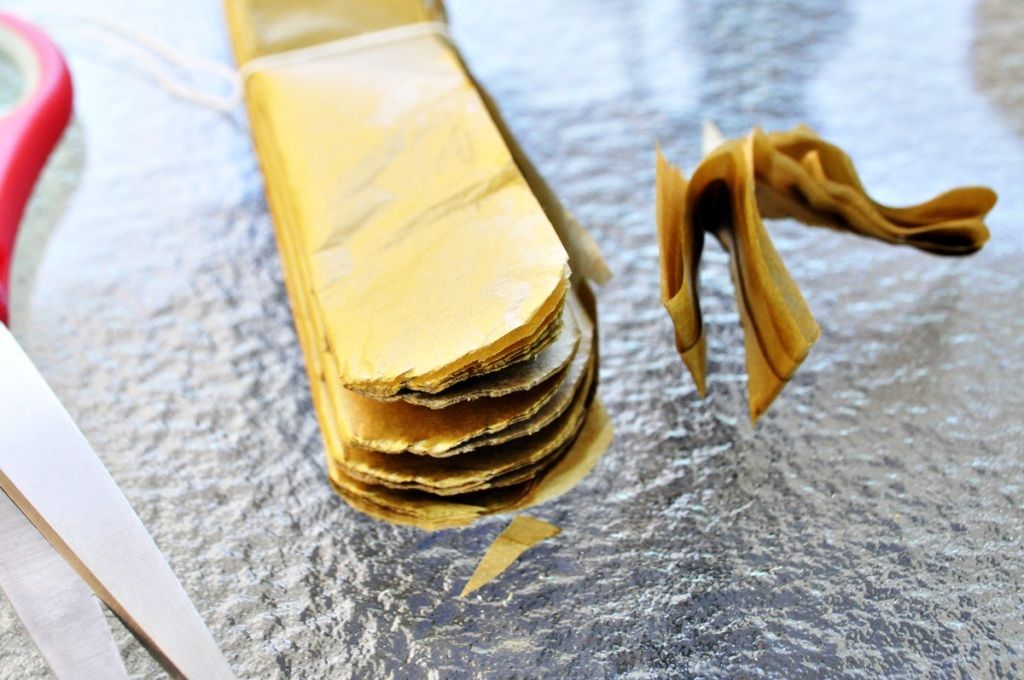
 STEP 3: Cut the edges to mimic a petal shape; this is pretty much essential when you unfold the sheets, otherwise you'll have trouble doing it without ripping the tissue paper.
 STEP 4: Cut roughly 4-5 inches of the craft wire.
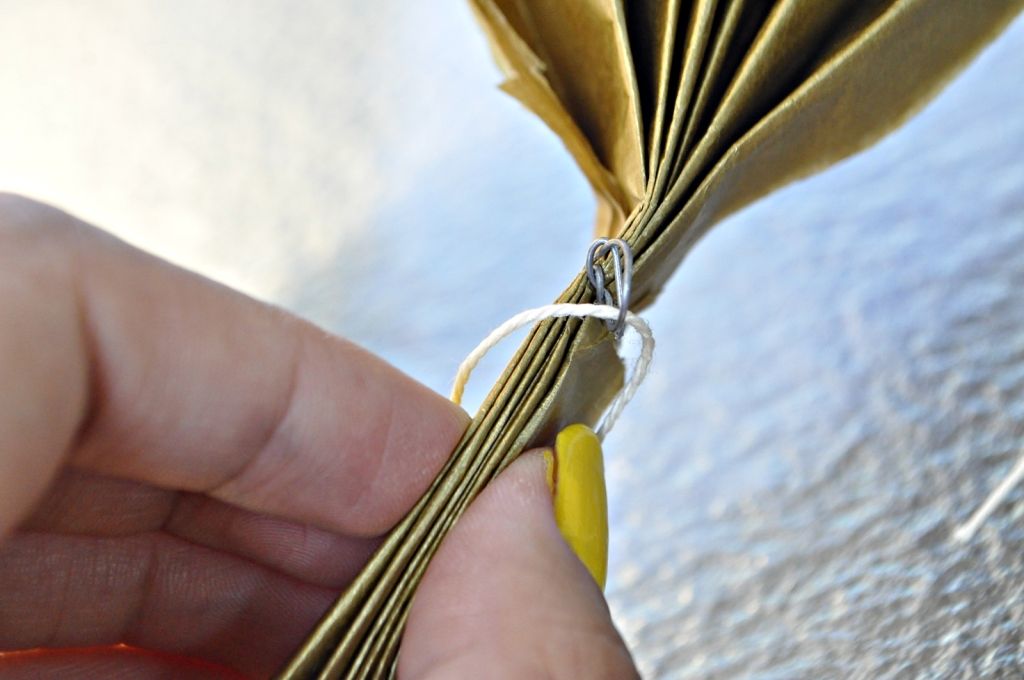
 STEP 5: Secure you're pom pom with the wire by tying it in the middle of your accordion-folded tissue paper. You'll find that "tying it" isn't the term I should be using because it's wire but I think it's understood what I meant. Anyway, Make sure you have at least an inch of wire coming out both sides for the string loops.
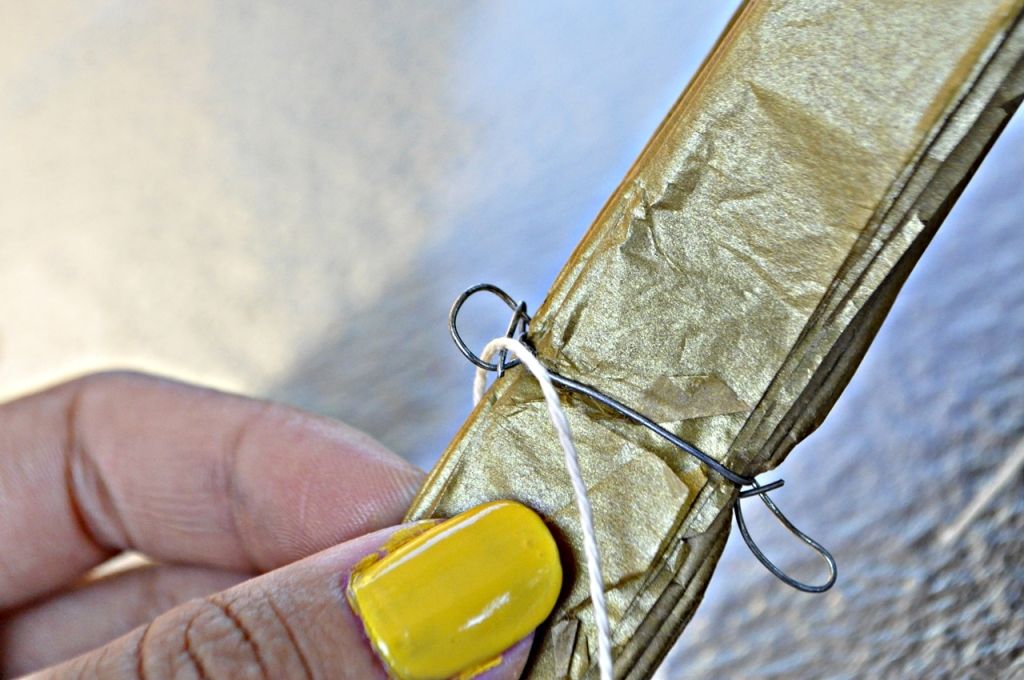
 STEP 6: Twist the excess ends of the craft wire so that they form loops
 STEP 7: Using the string you picked to hang/attach the pom poms with, pass it through one of the loops. You can cut the string as long as it needs to be for you to hang it at whatever length you desire.
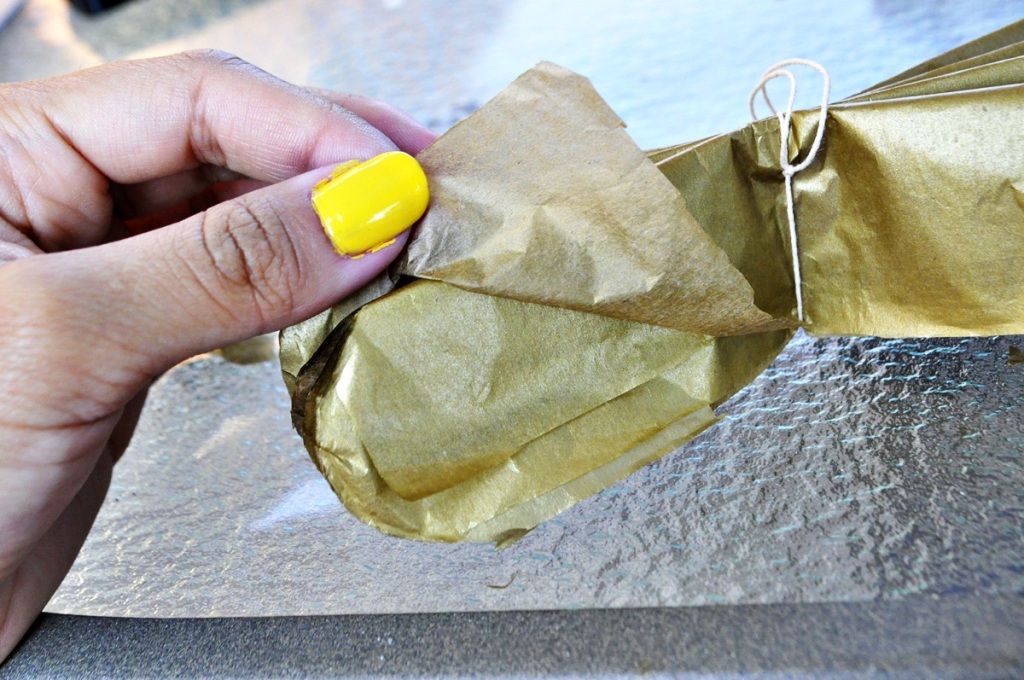
 STEP 8: When the tissue paper is secured by the wire and your string is attached, you can start creating the pom pom effect. All you have to do is separate the tissue paper sheets!
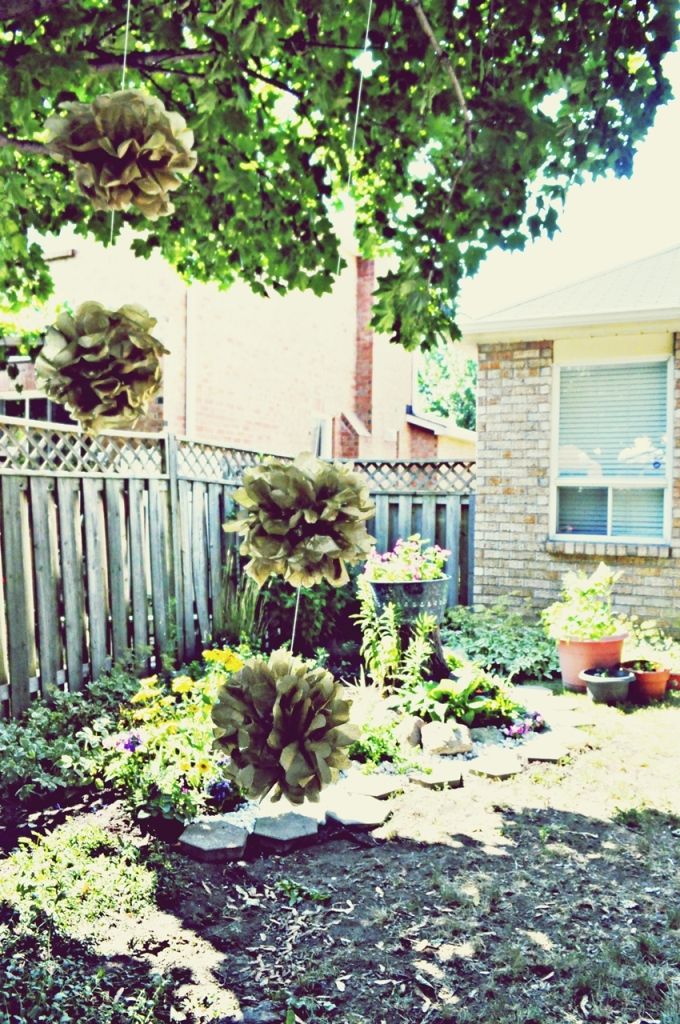
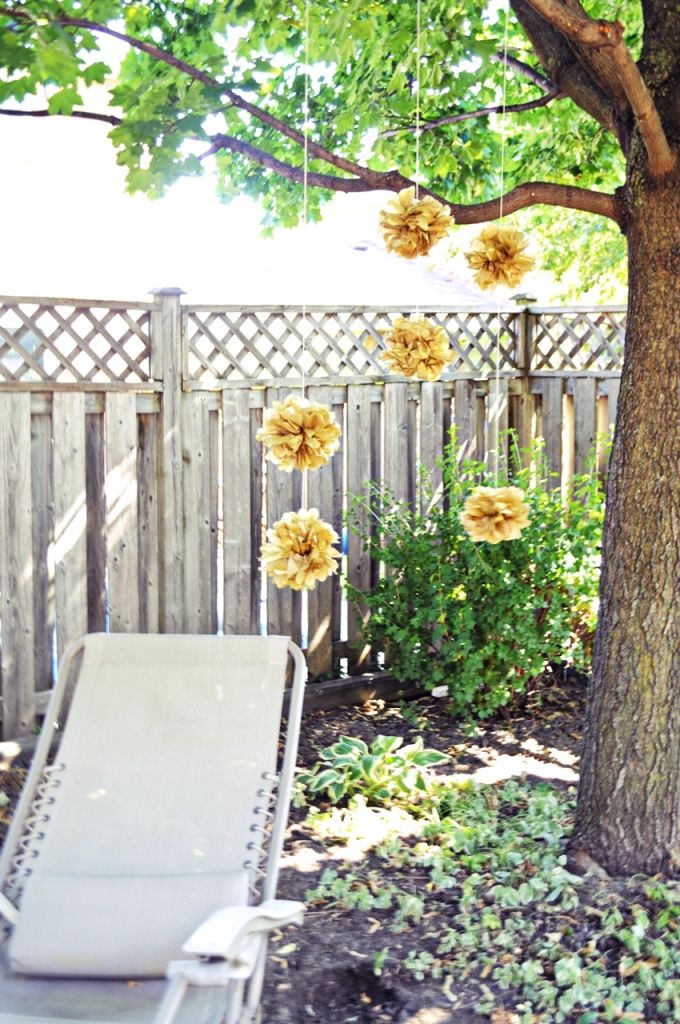
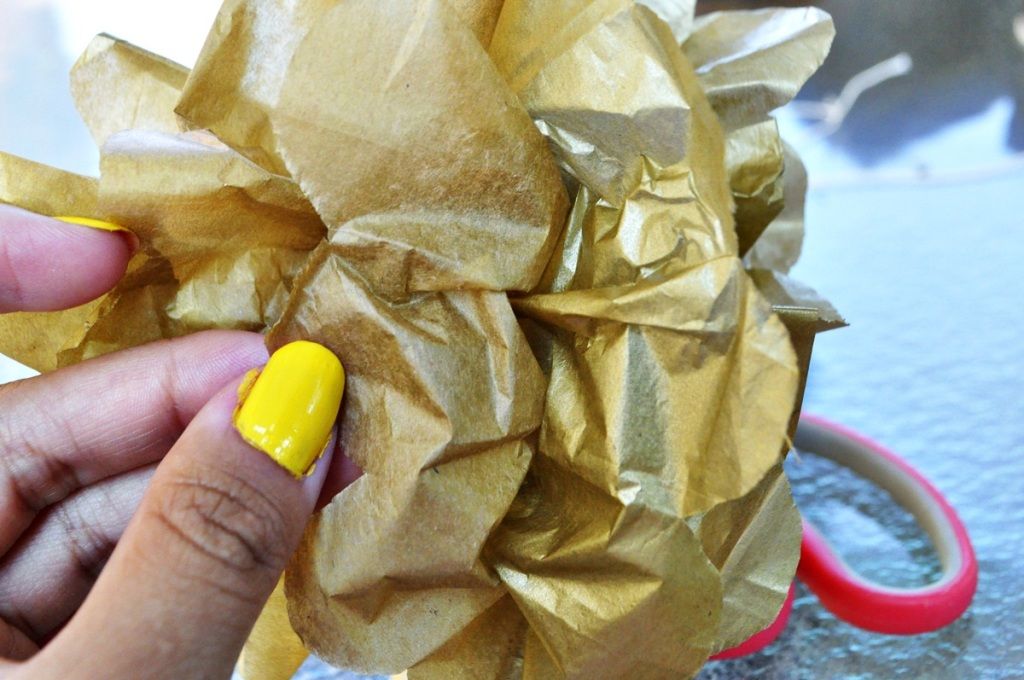 After this point, all you really have to do is fluff up the sheets to shape it out so it looks even. Then all you do is hang it!
Et voila! DIY Tissue Paper Pom Poms
After this point, all you really have to do is fluff up the sheets to shape it out so it looks even. Then all you do is hang it!
Et voila! DIY Tissue Paper Pom Poms