Tonight, I'm getting my first kitten, my son's very dedicated to the name Jedi, so our little orange feline shall be named Jedi. My son is actually dying to name him Cake, but that's entirely out of the question.
Anyway, earlier this week I picked up all the necessities, food, litter, etc., but I couldn't find a kitten bed that would match the colour scheme of my bedroom.
My bedroom, for the most part, is ivory/cream, with blue and yellow accents. I decided to make Jedi a yellow and cream cushion/kitten bed because if I were to move the bed to any other part of the house it would match best if it were yellow. So here's the step-by-step tutorial for the no-sew, child-friendly DIY kitten cushion project for our new kitten, Jedi.

So first, the materials. Everything I used was from home. I made sure to use durable fabric that won't fray at the edges. You'll soon see that this is an essential key for the "no-sew" part of this no-sew kitten cushion.
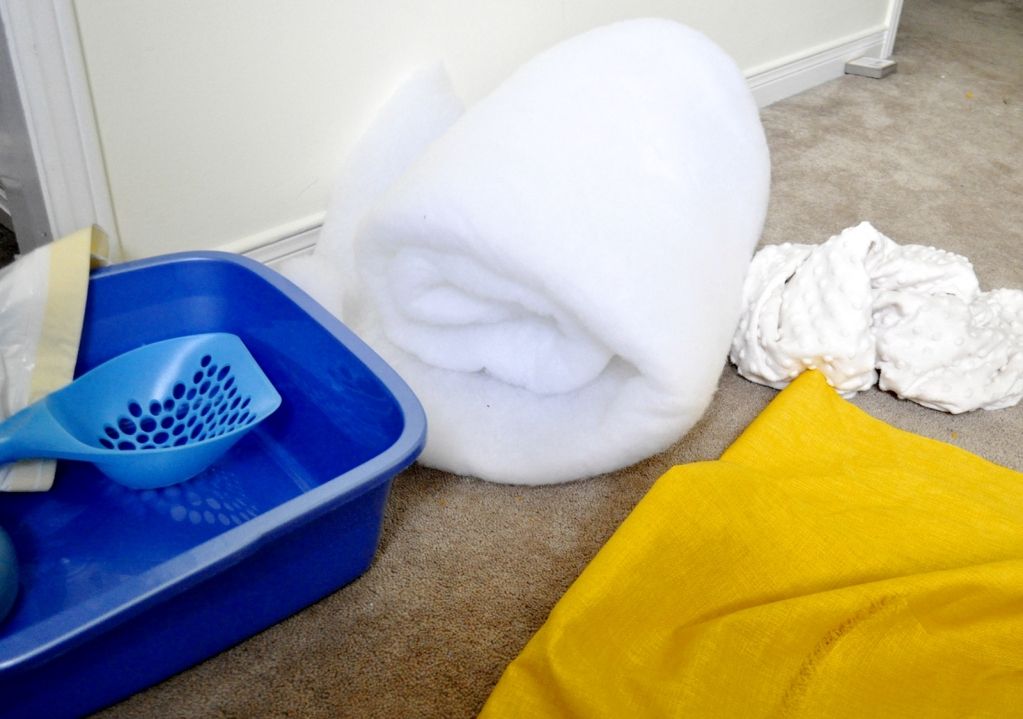
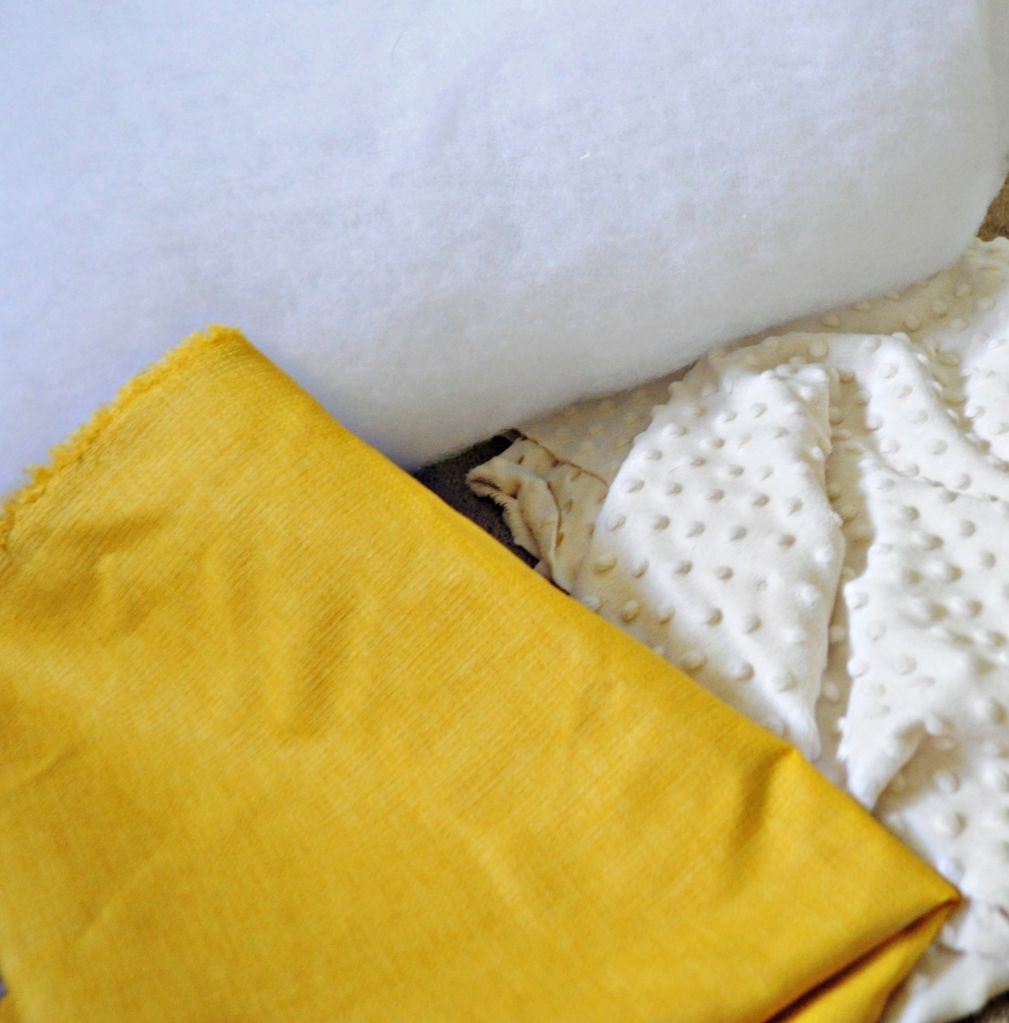
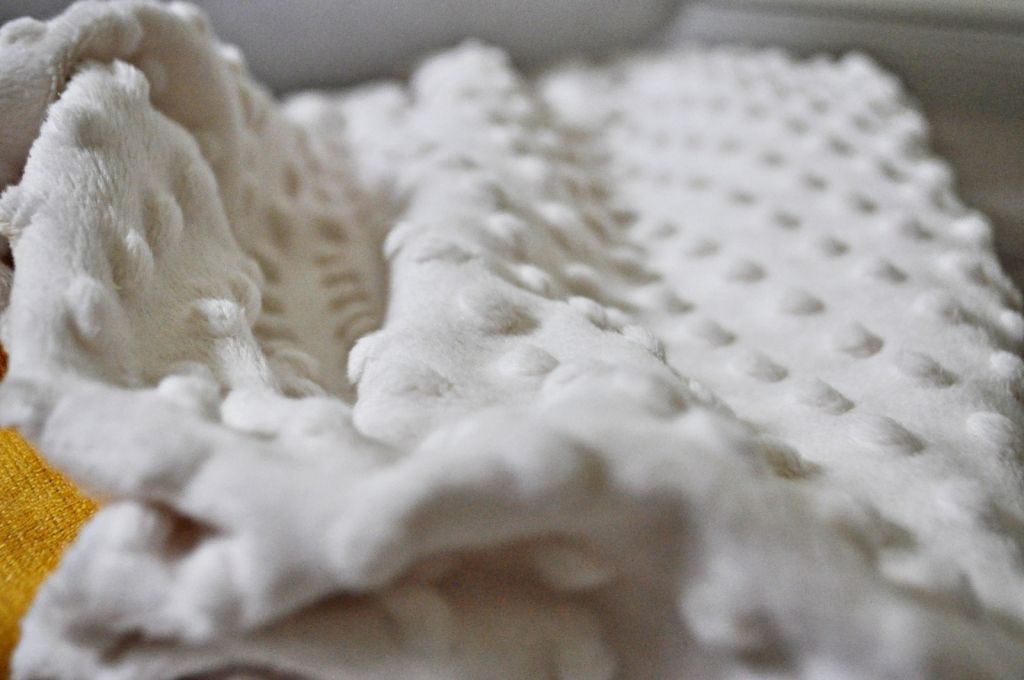
For the cushion fabric, I used studded fleece (ivory) for the top
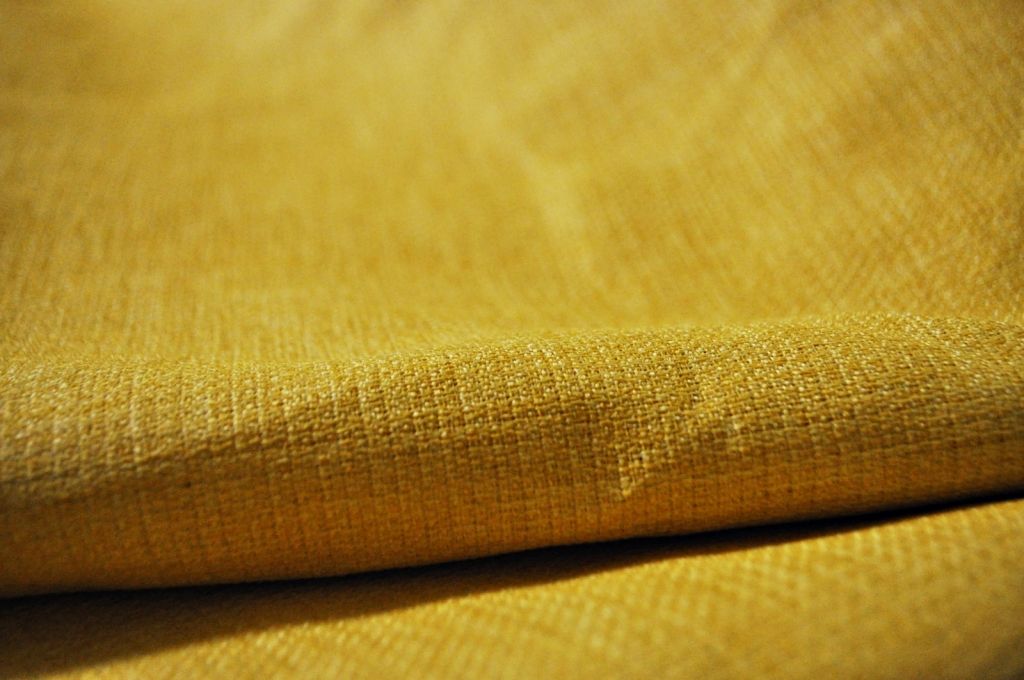
and yellow burlap for the bottom.
The burlap is a firmer fabric and will hold the shape of the cushion, opposed to the fleece. *in case you do not have these materials at home, I would recommend going to any local fabric distributor, retailer, wholesaler, etc etc etc.
For the filling, you can use cotton stuffing; I used cotton quilt batting because it's very comfortable and is somewhat form-fitting. Basically the quilt batting will hold the shape of the cushion.
To do the actual "putting together" of the project, all I used were my hands and scissors. If you are the type to be anal about measurements then use a ruler or measuring tape, but that's to your own discretion; I do not have any specific measurements because I sincerely did not make any.
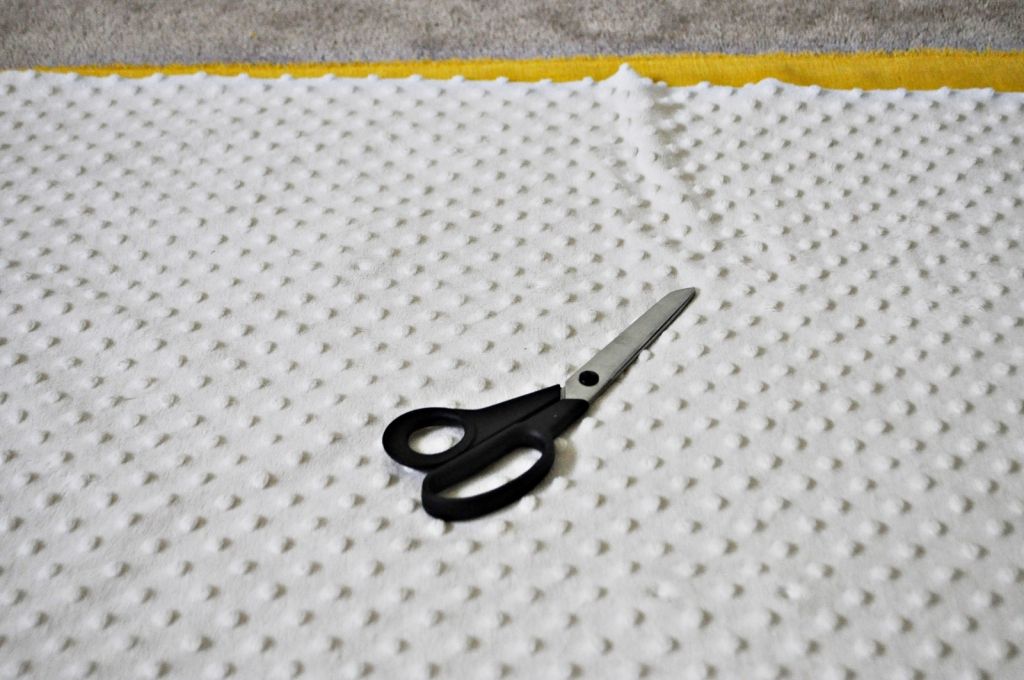
So essentially I just cut out a rectangle that I thought would be an appropriate size for a 1.5 month old kitten.. I left roughly a 5 inch leeway around the perimeter. You'll see why in a jiff.
I then made 3-4 inch cuts around the entire edge of the perimeter (of both the canvas and the fleece, you'll want the actual wholesome portion of the canvas to be just a little bit bigger than the fleece to get the shape)

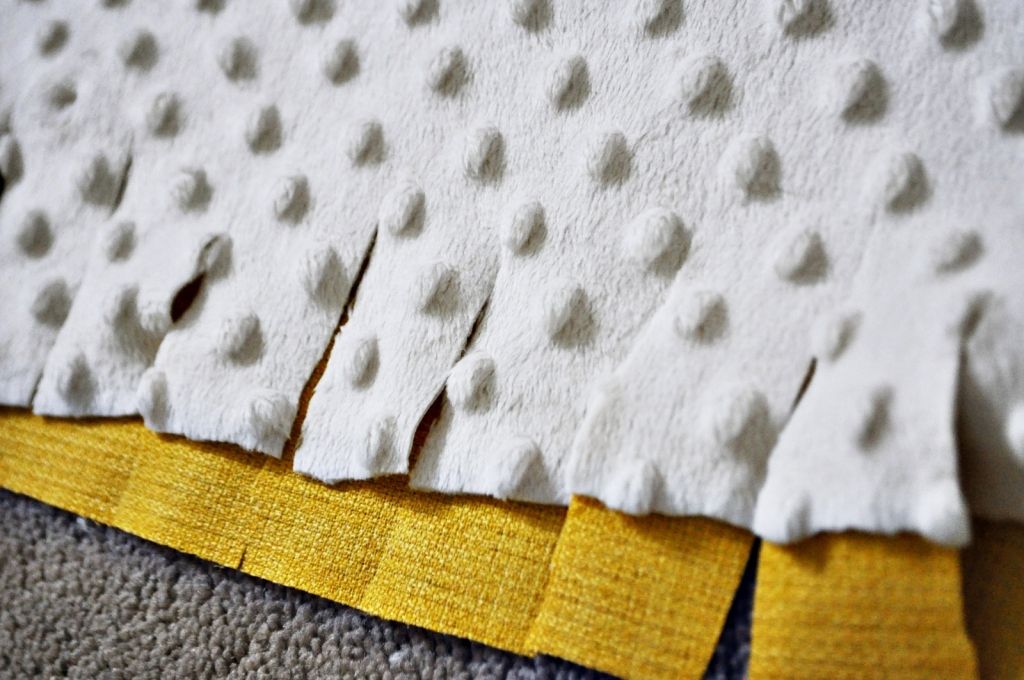
Once you have all the edges cut out and are satisfied with the general dimensions of the cushion, you can start the time-consuming portion.
My best friend, Kaitlyn, gave me this idea, apparently it was all the rage back in the day, but I was entirely unaware.
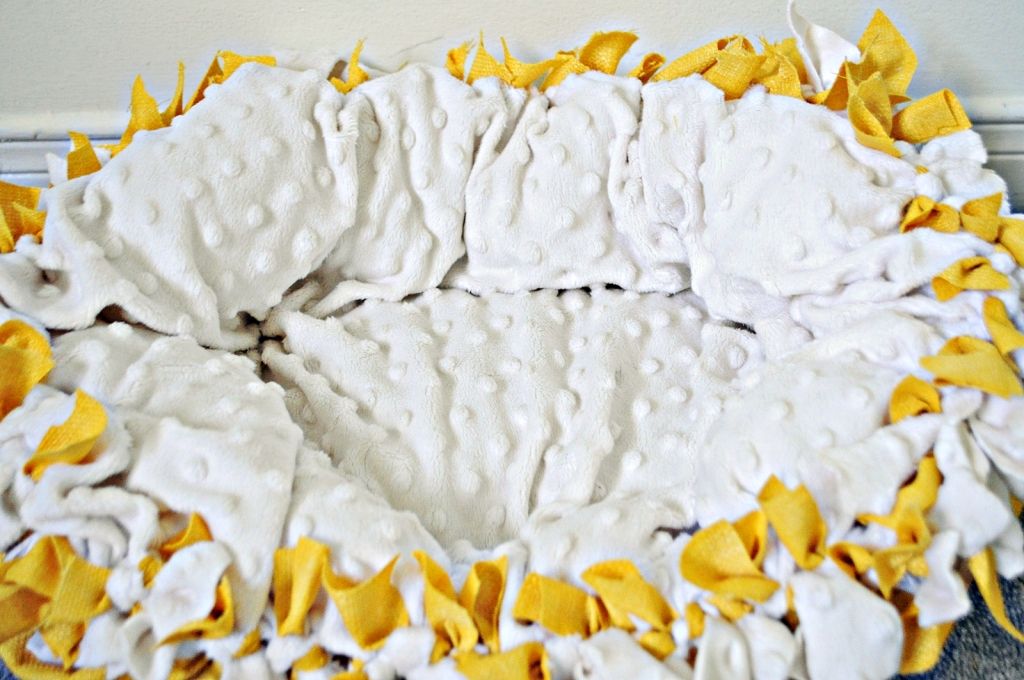
Take two frays, one from both the fabrics, (if it wasn't obvious, I meant the respecting matching frays on either fabrics) then double knot them together. Make your way around the edges, double knotting the frays from fray-to-fray until your edges are sealed.
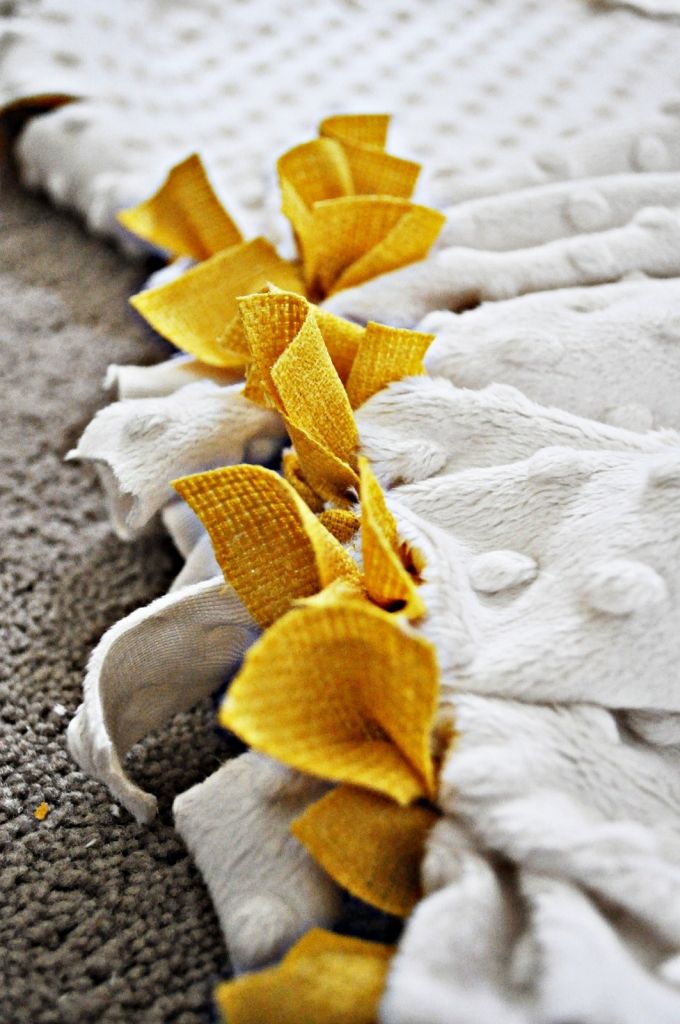
Once you've done at least 3 edges of the cushion cover, get the filling you chose to fill it with. Stuff it through the untied edge of the cushion cover. Make sure you have an adequate amount to fill the cushion and have it dispersed inside the cover evenly. Try not to over stuff it because kittens do tend to like little basket-esque beds as opposed to firm pillows.
If you chose to use quilt batting as I did, then make sure you cut out the batting in adequate dimensions to ensure it's shape doesn't end up wonky. As far as the form goes, its entirely up to your hands to maneuver the stuffing in the cushion with the cover in whichever way you want it to be maneuvered. It may take a few times to fluff it up and reshape it, but you should be able to make a basket shape as long as you followed the instructions and made sure to cut out the top fabric about an inch to two inches shorter than the bottom fabric in the earlier steps of this project.

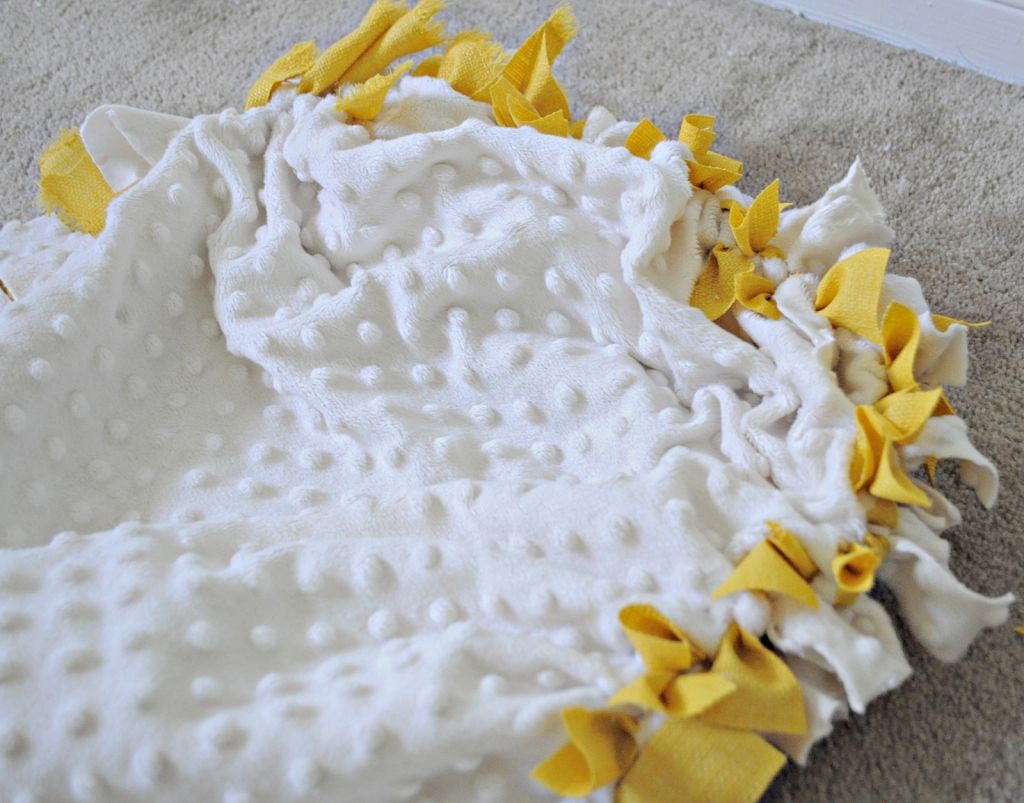
Once you've filled up the cushion to your liking, tie the remaining frays on the last edge of the cushion.
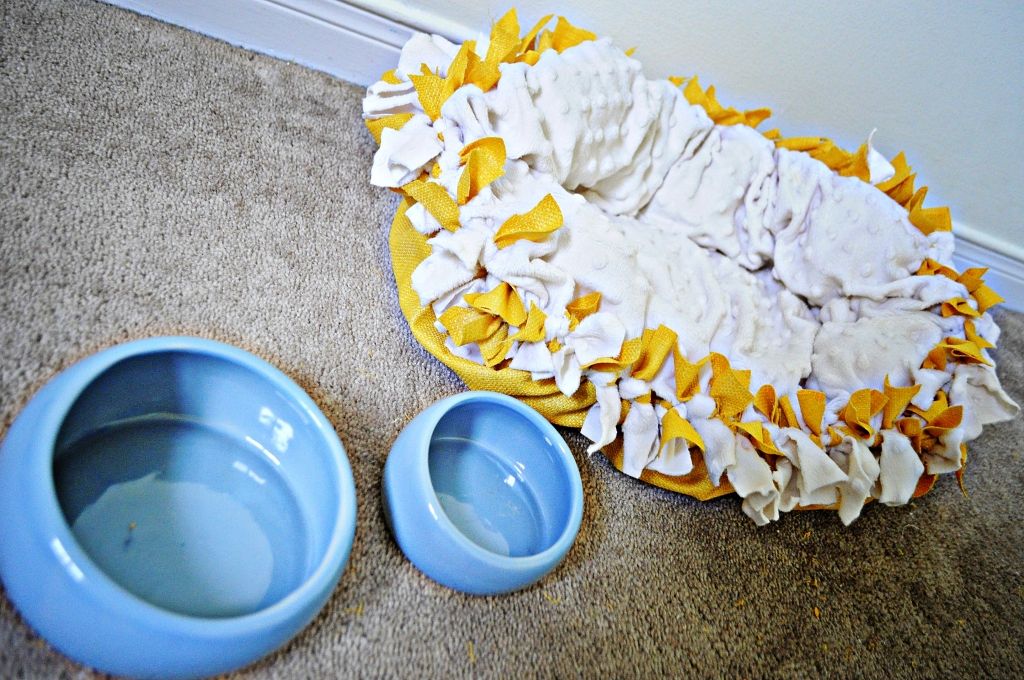
You may have a mangled looking cushion, but don't fret, that's probably because you haven't shaped it entirely to your liking. Just fluff it up and move the filling around until you get the shape you want. I did this "maneuvering of the fluff" business for about 15 minutes before deciding upon a shape I liked and finally I rearranging the filling so that three edges were higher and one edge was low, somewhat like a day bed or a couch.
Et voila!
 czaR2-D2

No comments:
Post a Comment